CardoHex
Where structure becomes form.
A CNC-manufactured plywood chair designed around a single constraint: every joint, angle, and cut must be achievable on a flatbed router in a single sheet pass.
A CNC-manufactured plywood chair designed around a single constraint: every joint, angle, and cut must be achievable on a flatbed router in a single sheet pass.
The brief was deceptively open: design and build a full-scale chair. But the real constraint was every design decision had to survive contact with a CNC flatbed router.
The name came early. Cardboard, an essential material for designers. The hexagon came from the research: parametric wood furniture that lets geometry do the structural work. CardoHex was the intersection: cardboard's honesty about layered material, hexagonal geometry as the design language.
“The internal structure of cardboard isn’t hidden — it’s the point. What if the chair worked the same way?”
Design intent, DES 460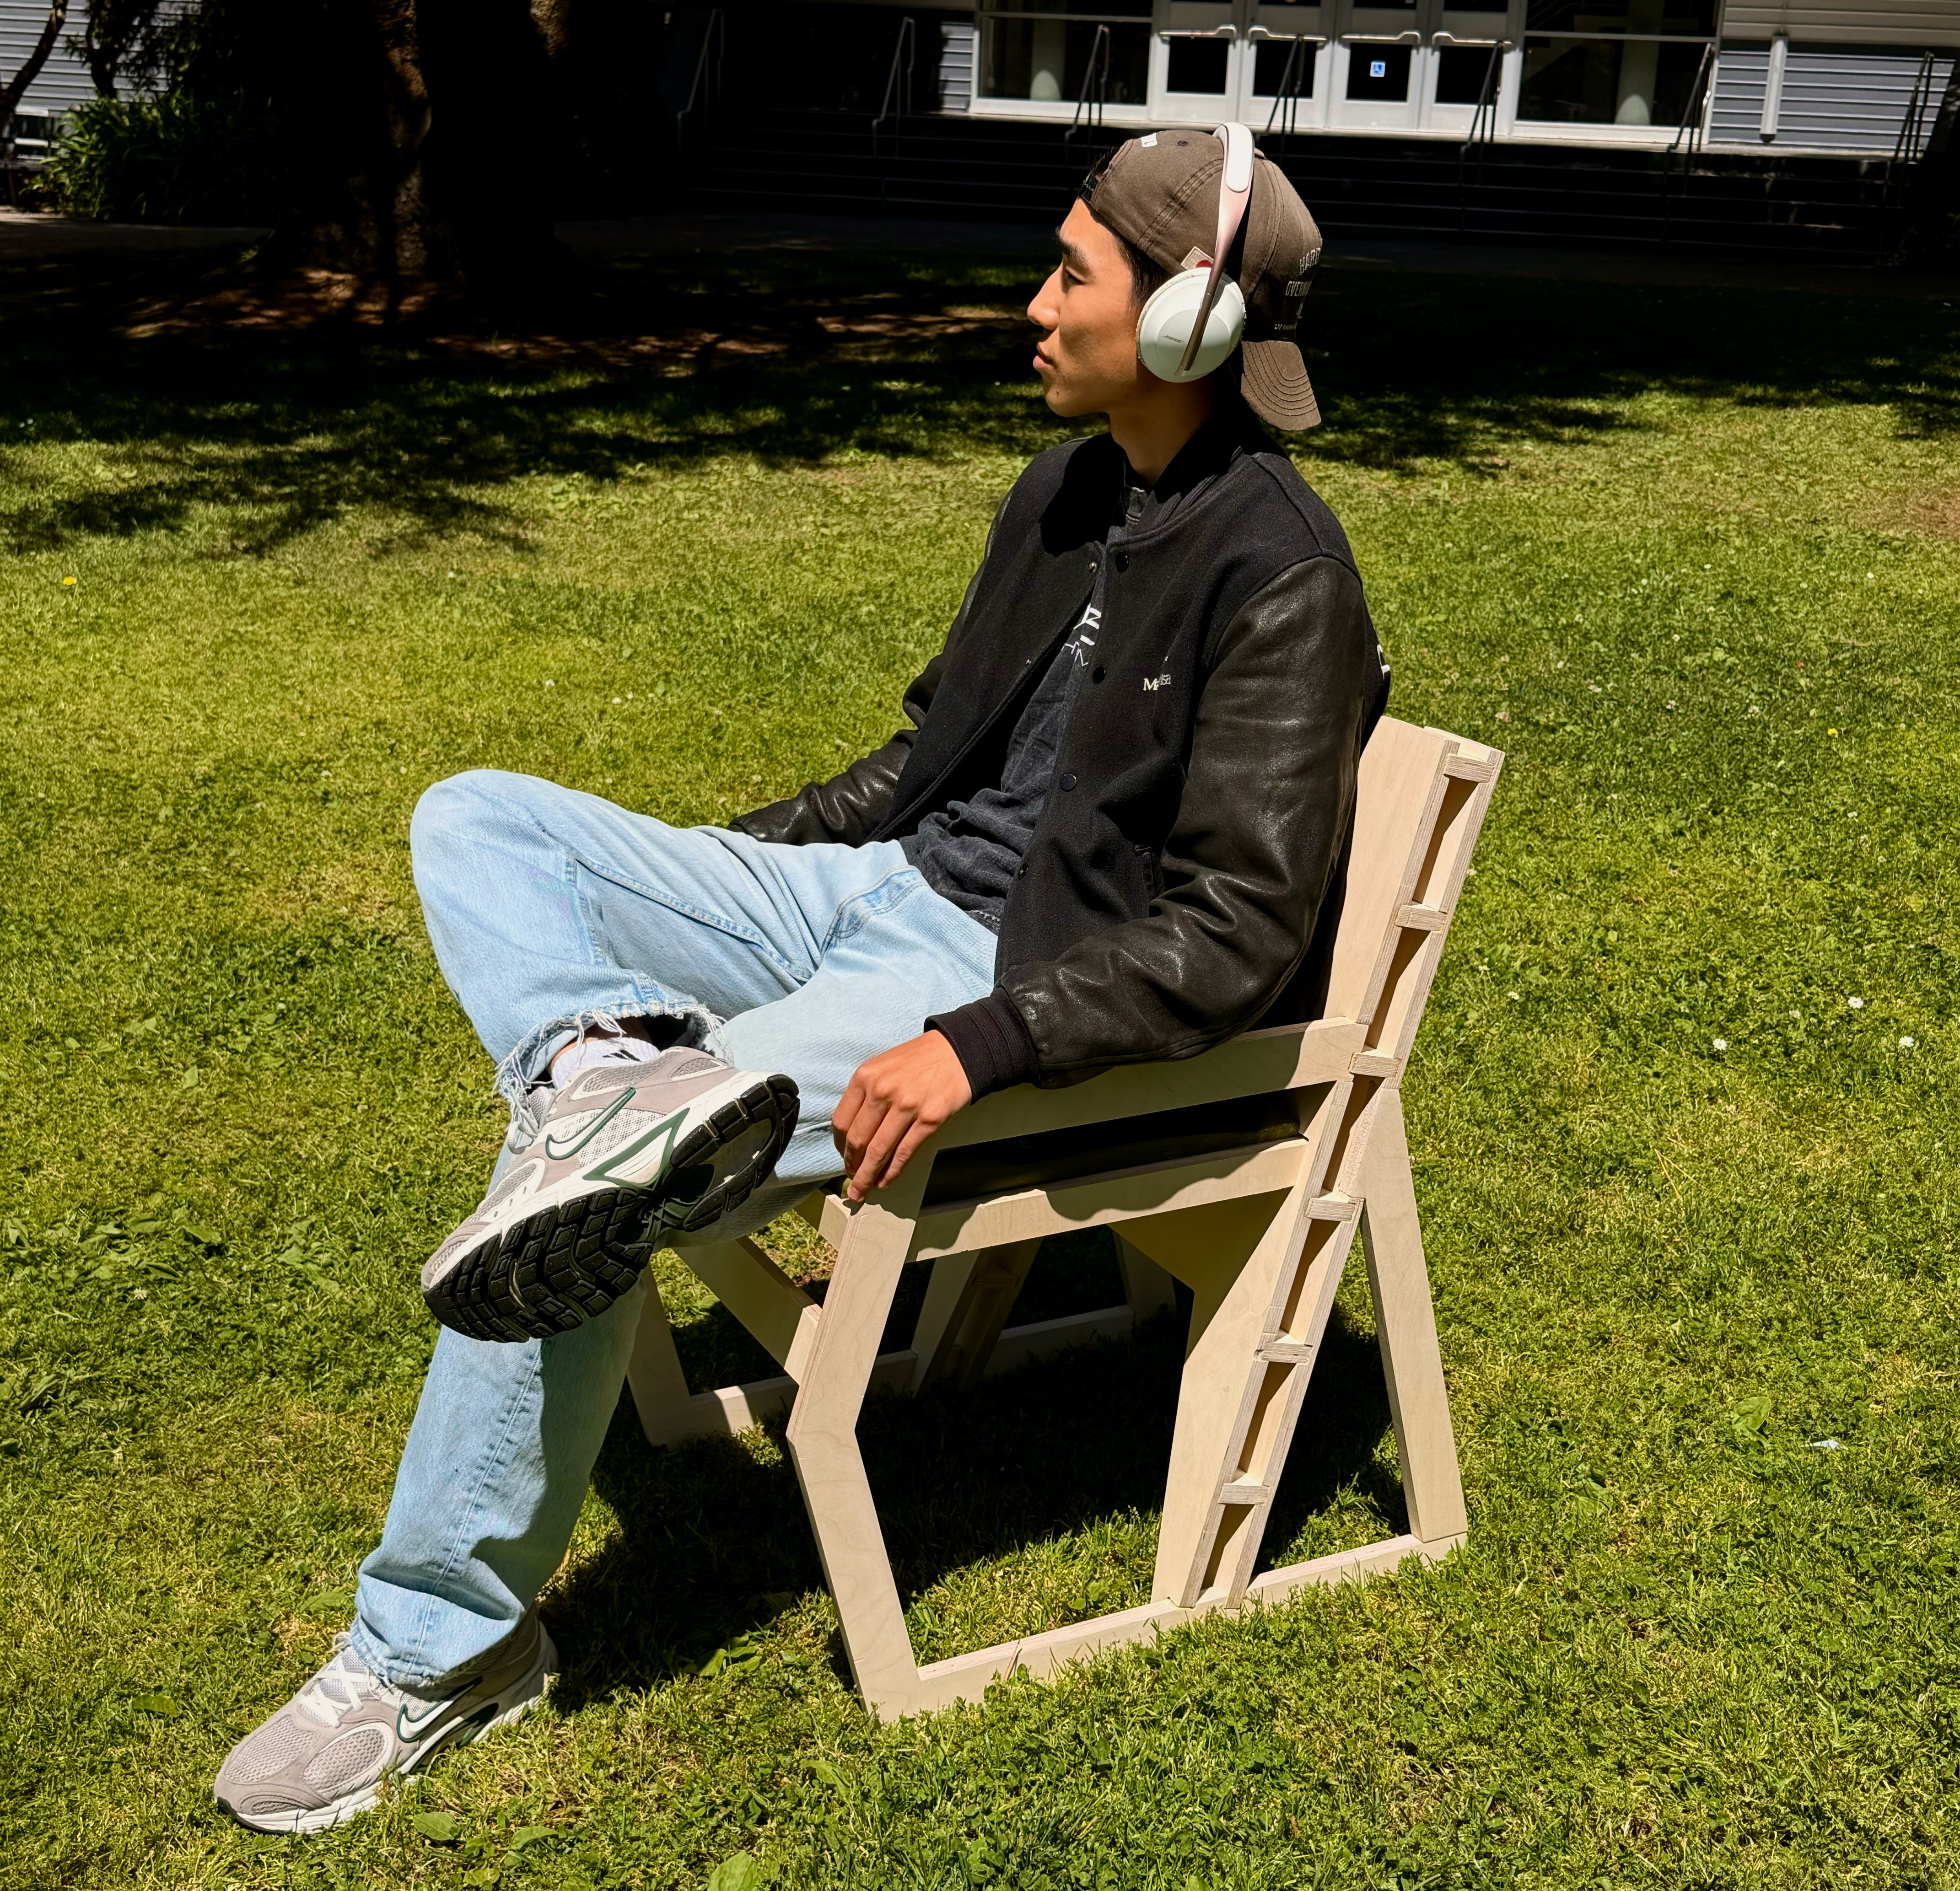
I explored different chair directions. The goal was to exhaust the obvious directions first.
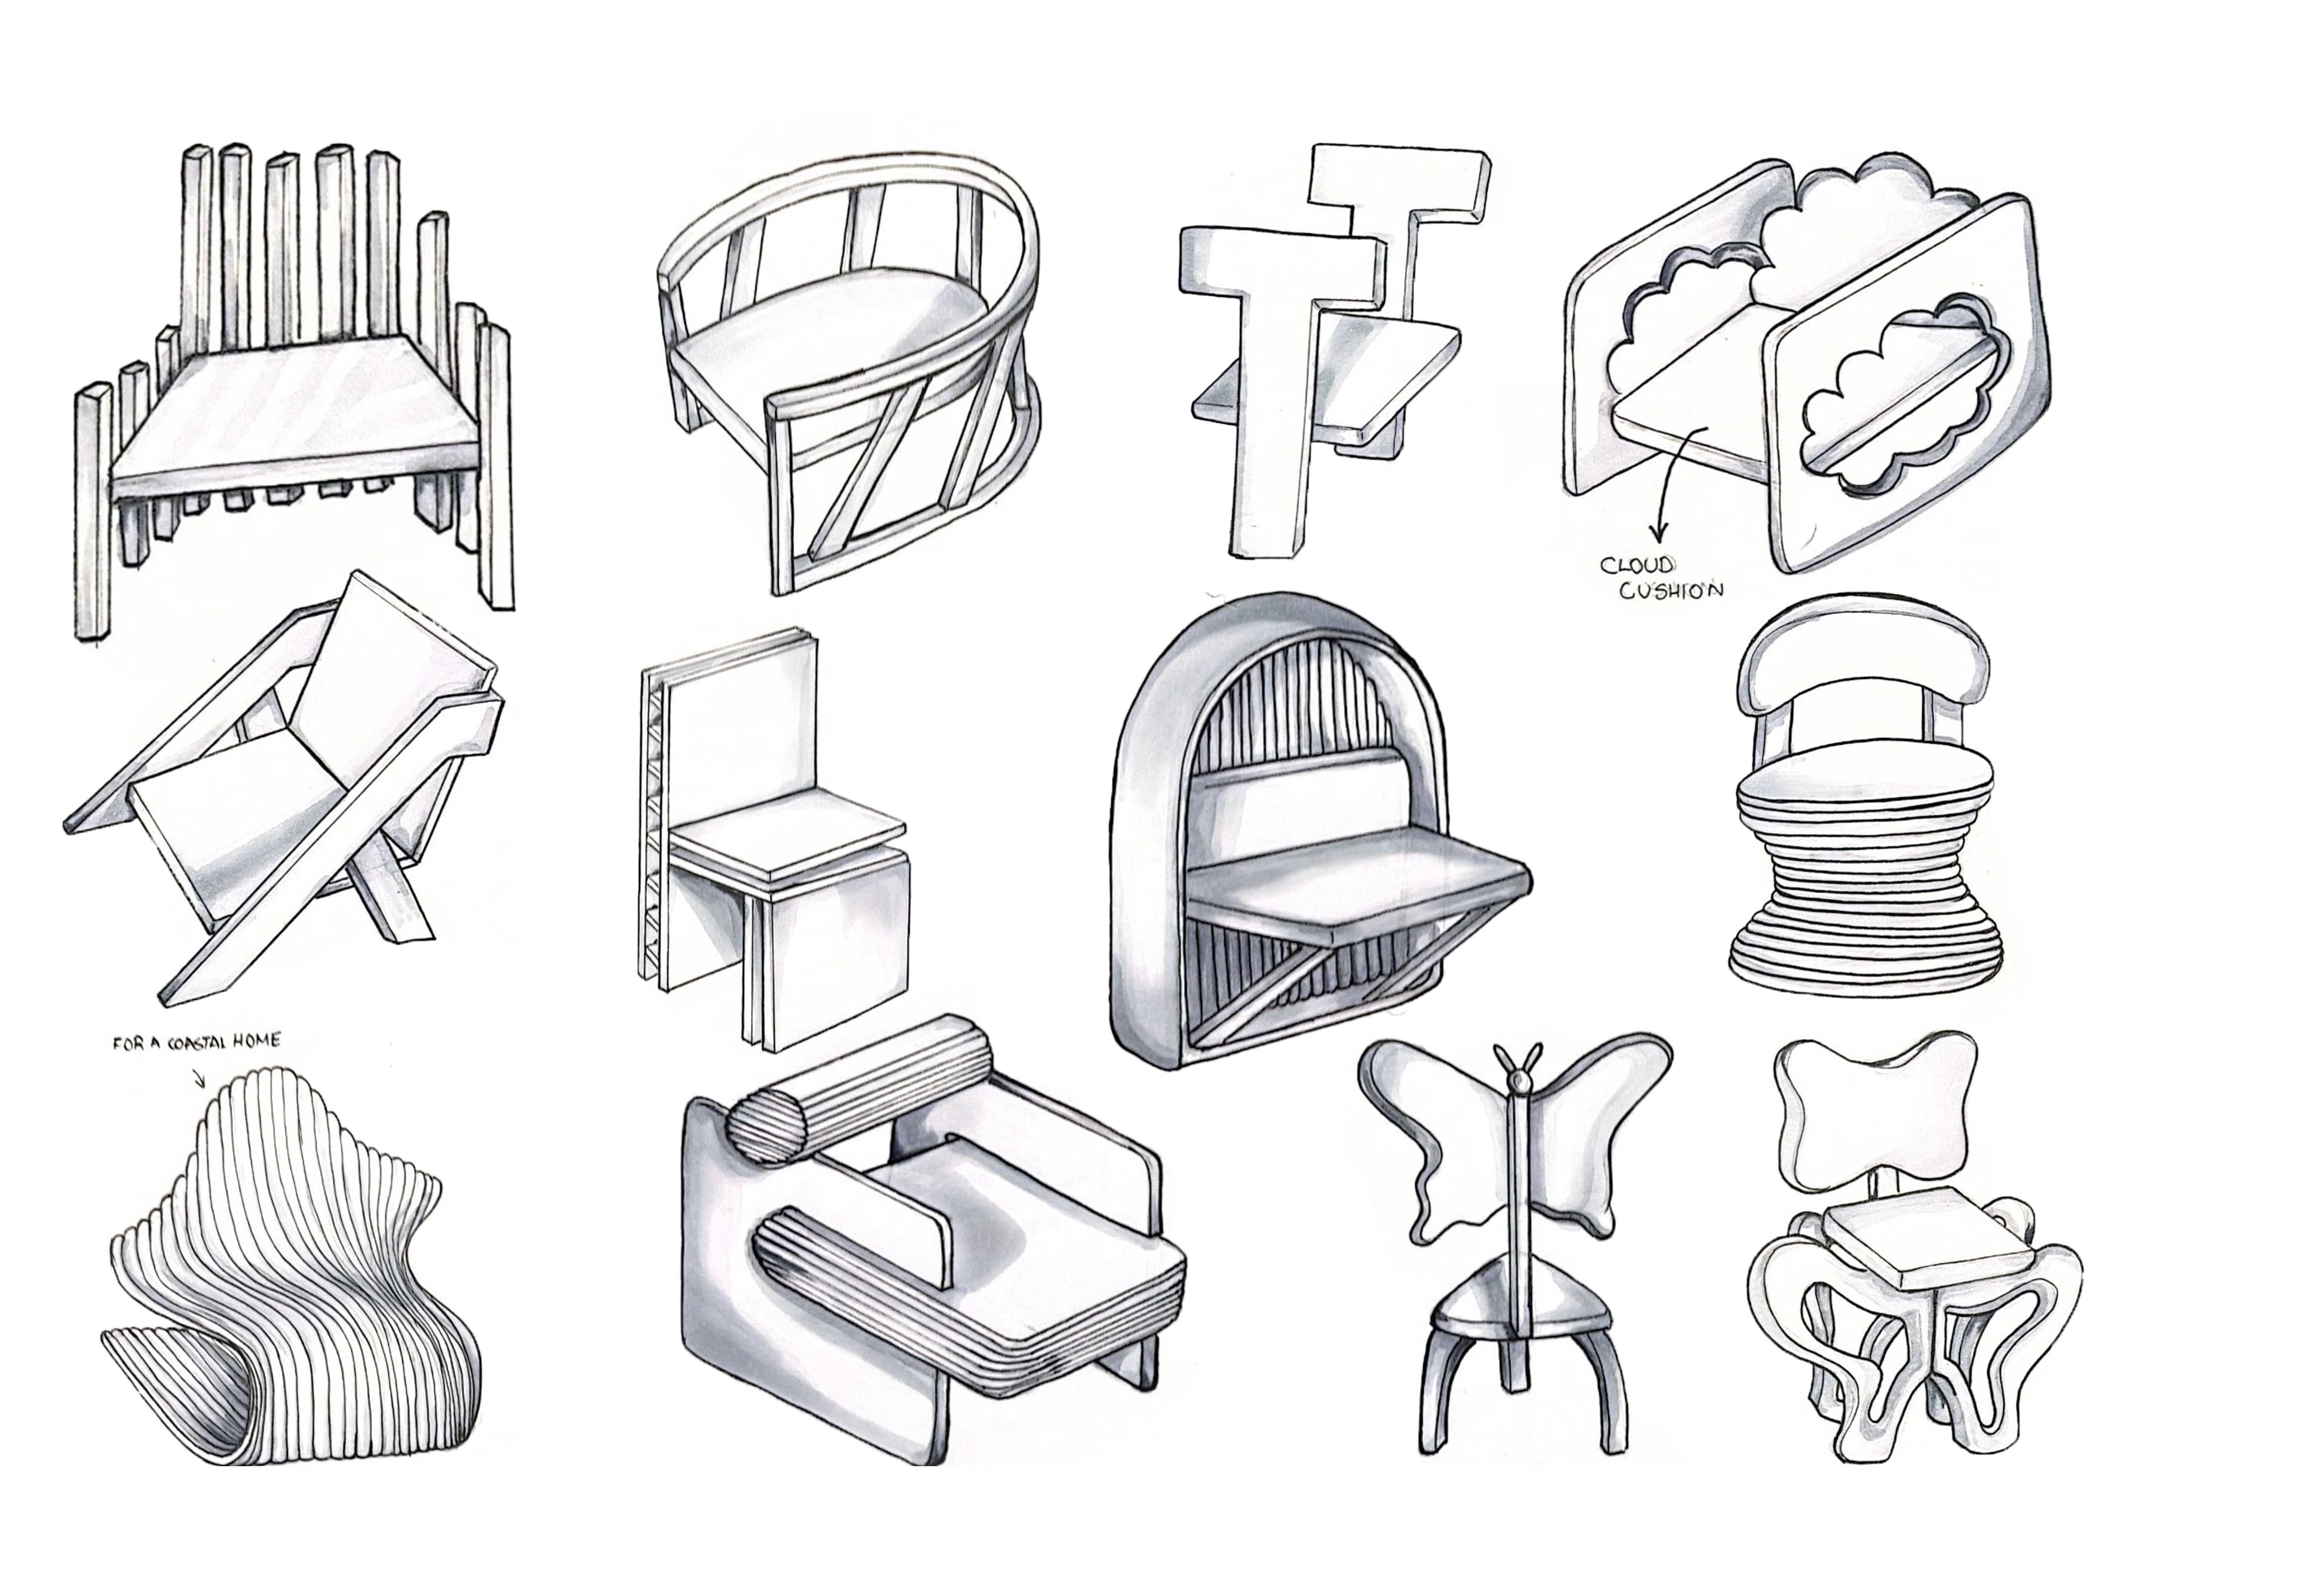
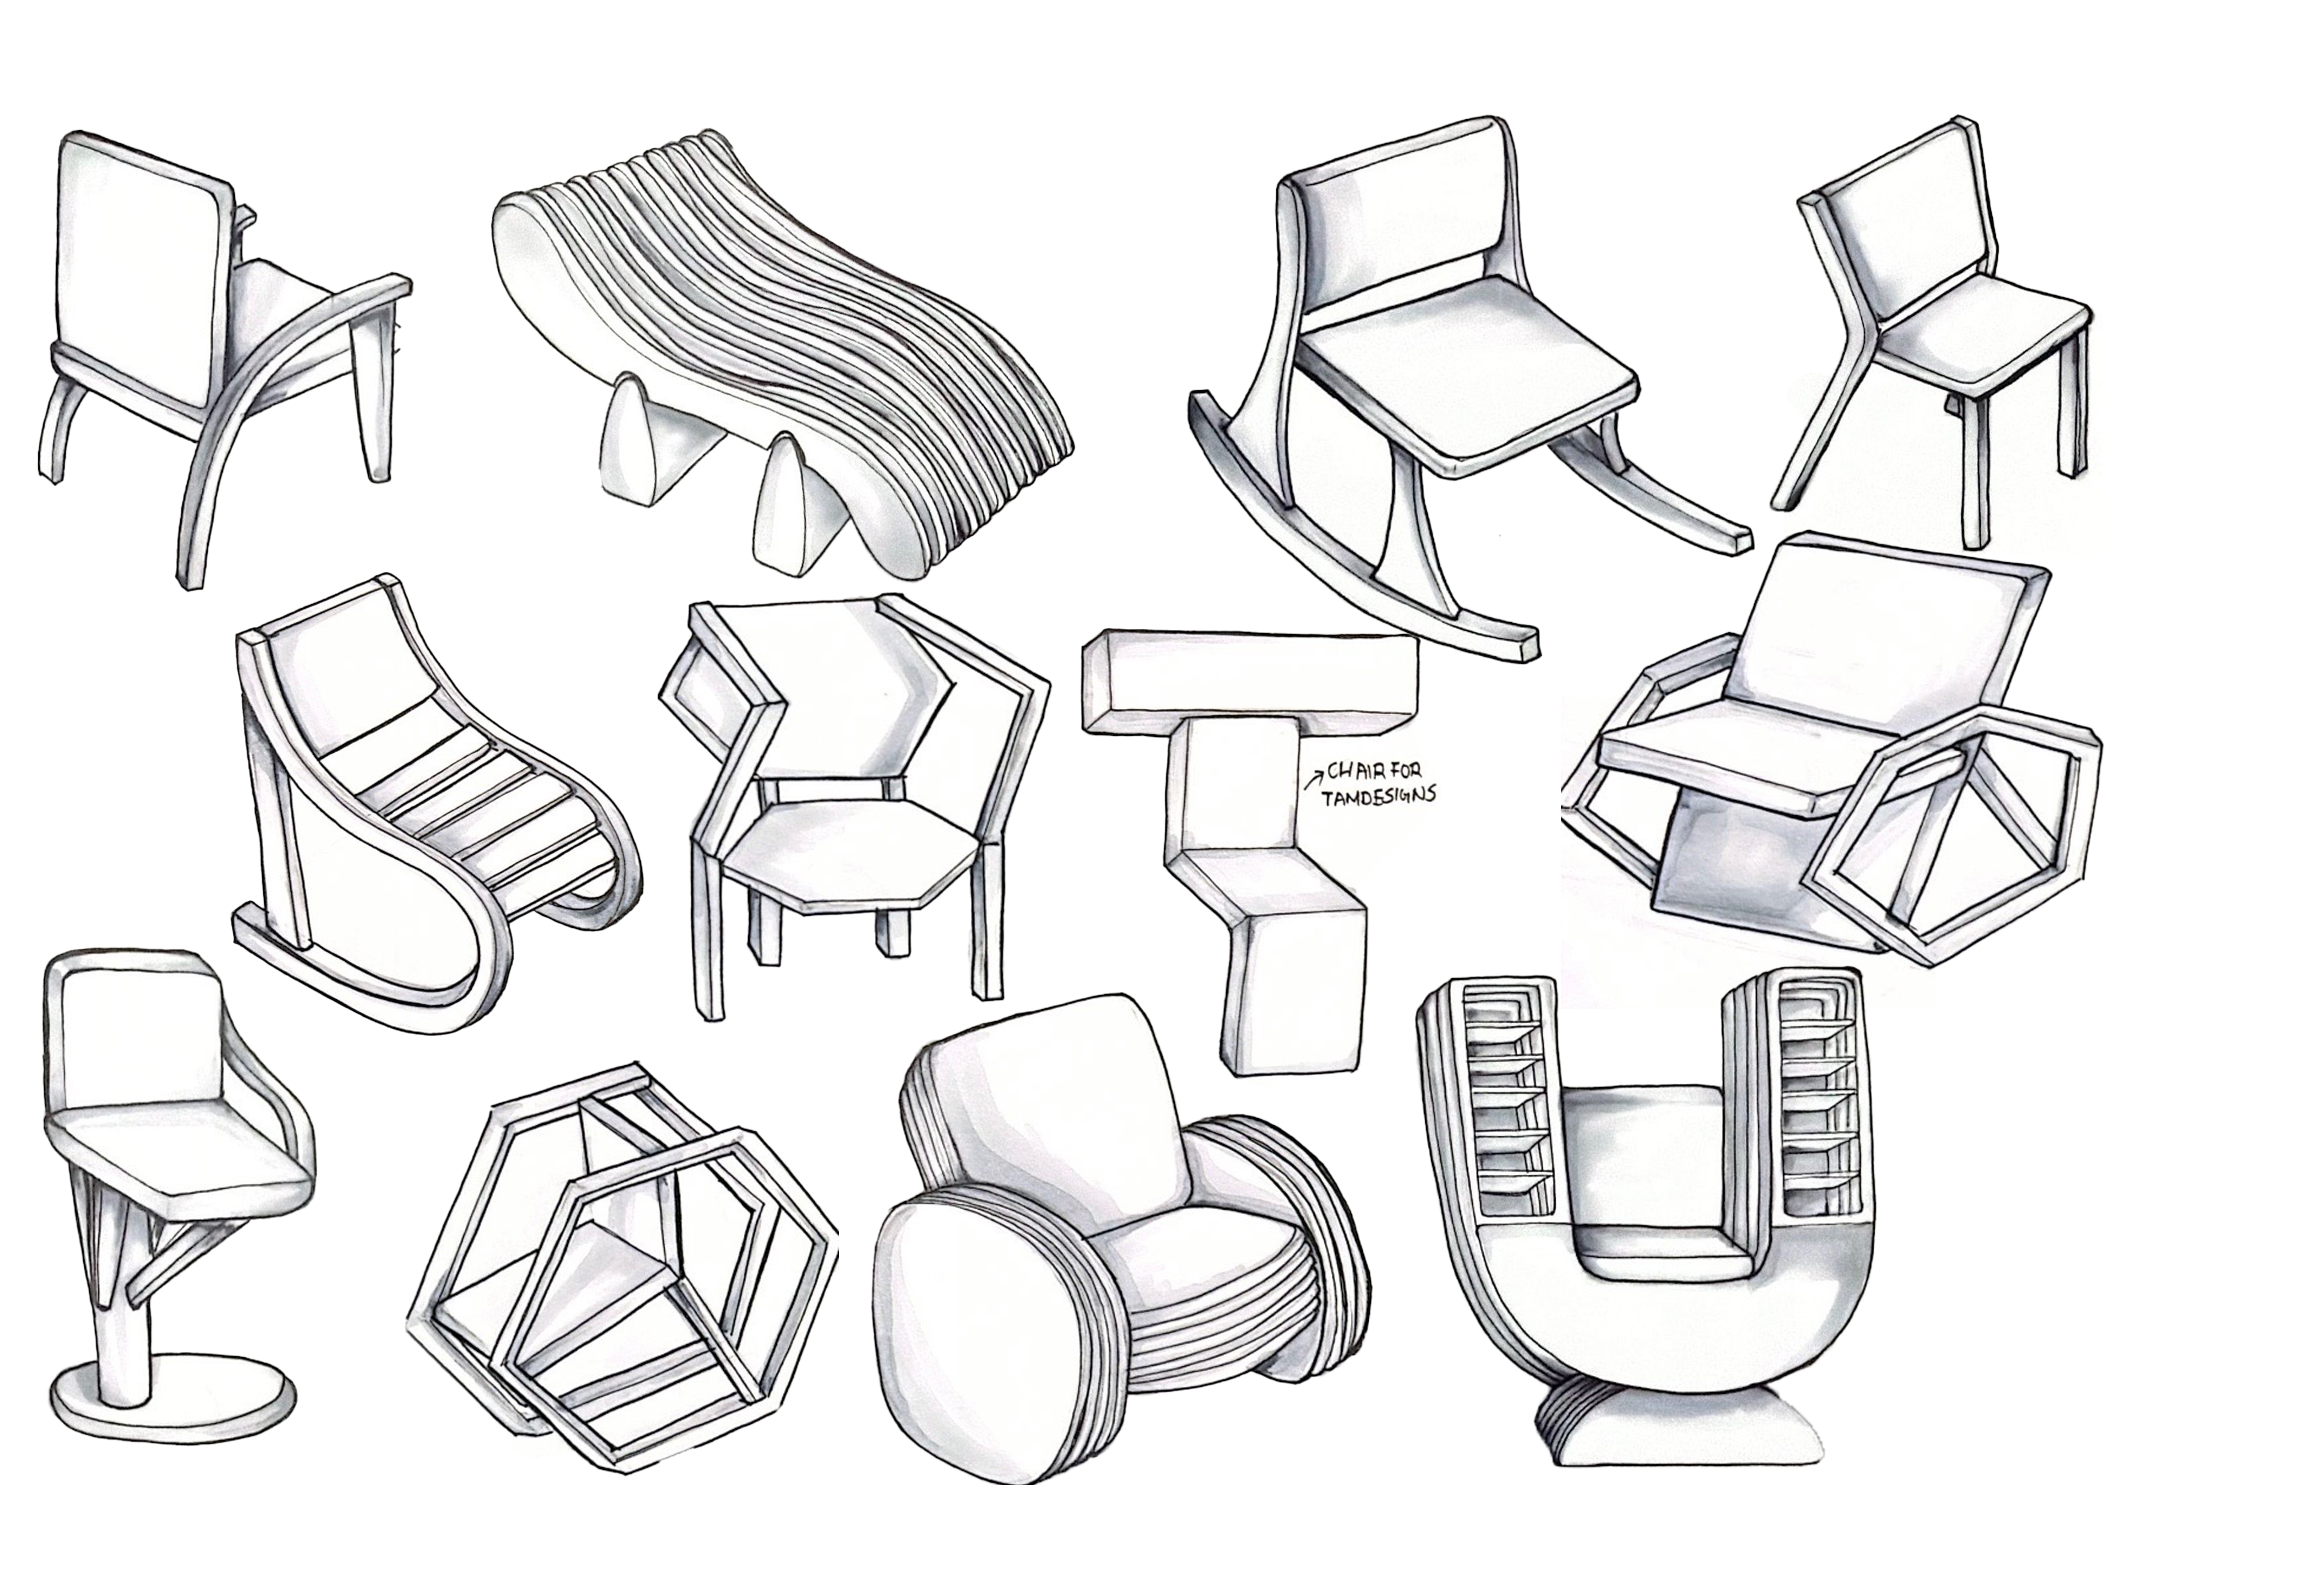
24 concepts sketches
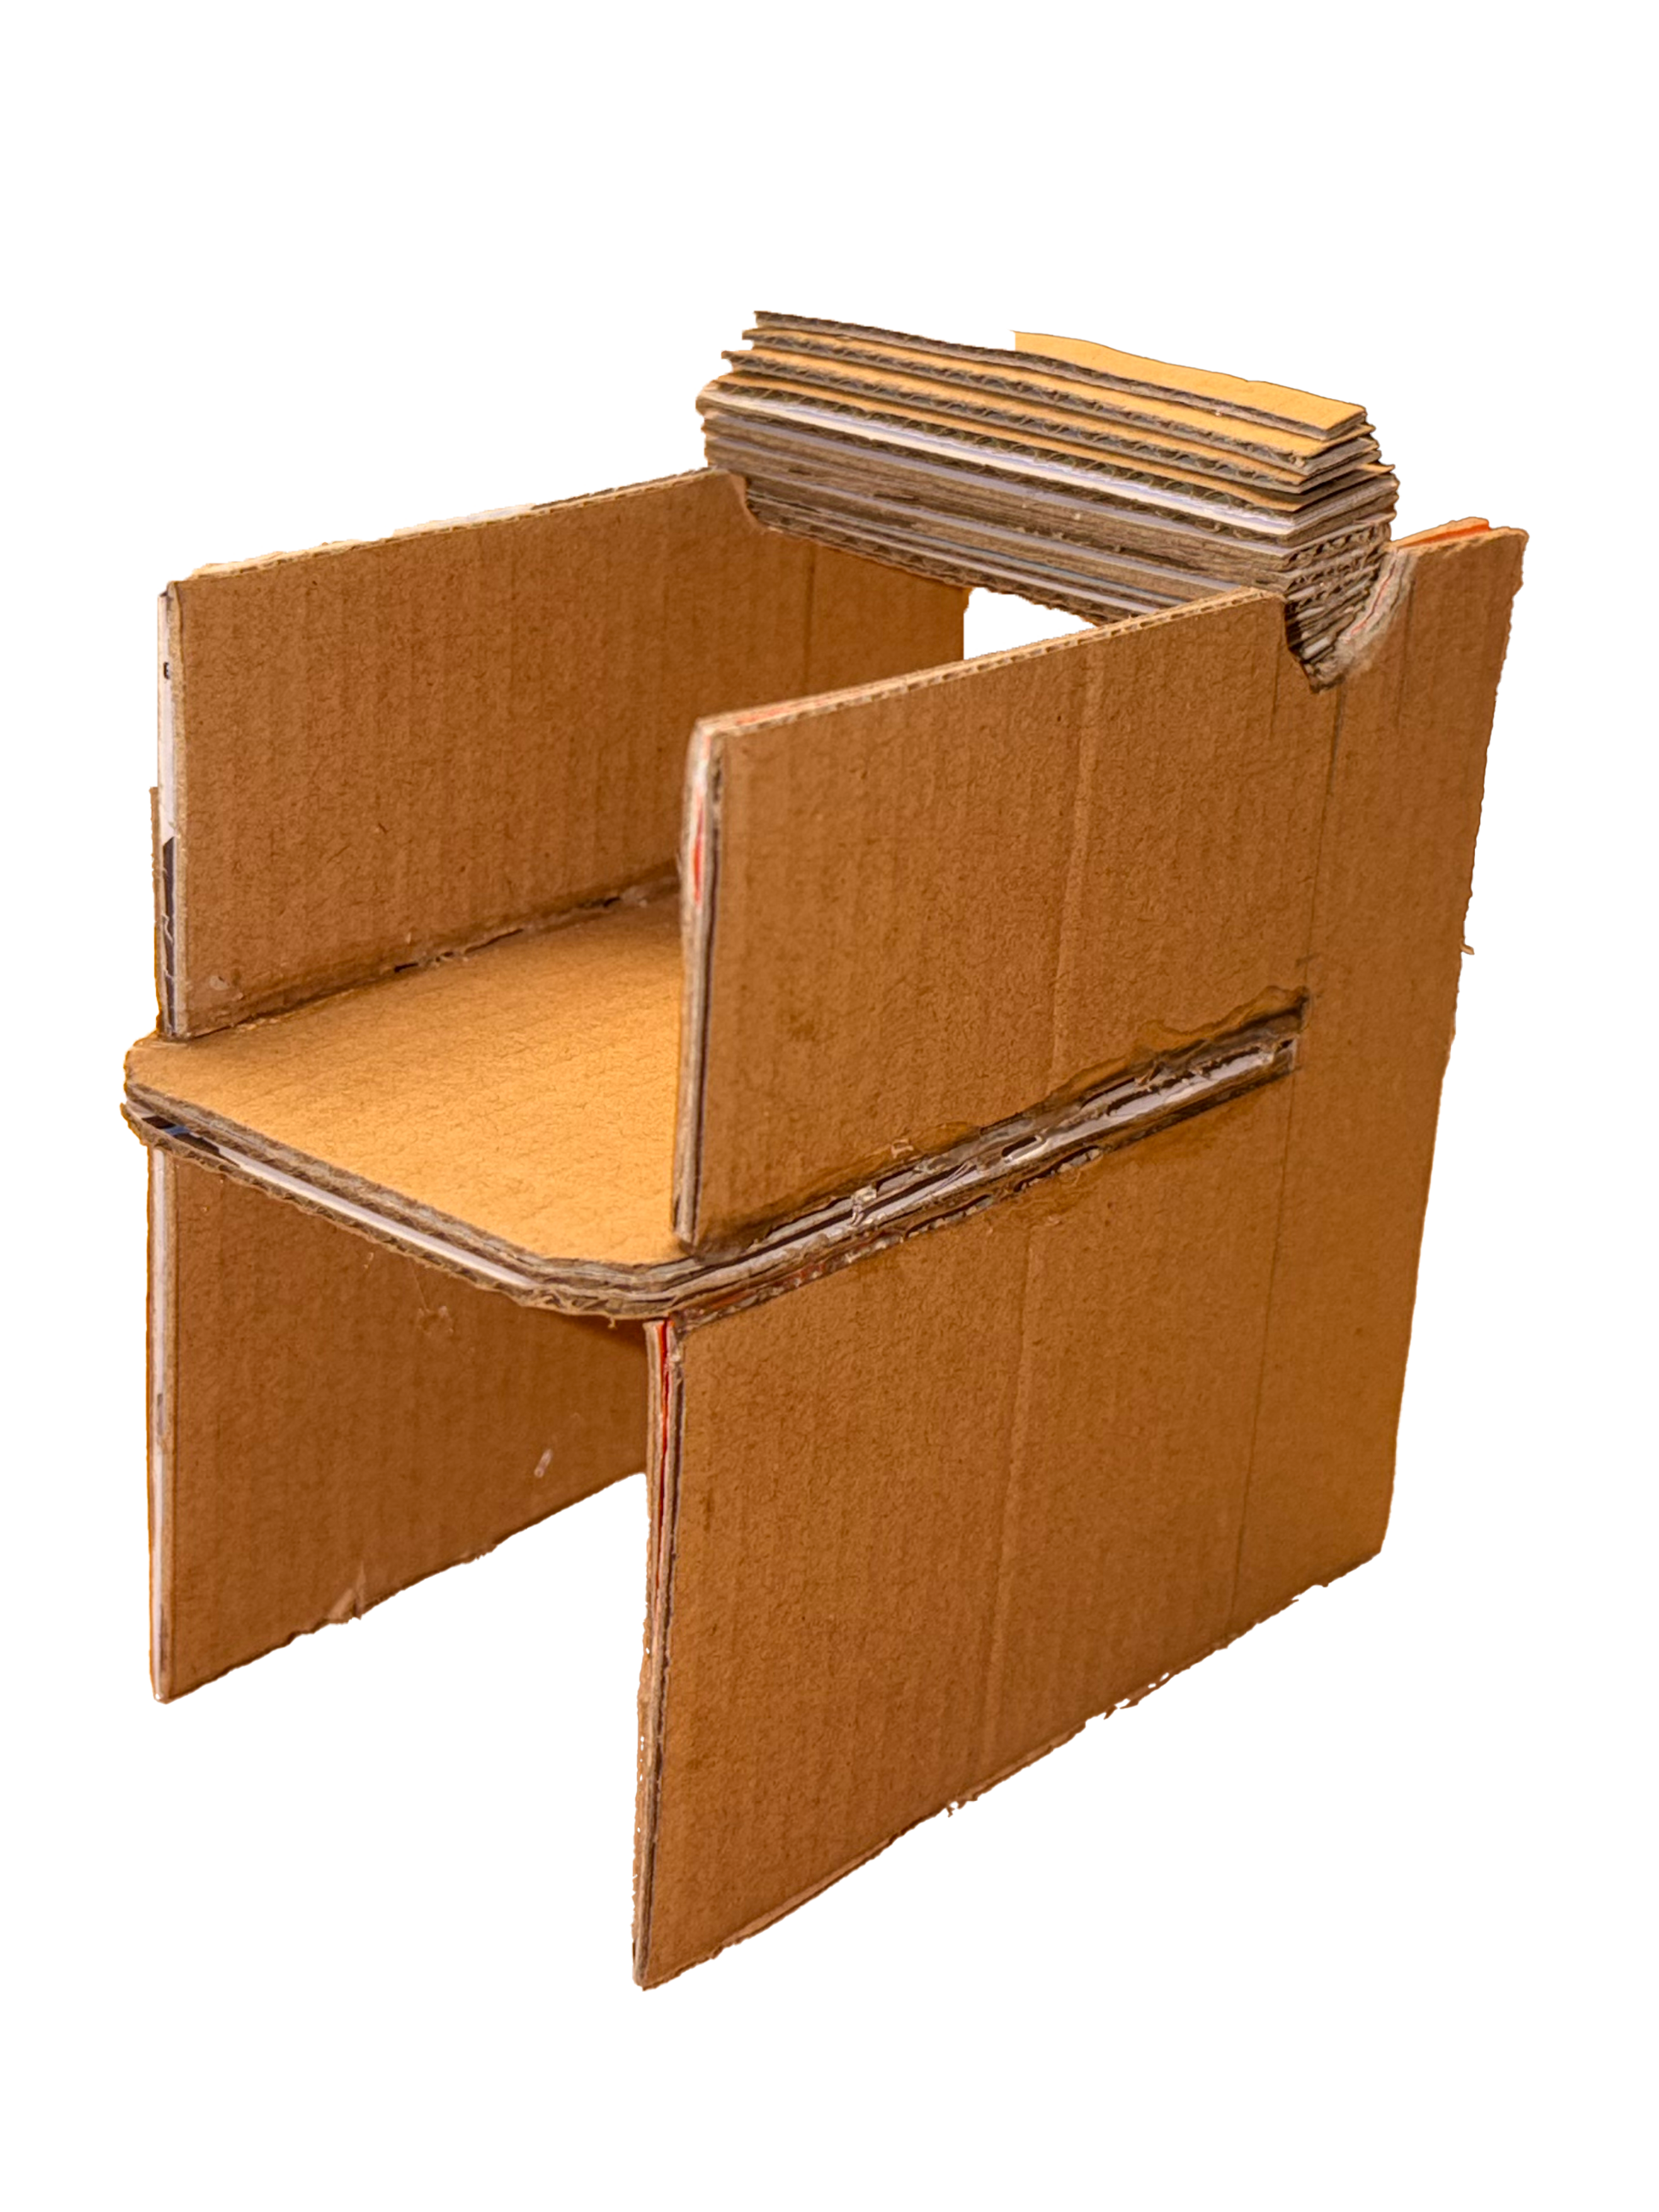
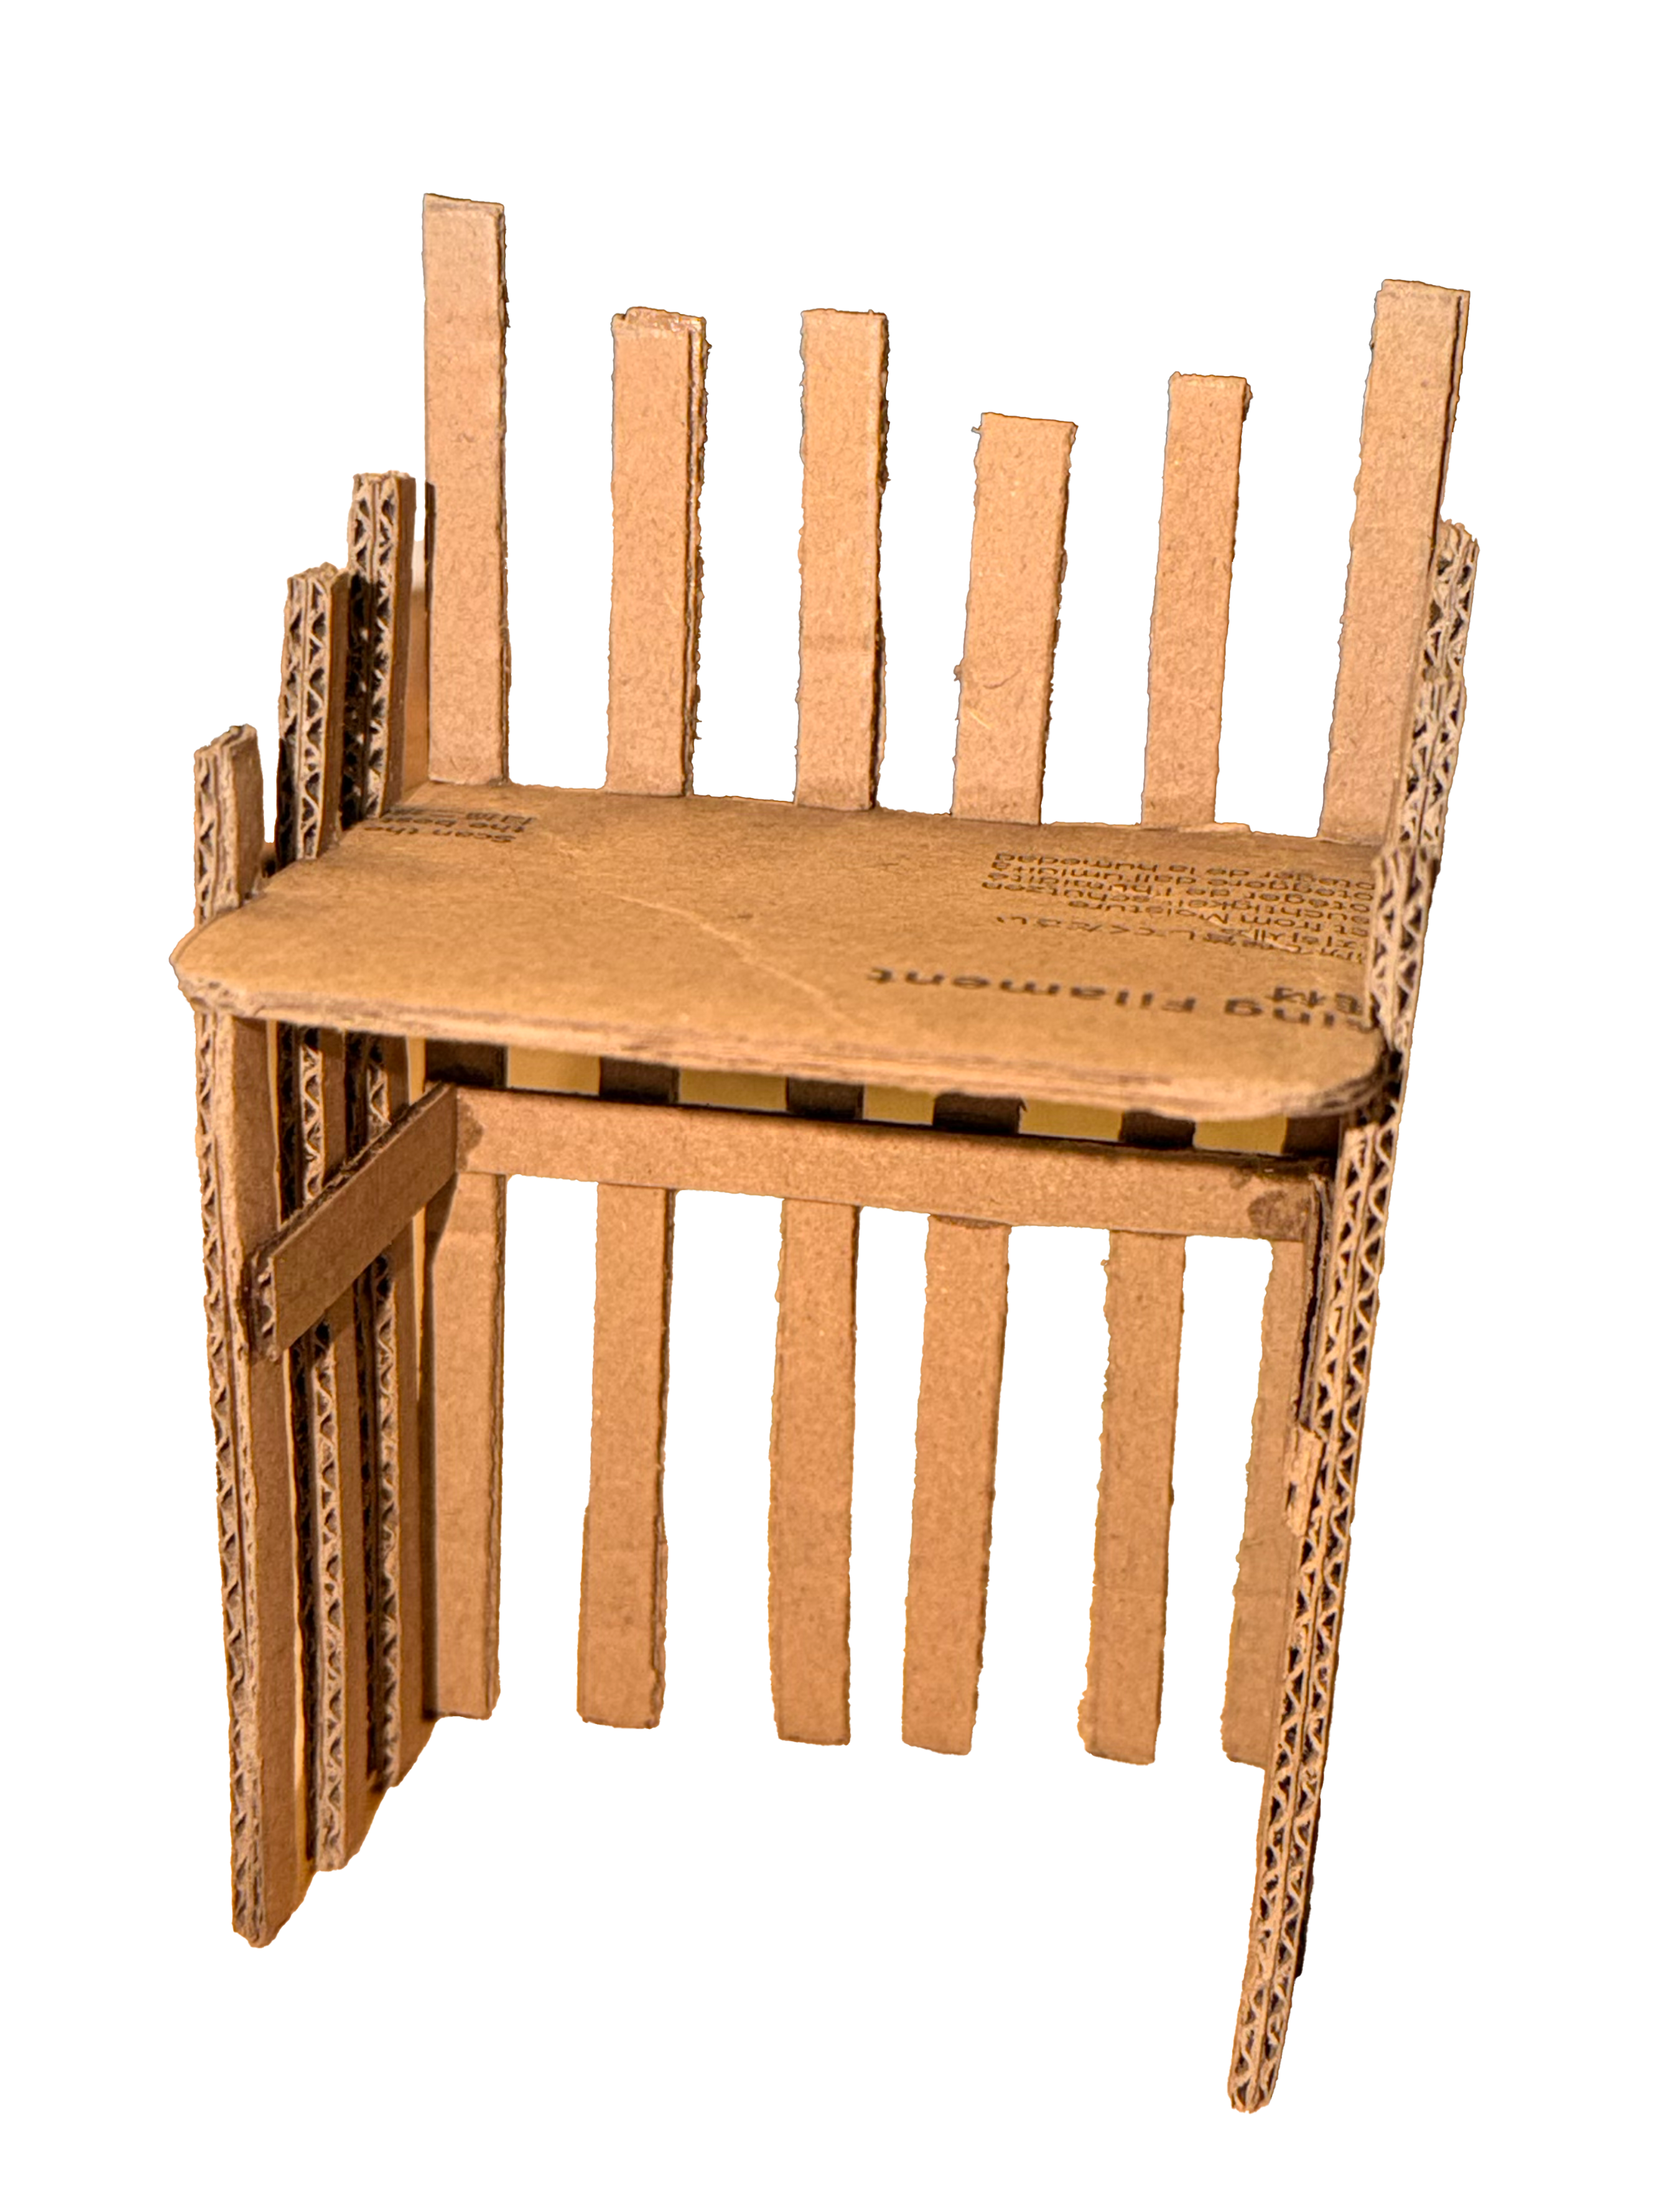
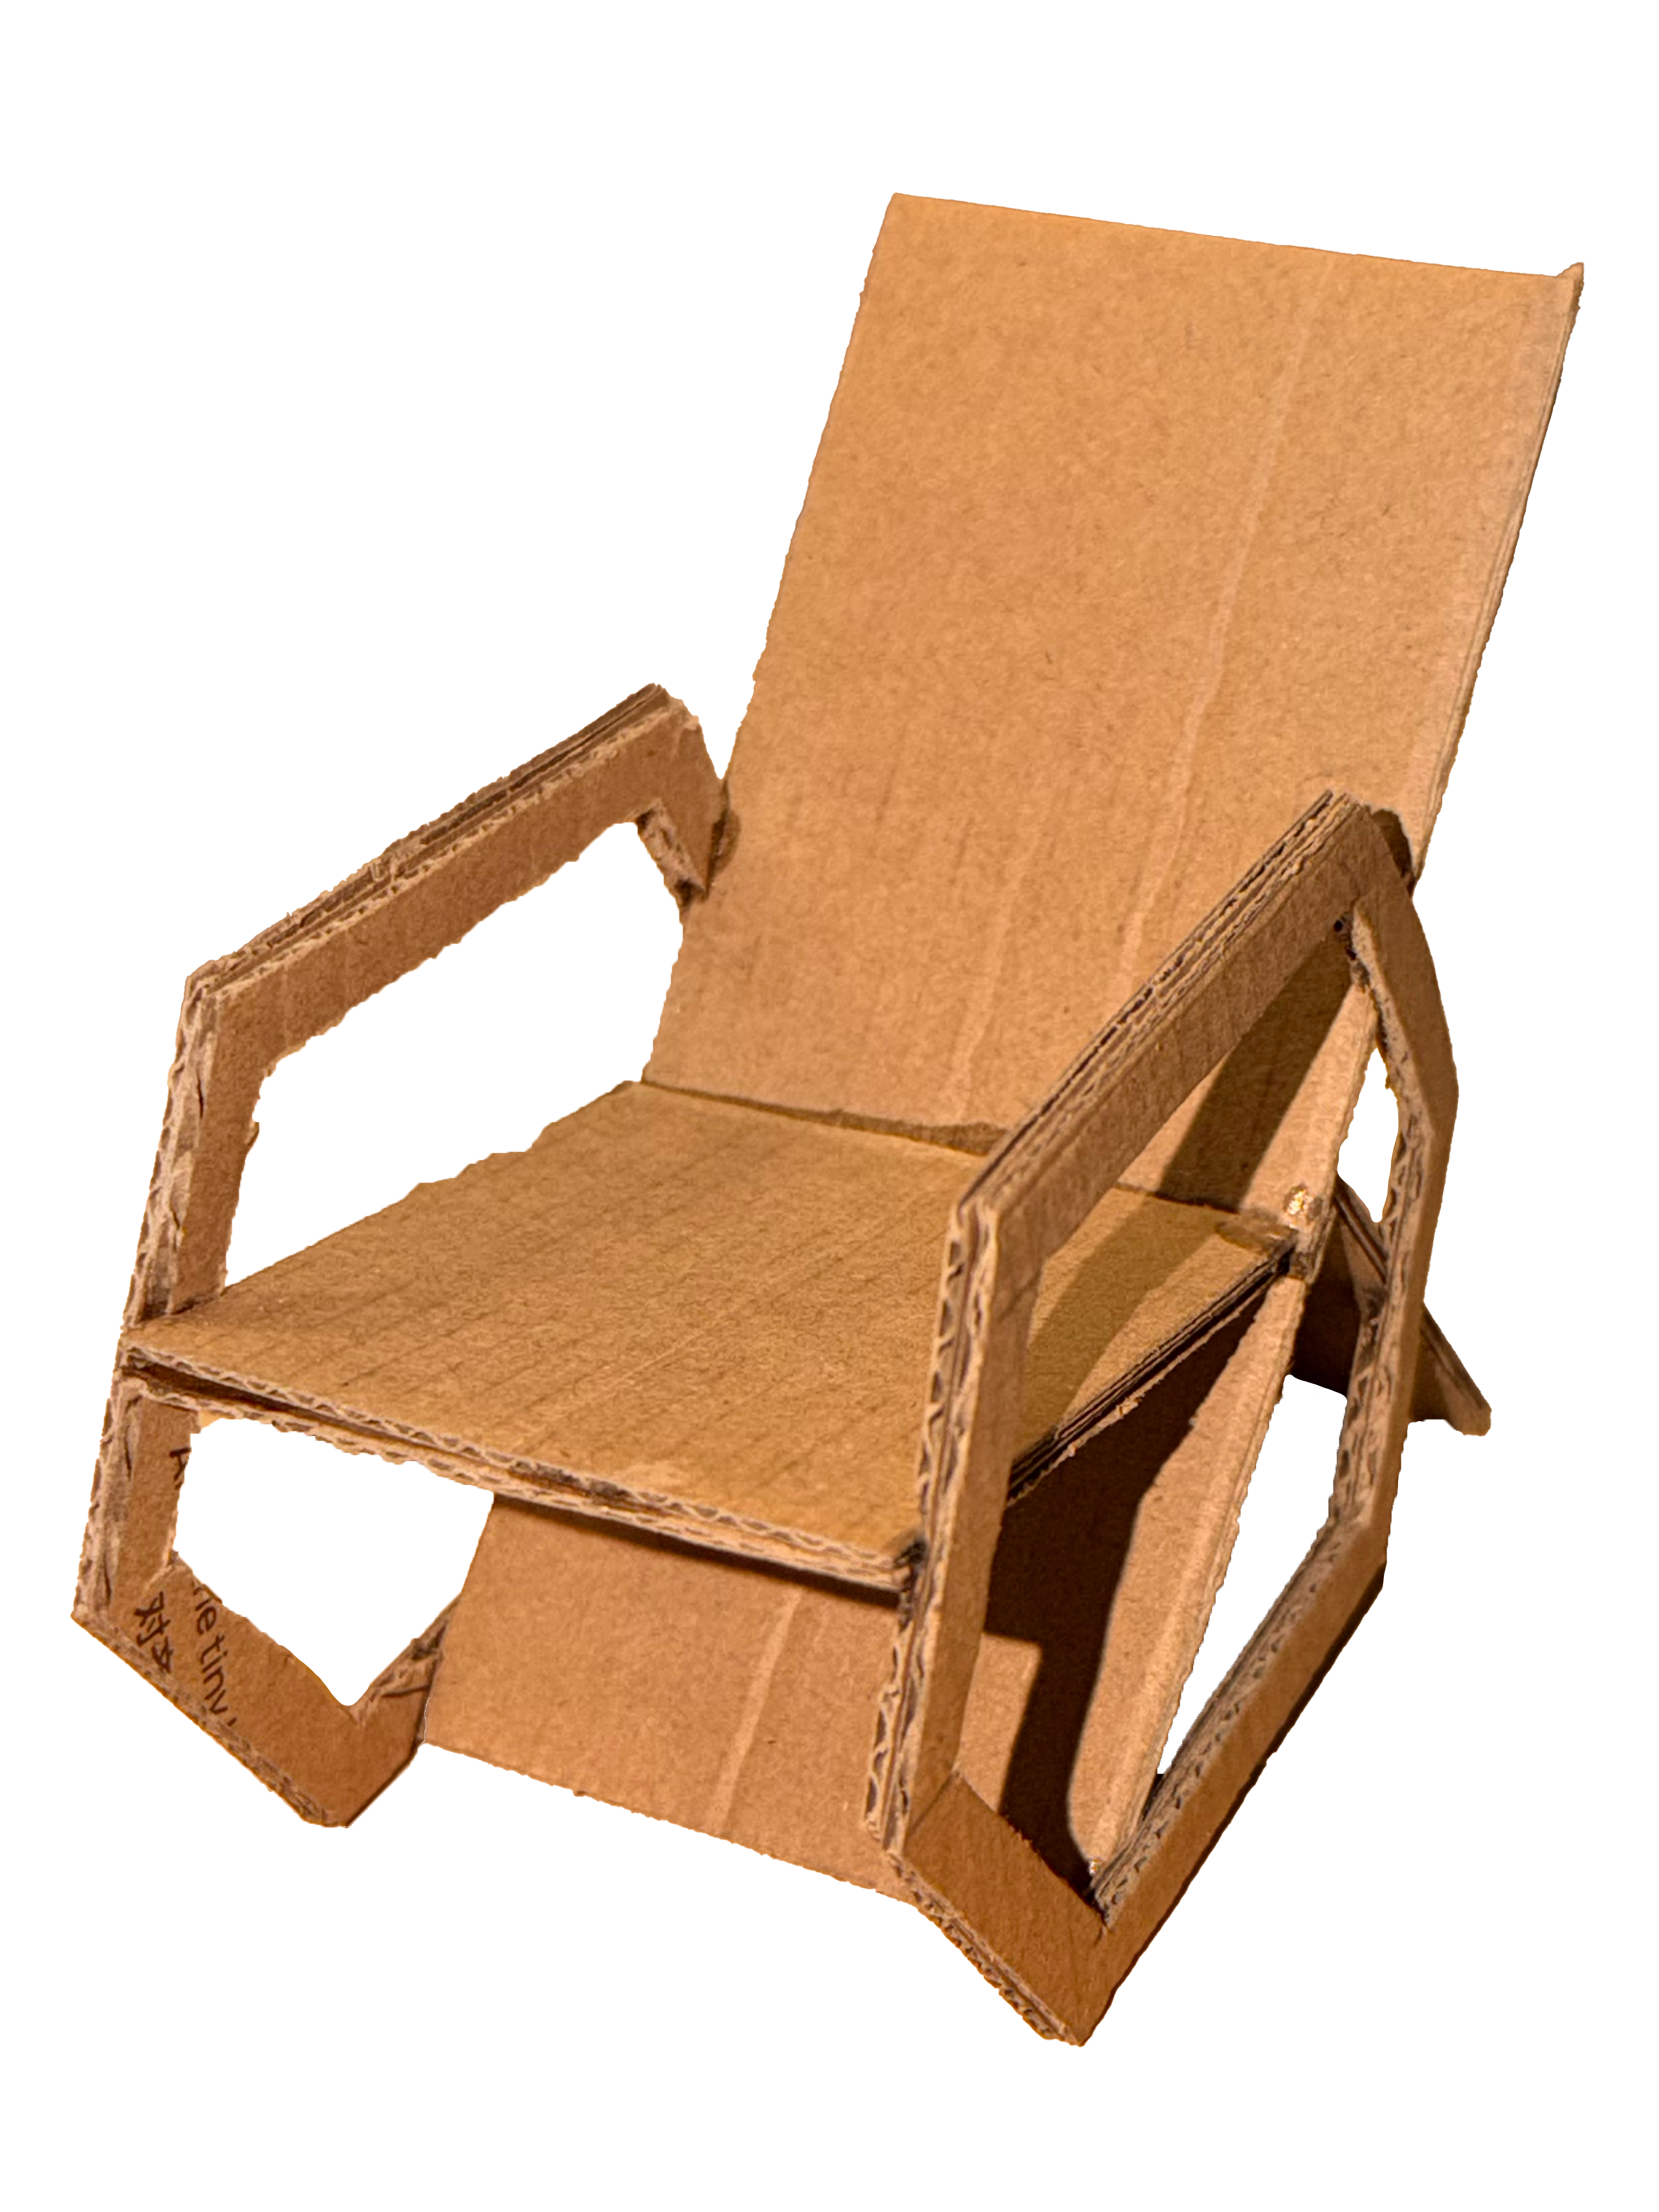
Before touching the CNC file, I built three 1:6 scale cardboard models. The material was intentional — cardboard is honest about structure in a way foam and clay are not. If a joint doesn’t hold in cardboard, it won’t hold in plywood.
Sofa chair - CNC compatible form
Flat panel — assymetrical stacked arm cap
Hexagonal arm lounge — closest to final direction
“Cardboard is the most honest prototyping material.”
Process note, Week 3With the hexagonal direction confirmed, I moved to 1:6 3D-printed scale models. Four iterations over two weeks — each one addressing a specific structural or manufacturing problem discovered in the previous version.
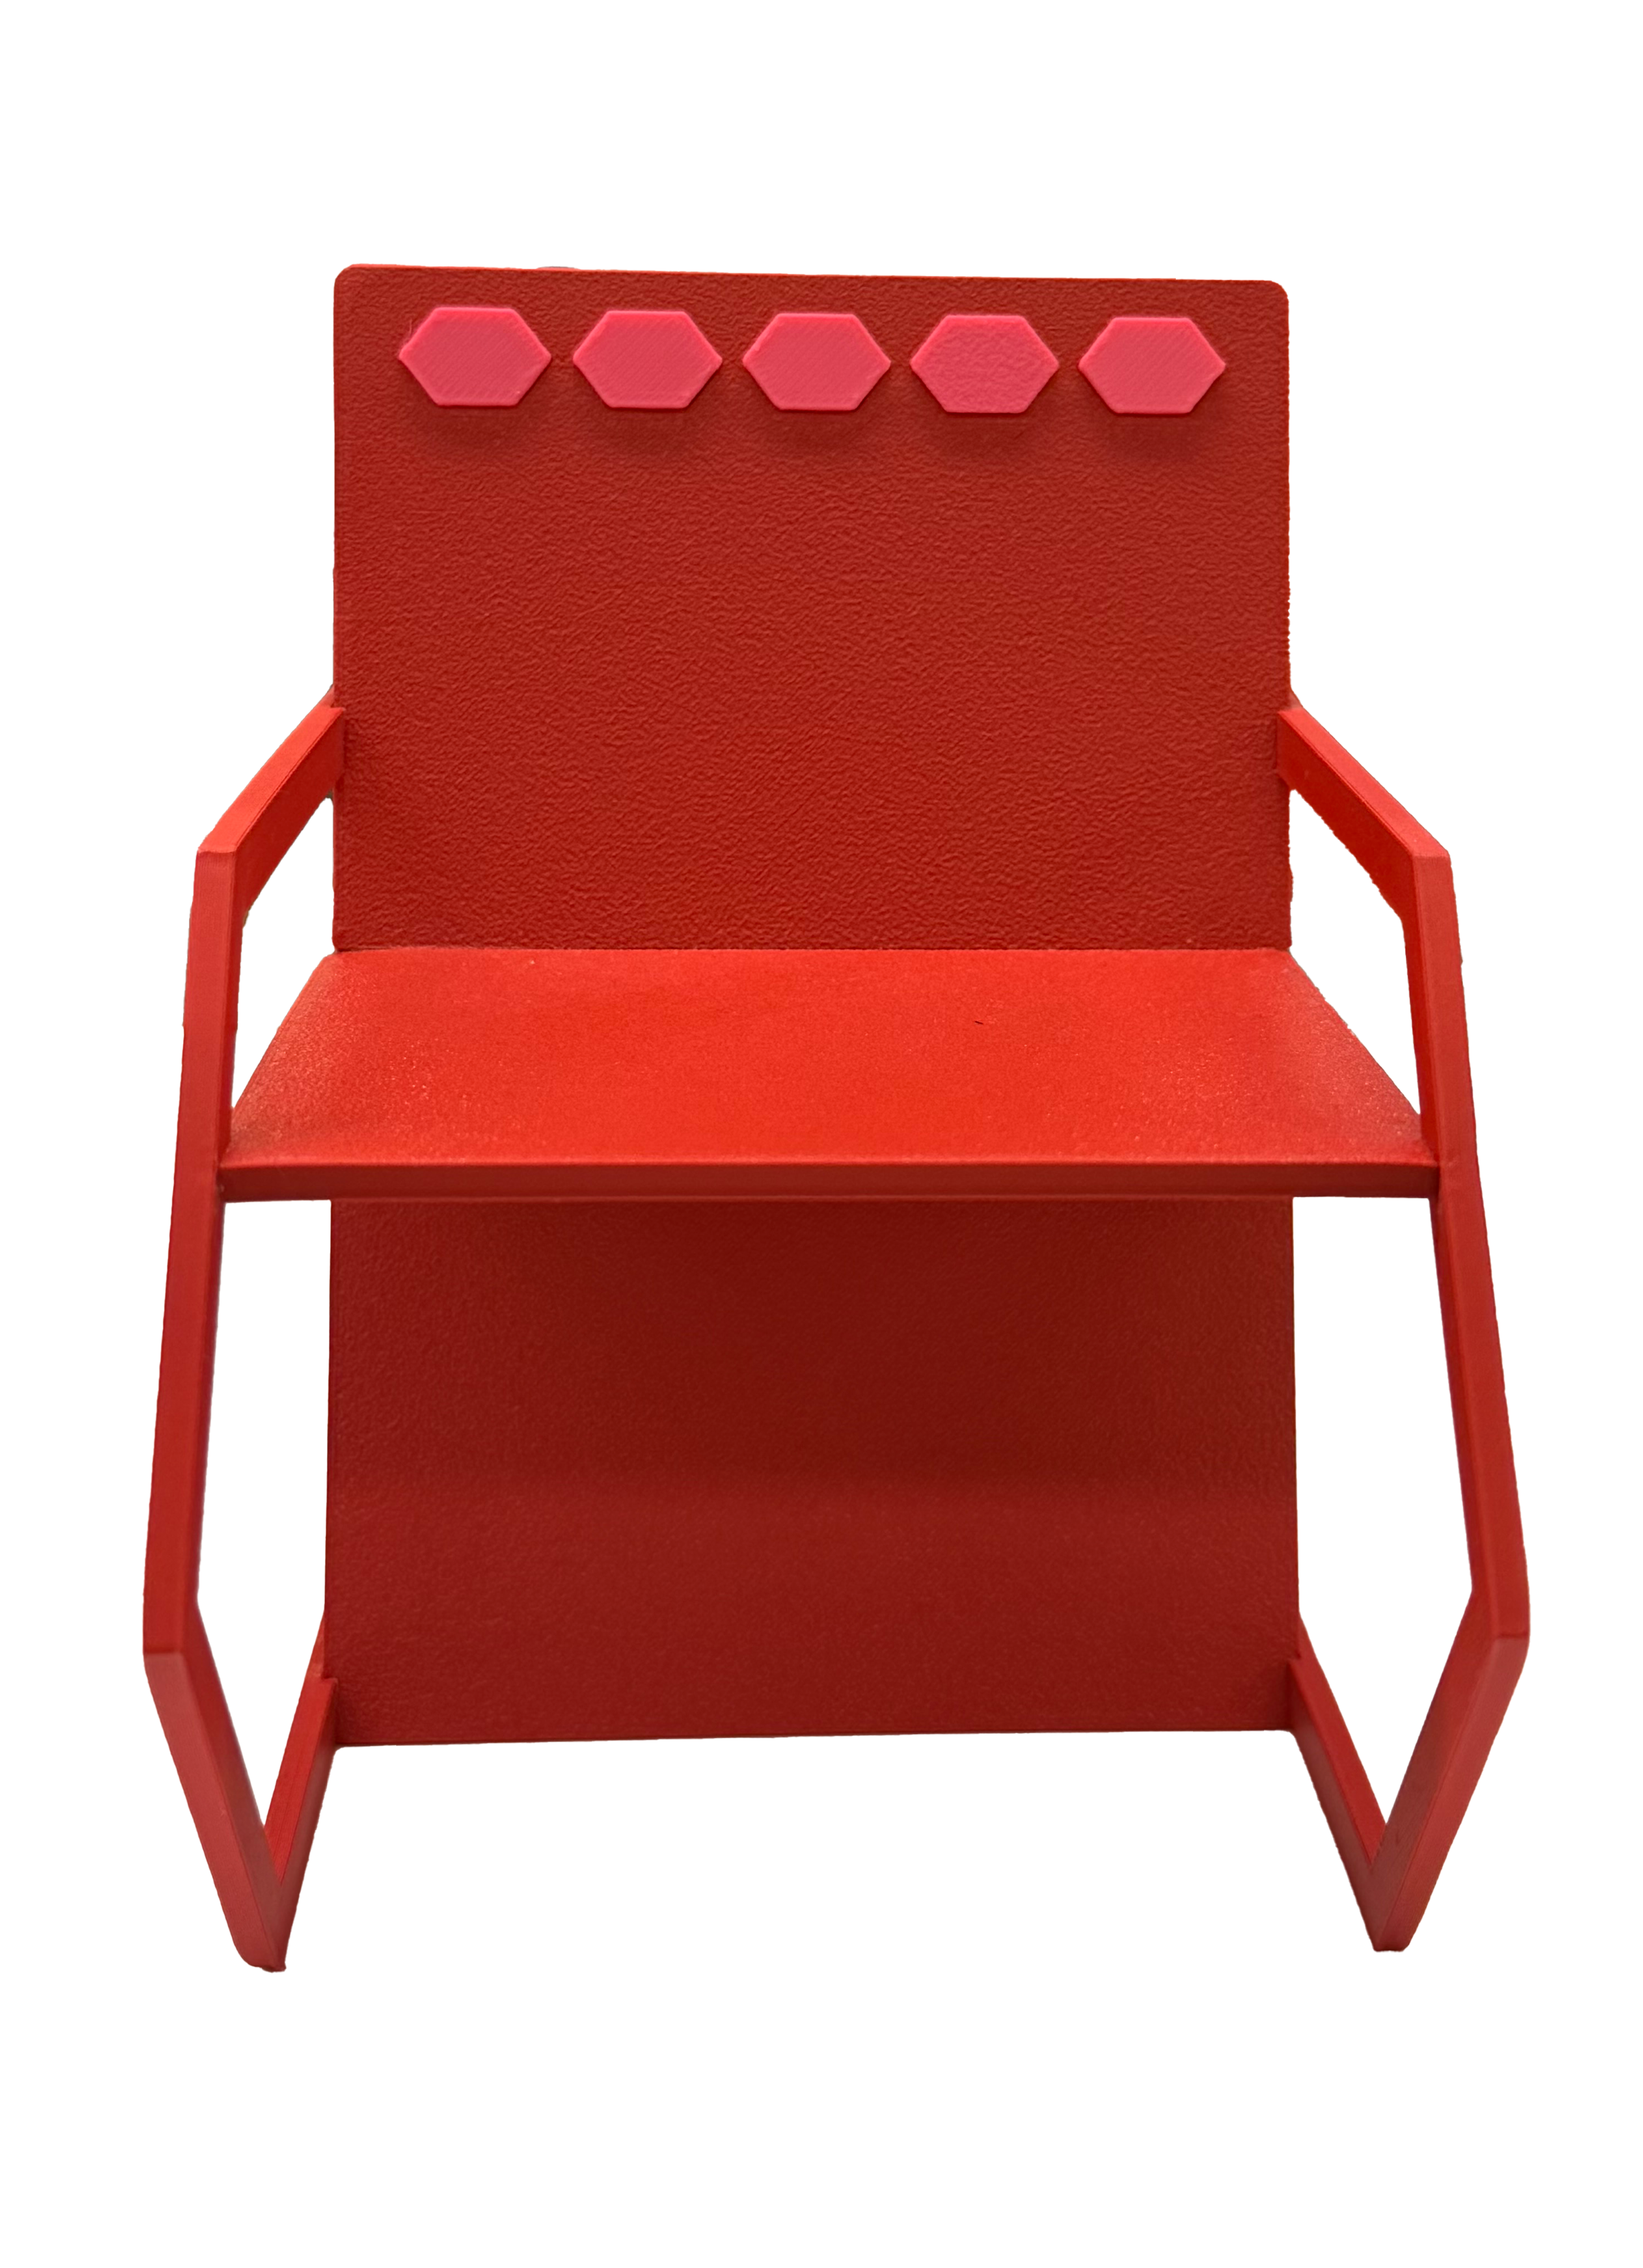
Original direction with a dramatically reclined seat panel. Visually strong. Structurally a problem, a CNC flatbed can’t cut a compound-angled panel in a single flat pass.
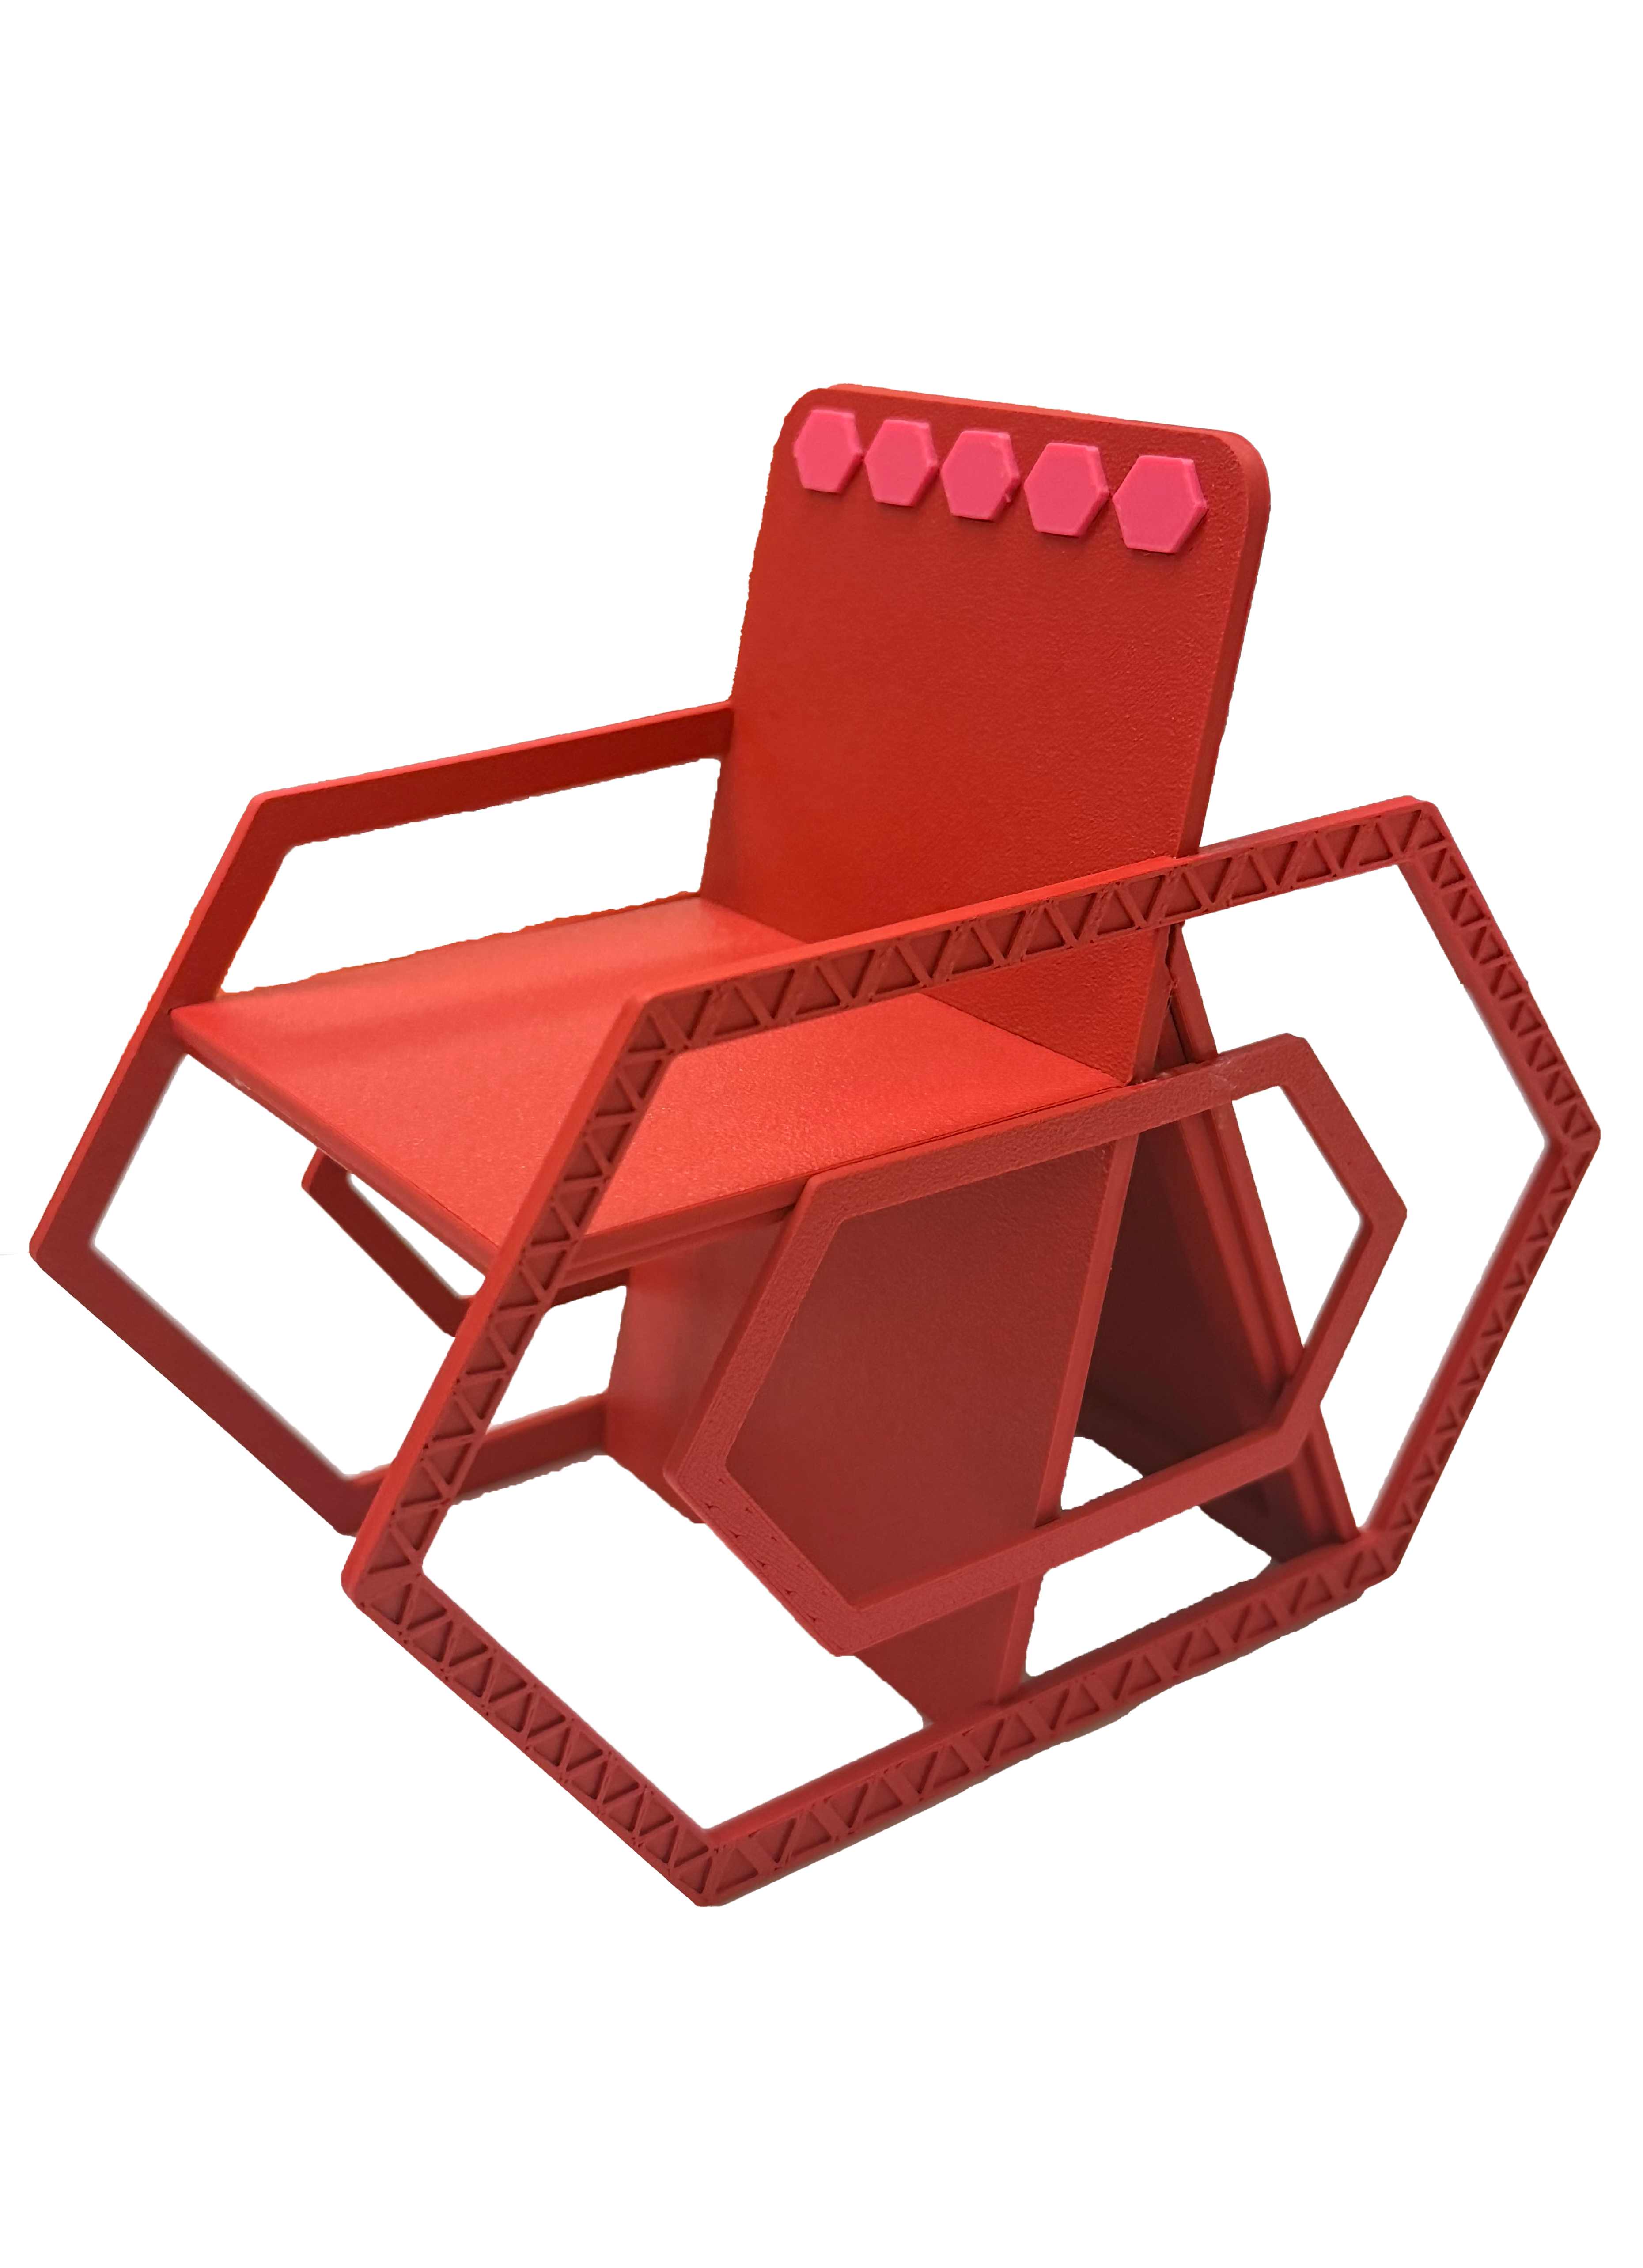
More hexagon cutouts. Interesting idea, but too much competing detail. The chair needed to feel simple. Solved the CNC angle problem. Back arms took too much space.
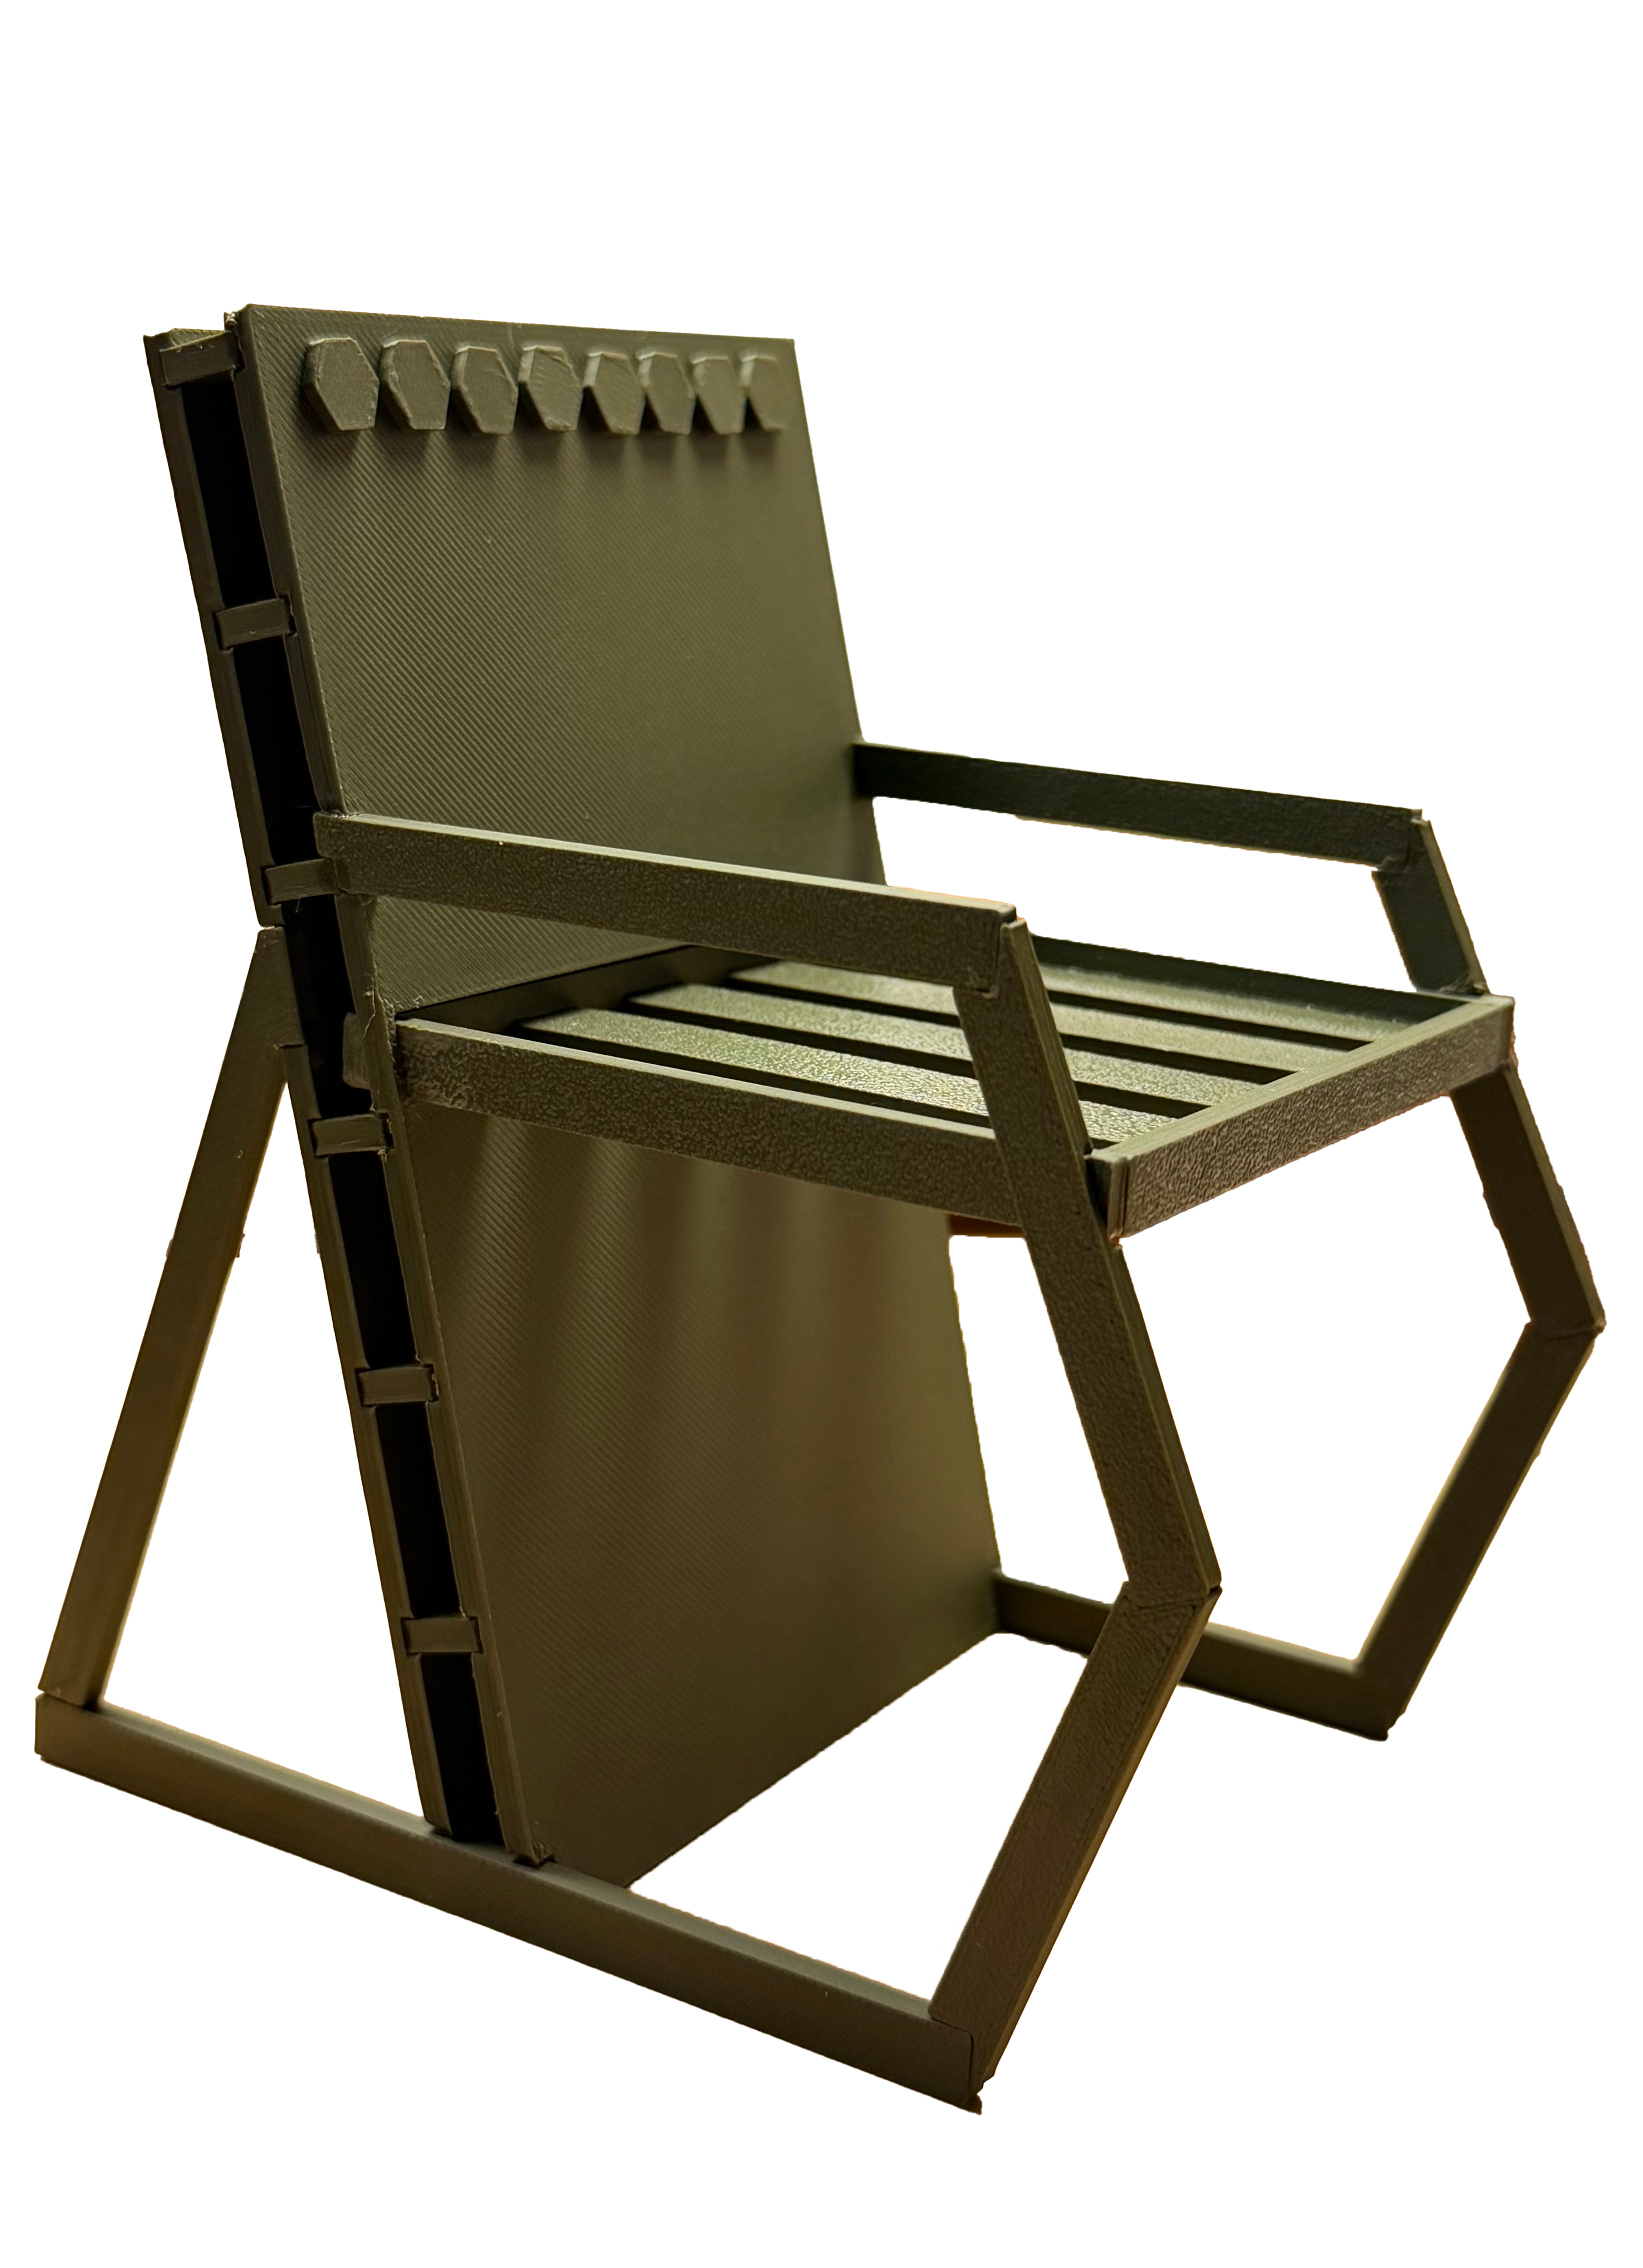
Solid panels replaced with slats to reduce material weight, back hexagon was cut. However the arms could split laterally, and the tall back risked tipping the chair.
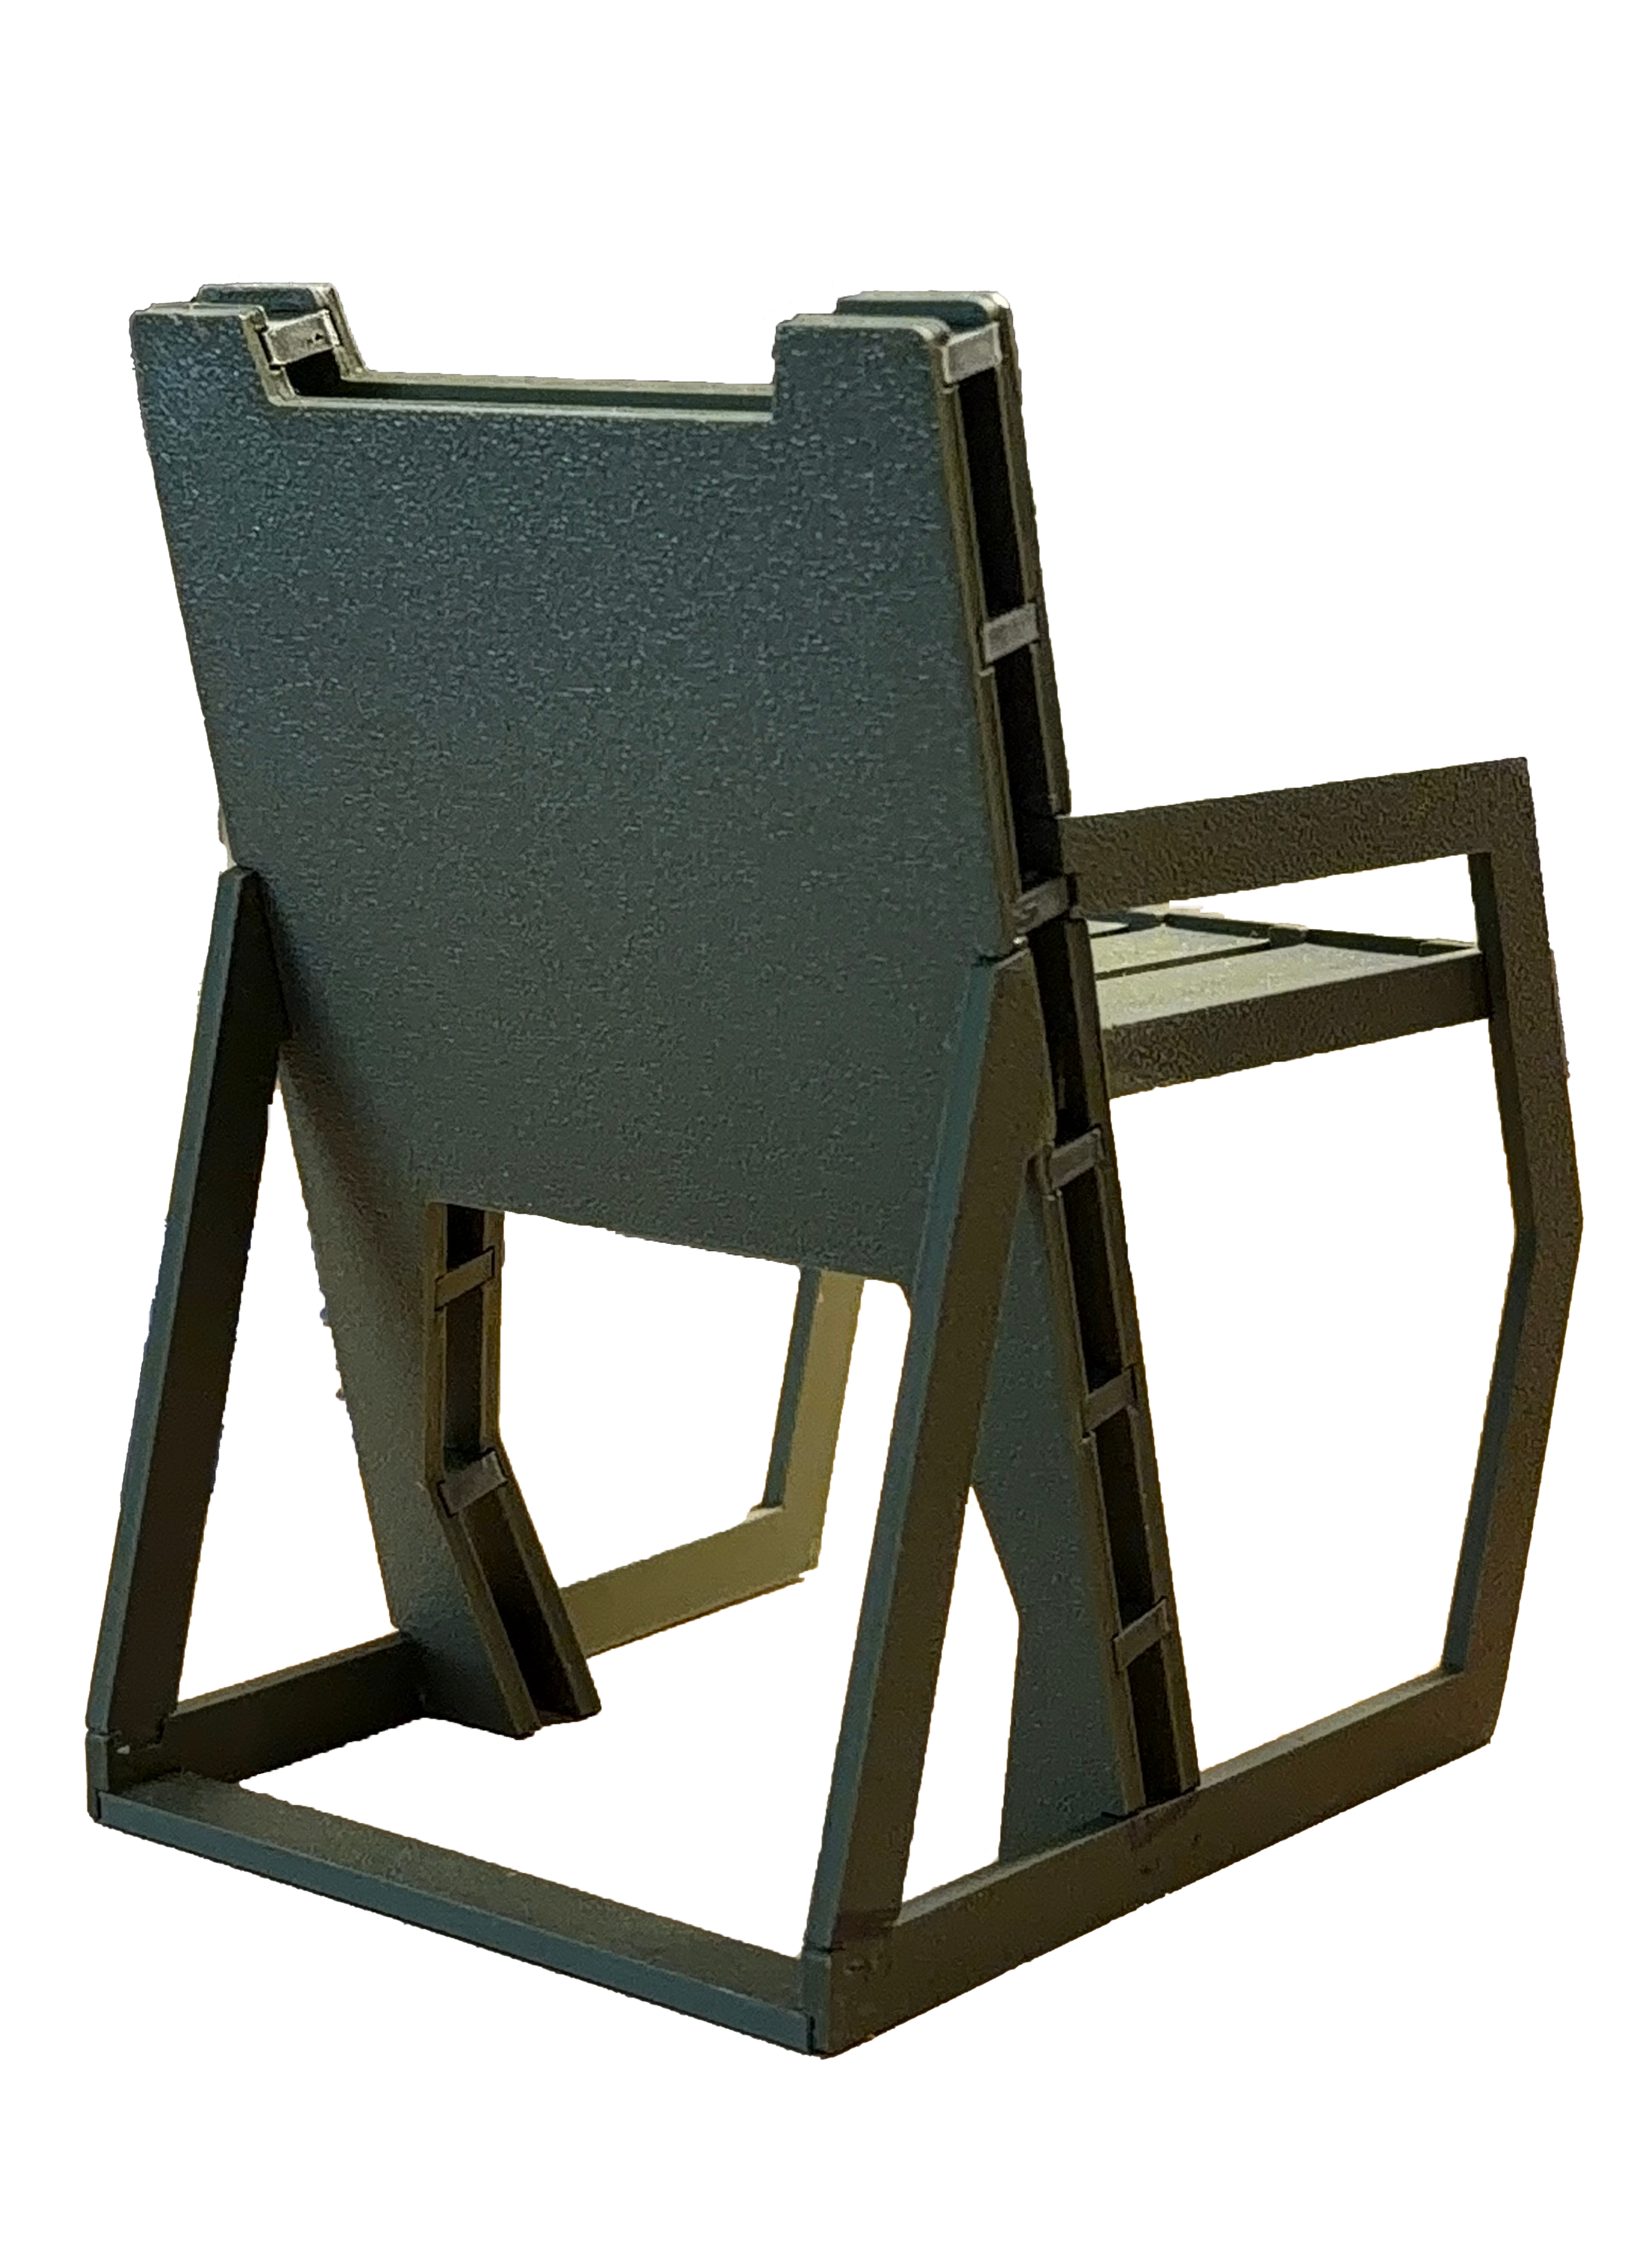
Brace added to the back stop arm split. Large middle piece with angled cutouts at top and bottom for weight reduction. Arms angled to match the back support for visual cohesion.
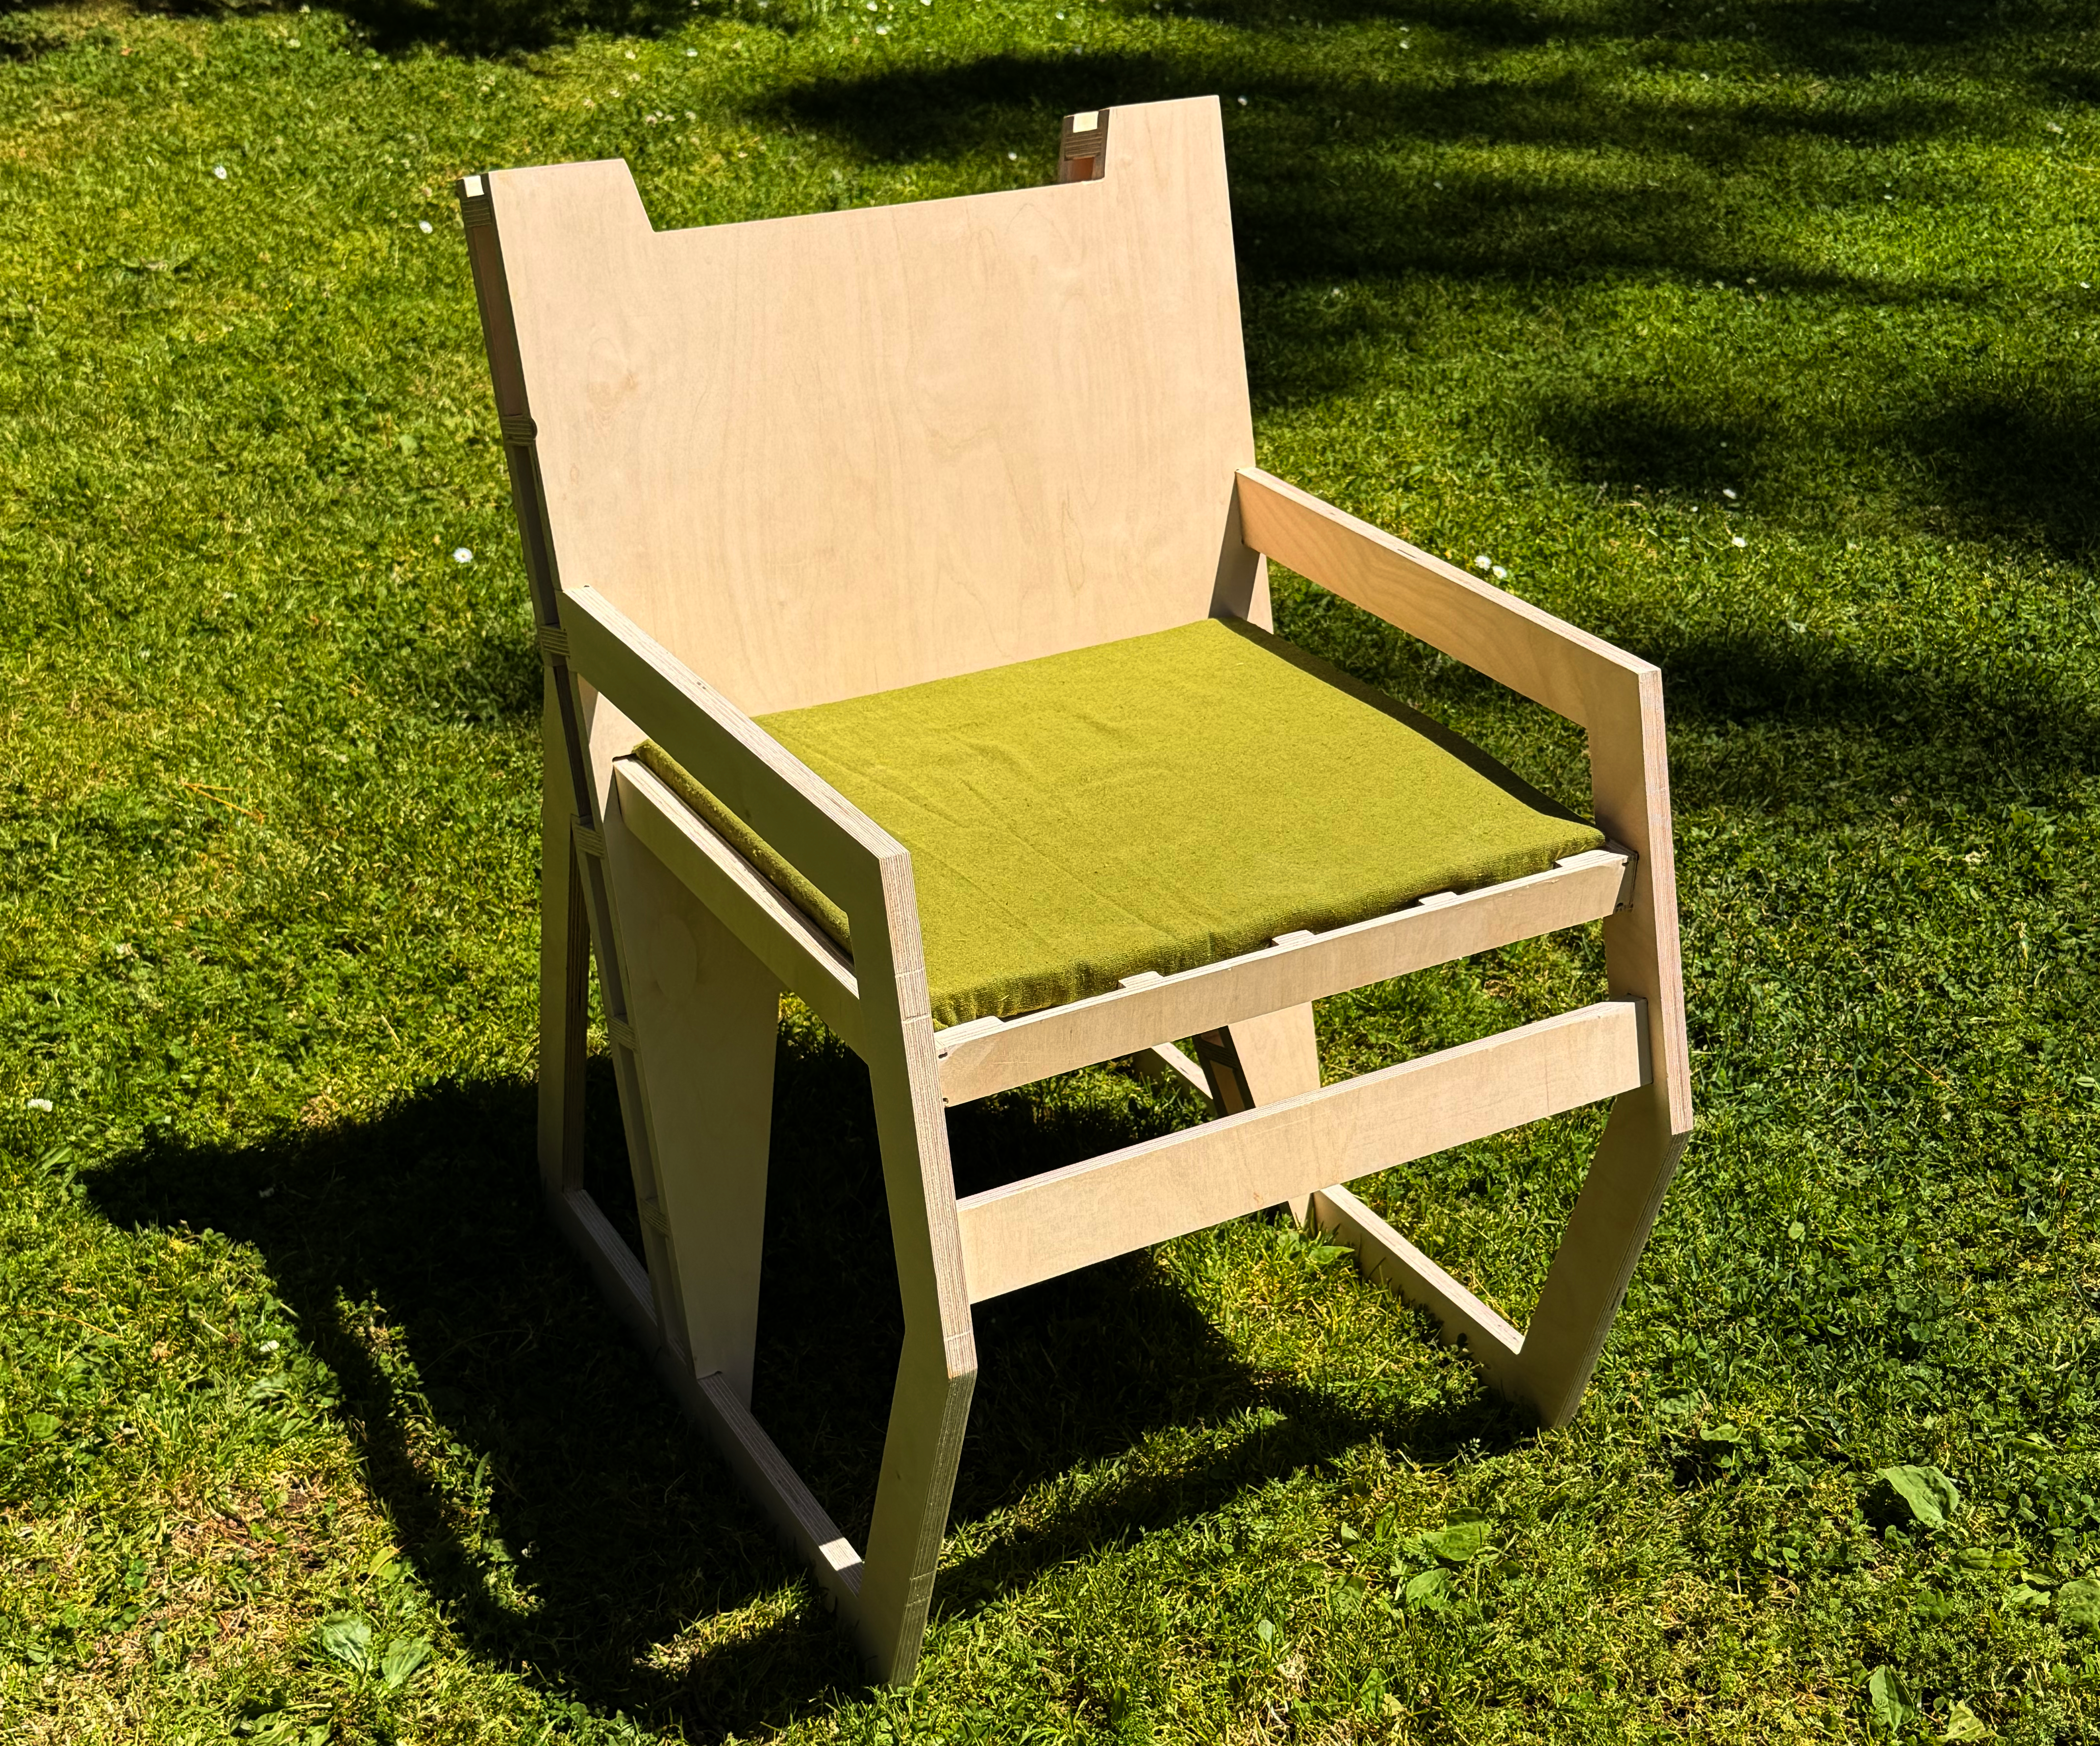
All structural components were nested onto a smooth varnished single ¾″ plywood sheet and cut in one CNC pass. Followed by routing and sanding individual part for that smooth finish.
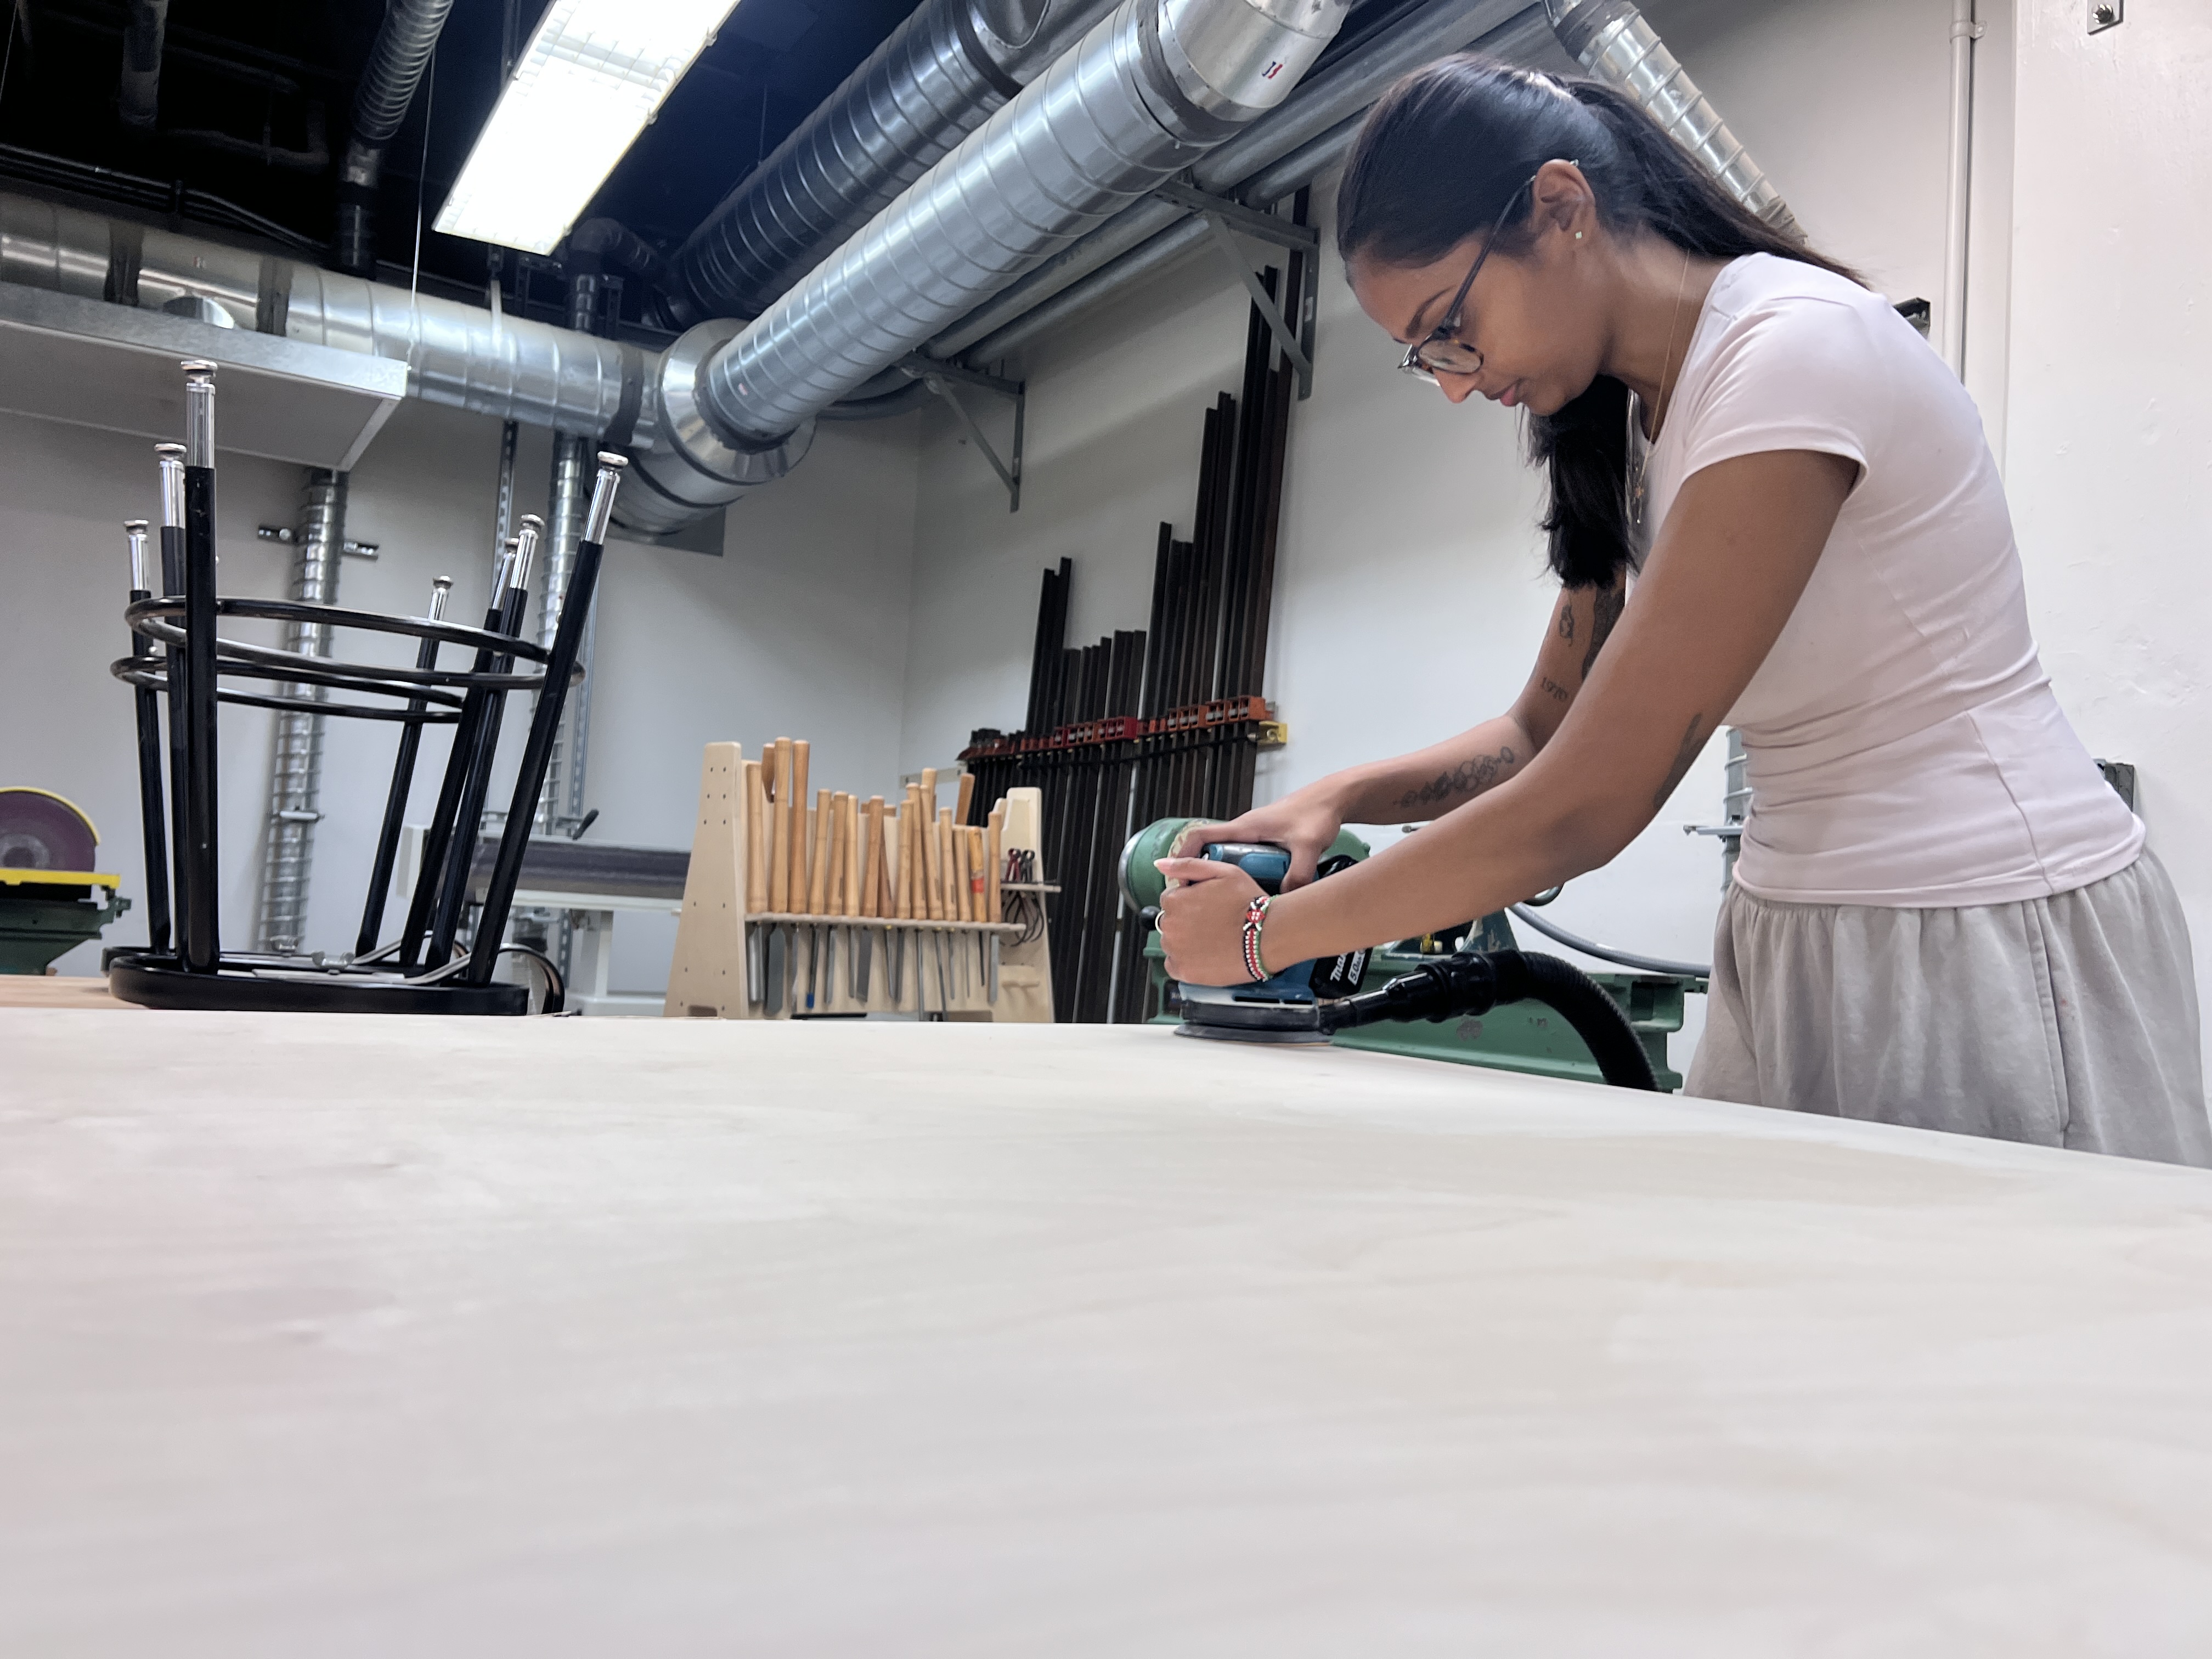
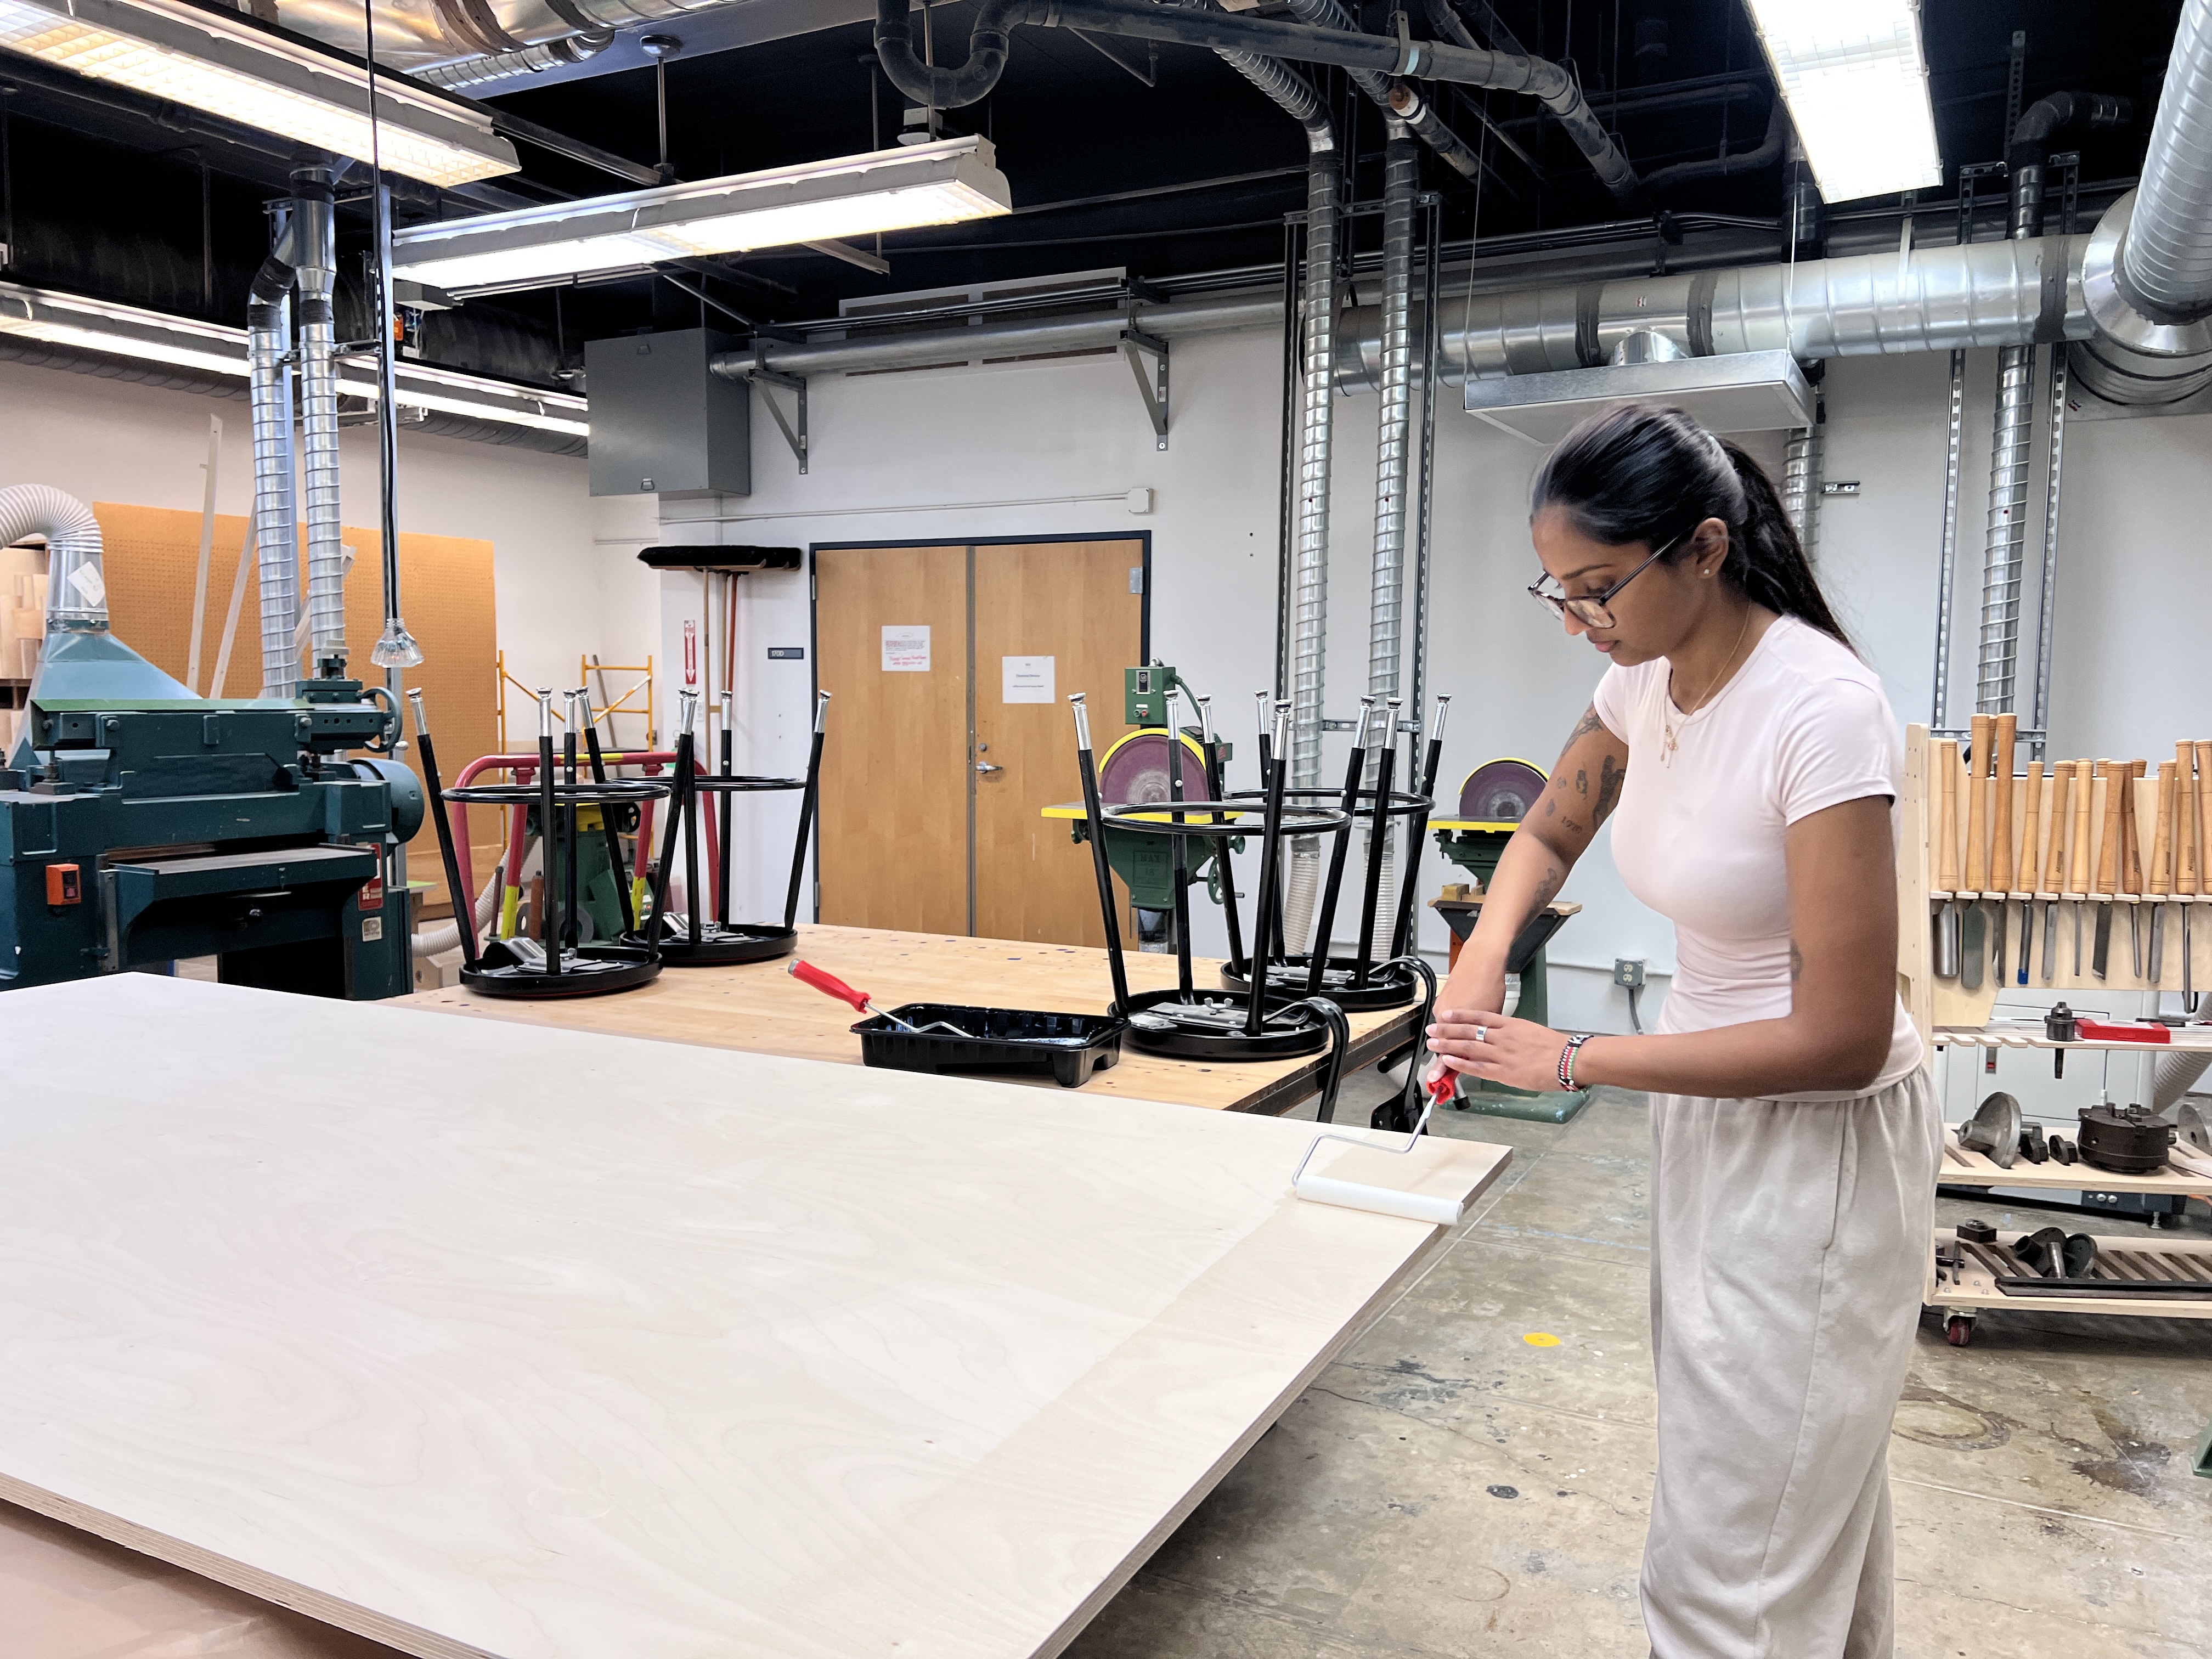
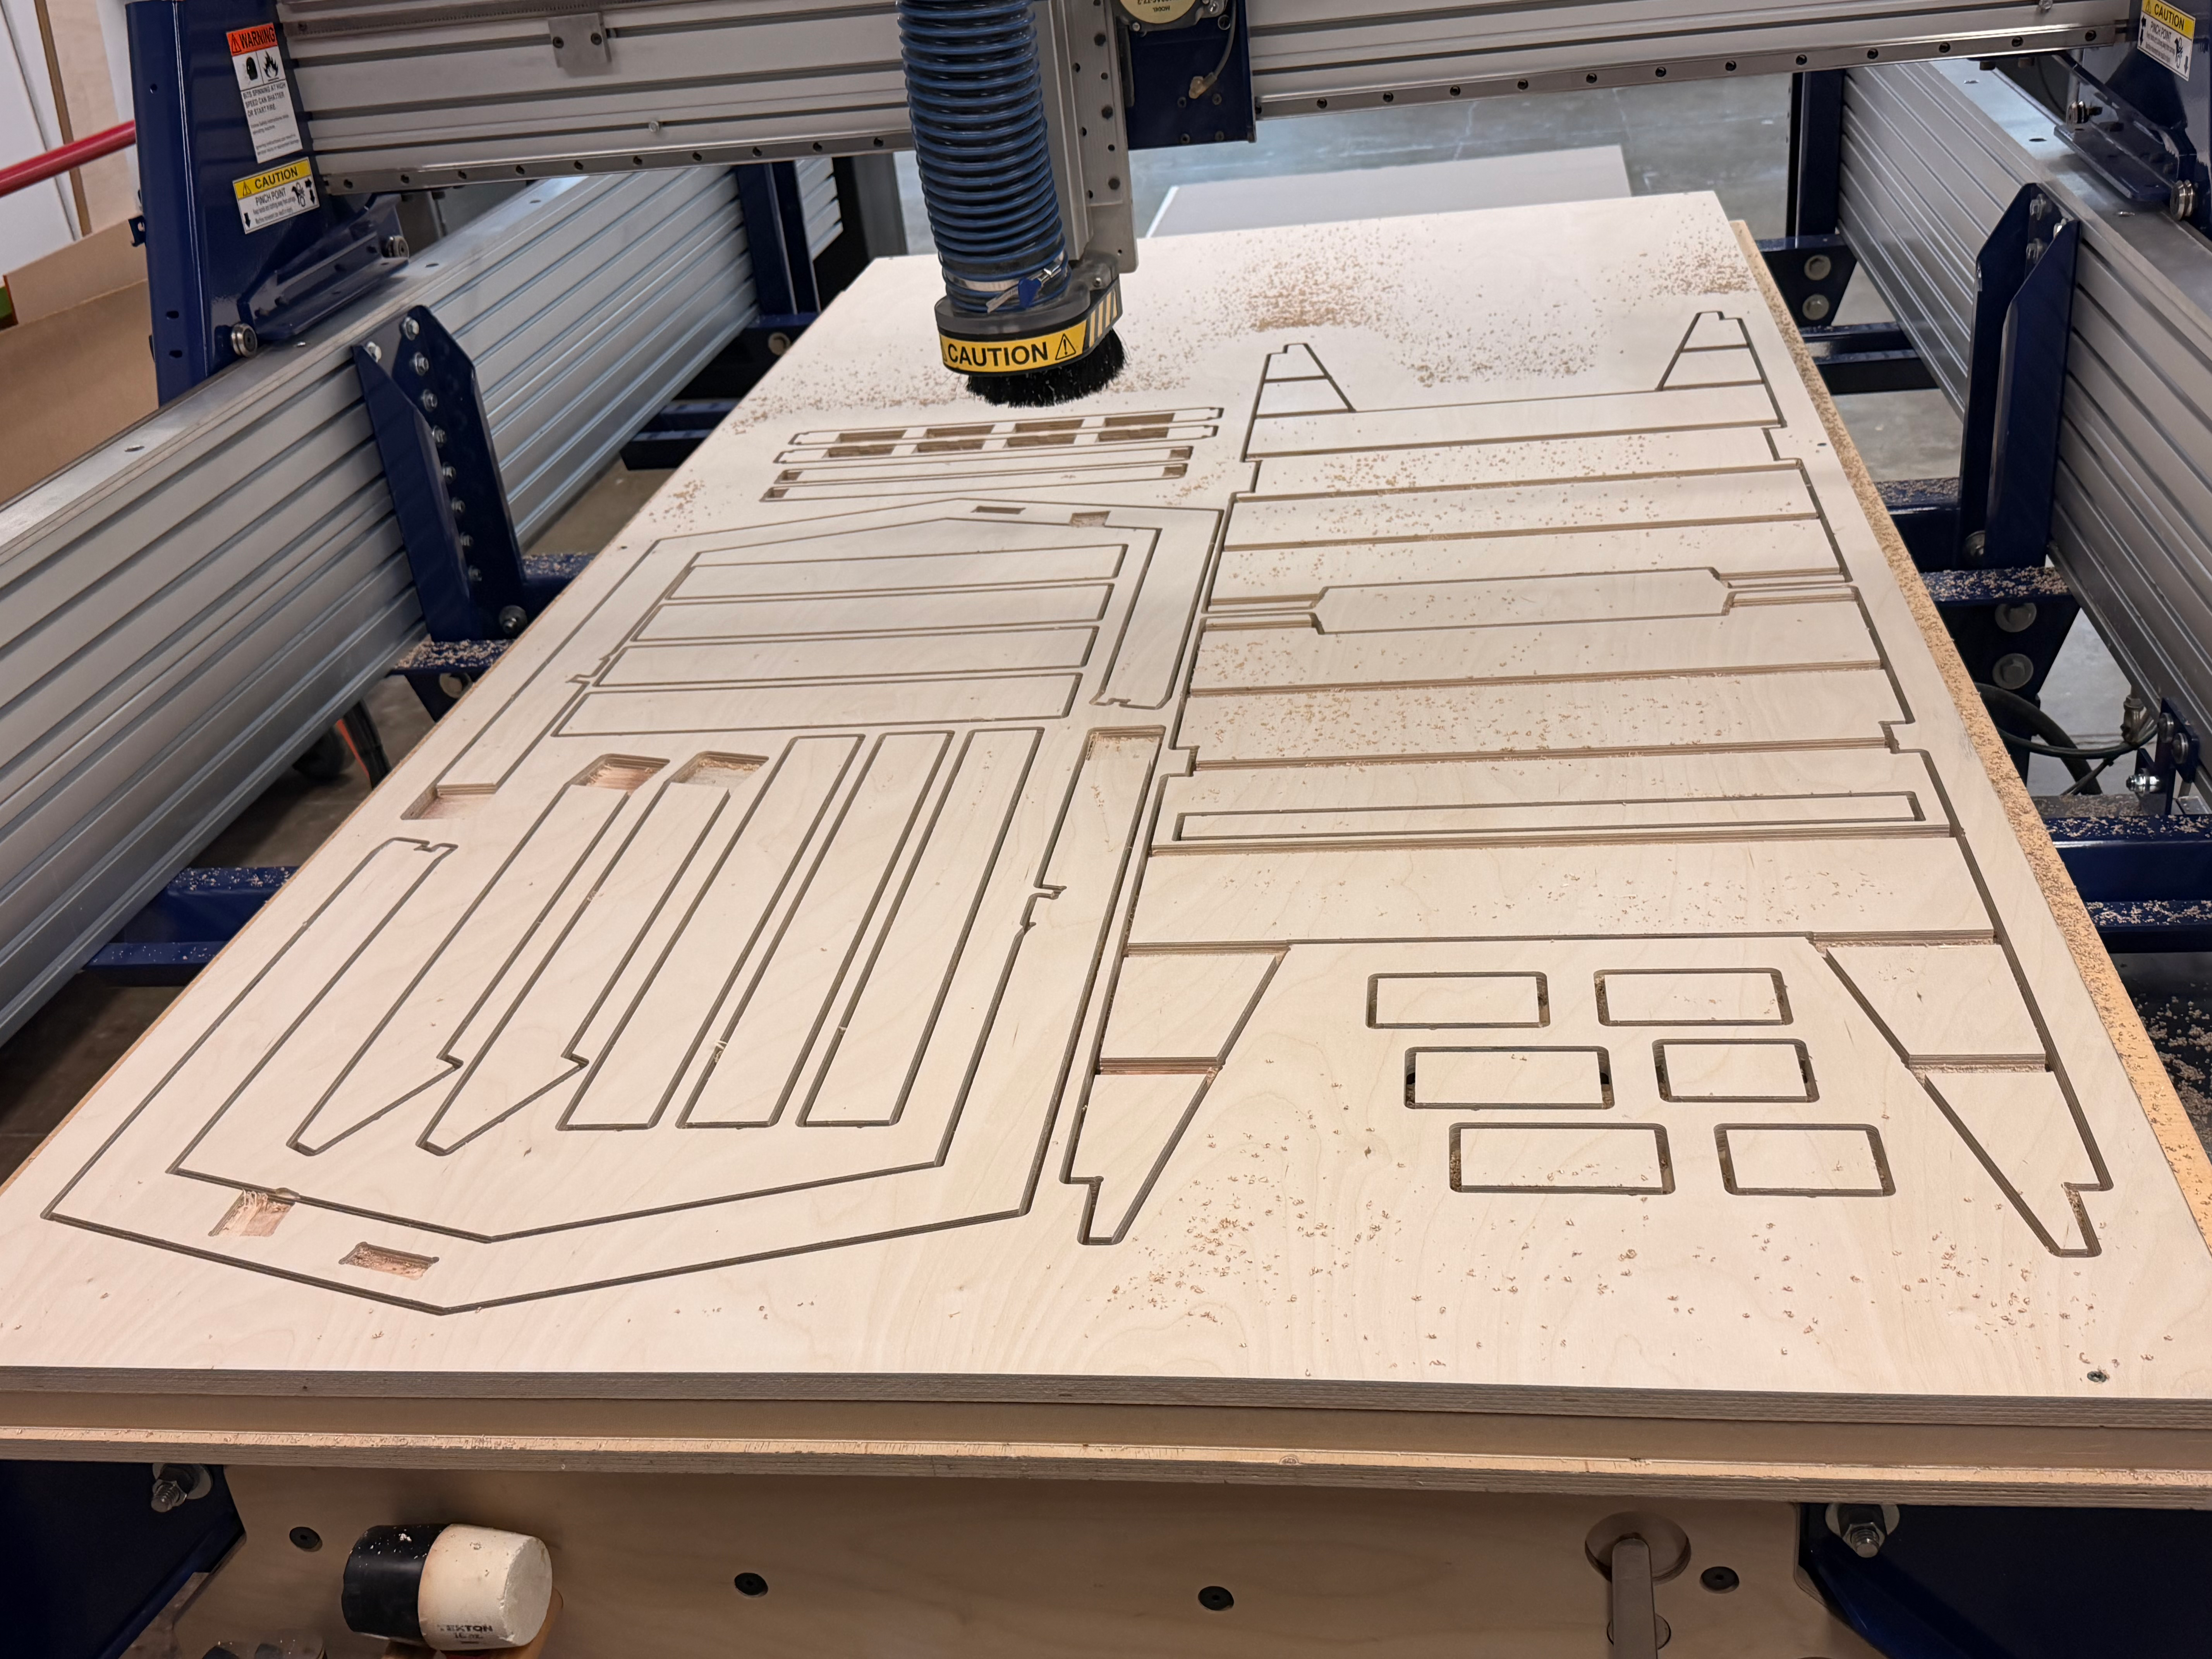
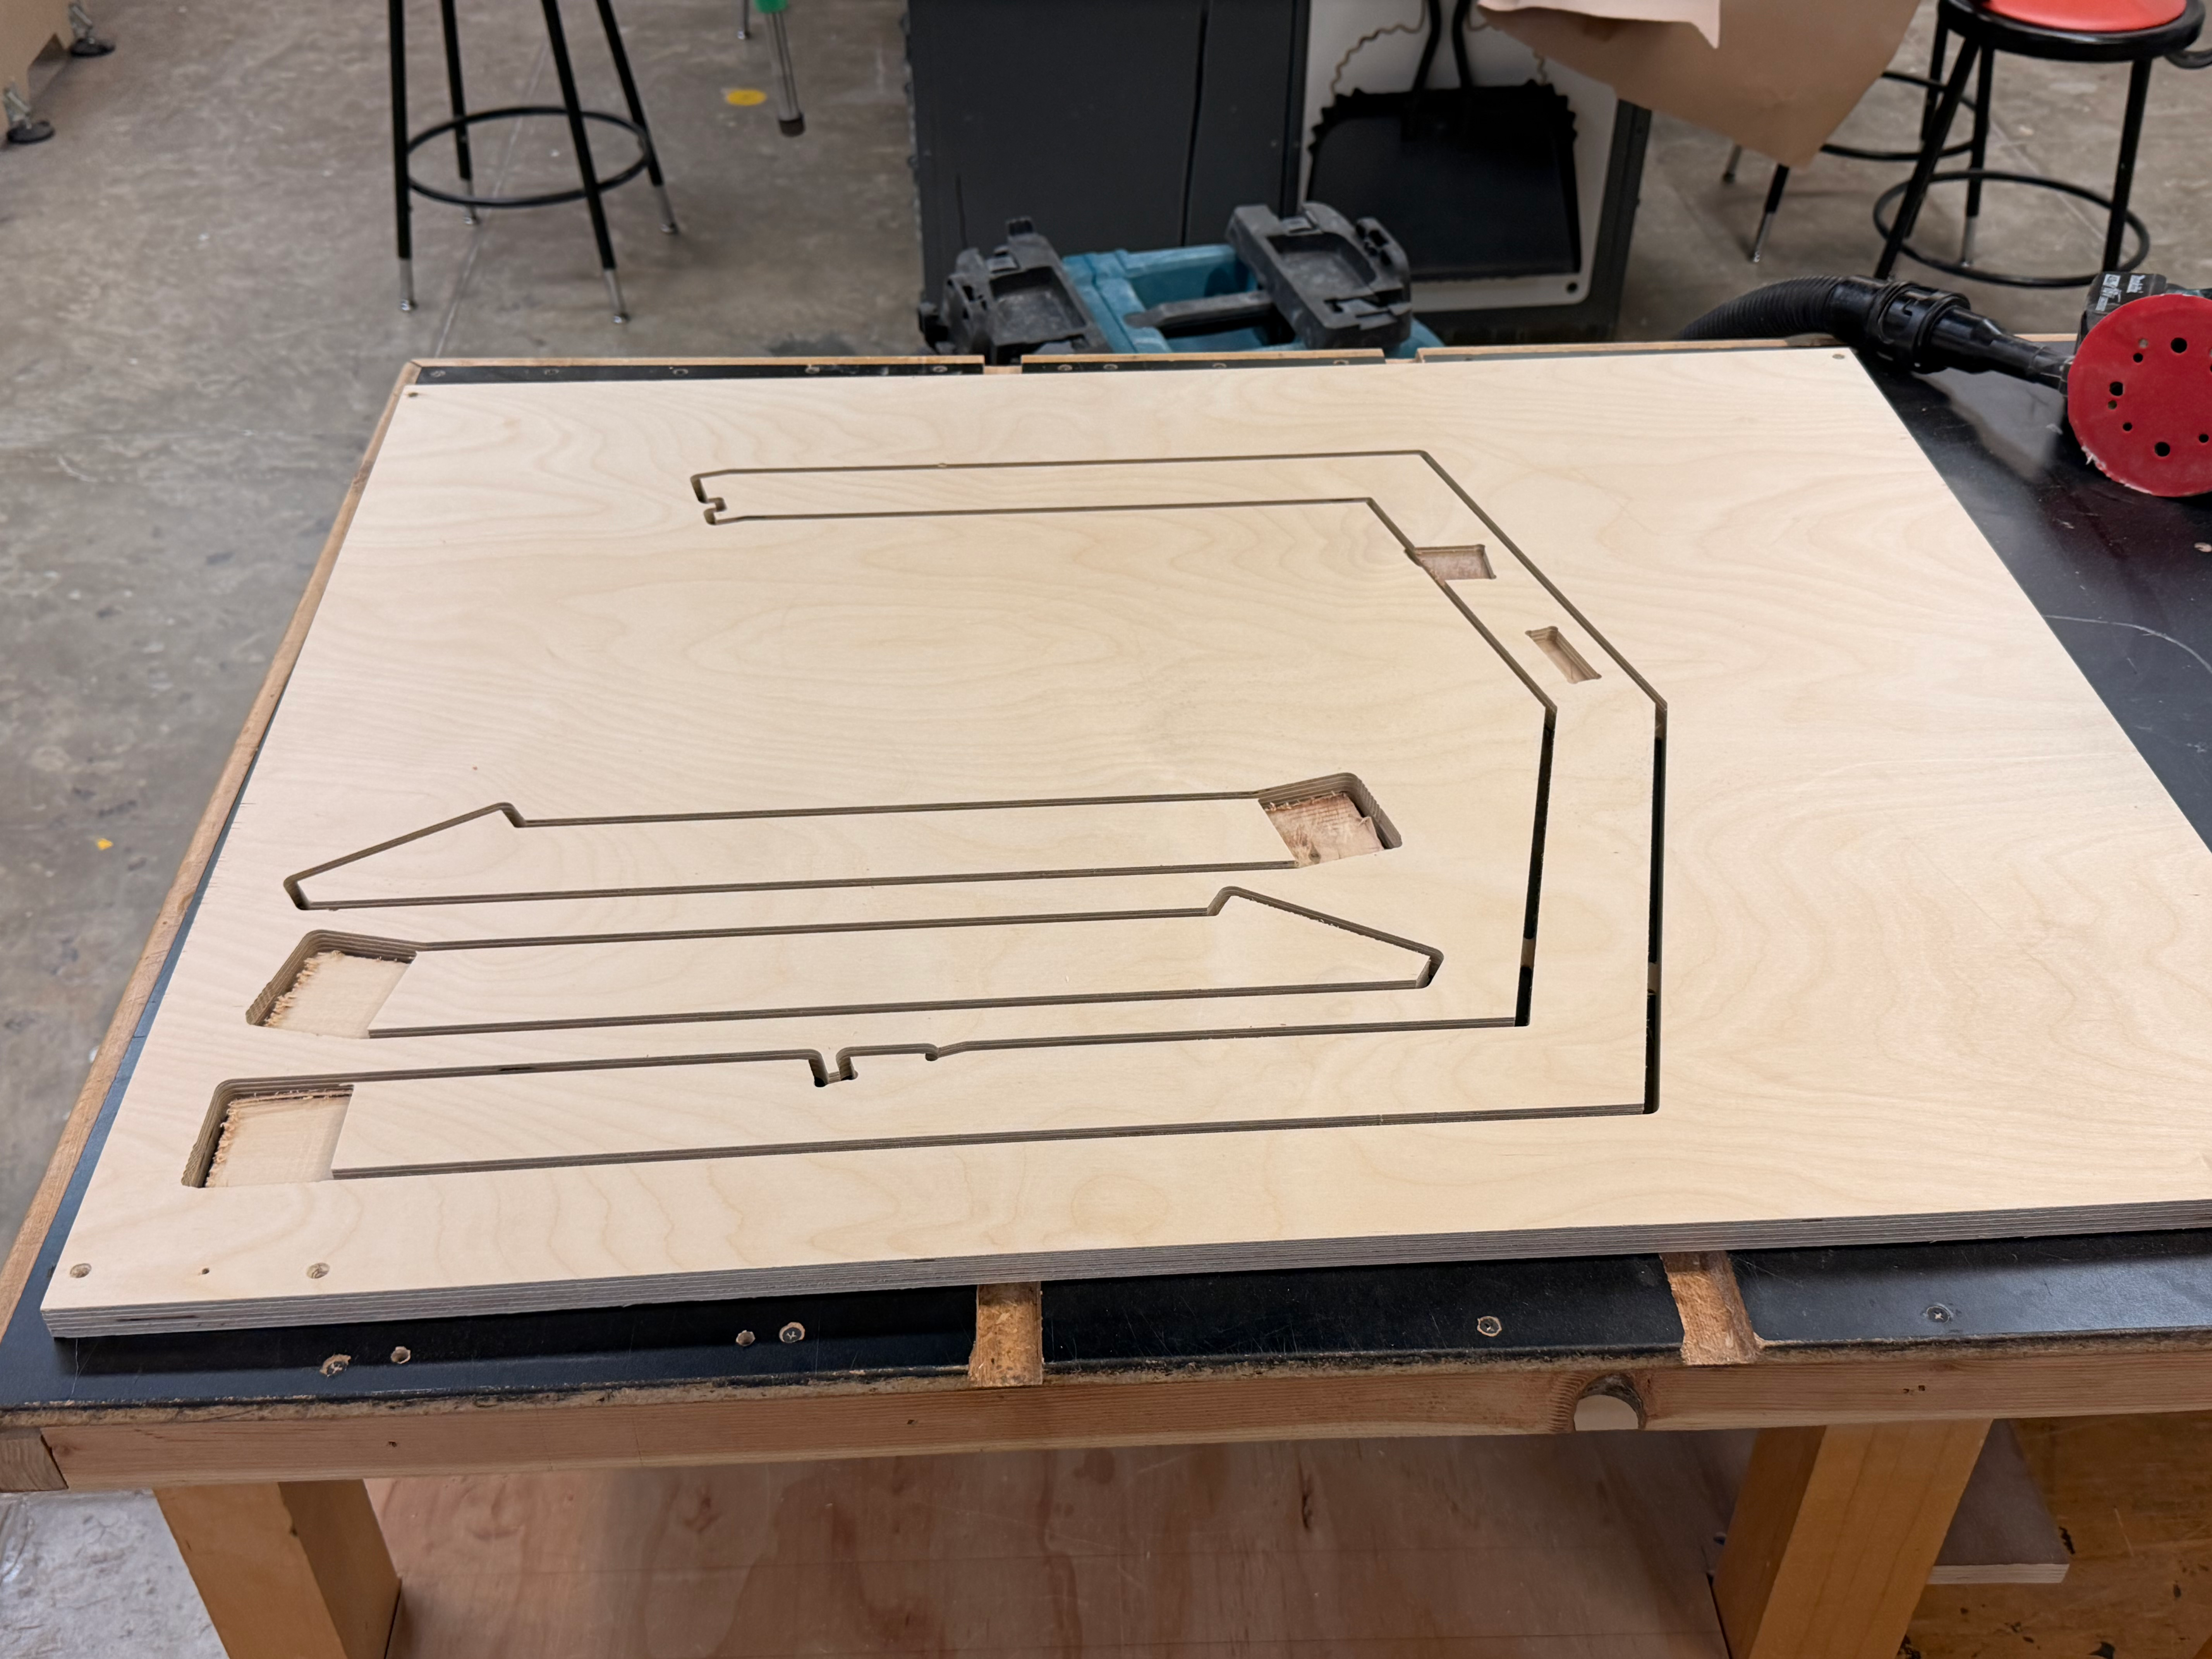
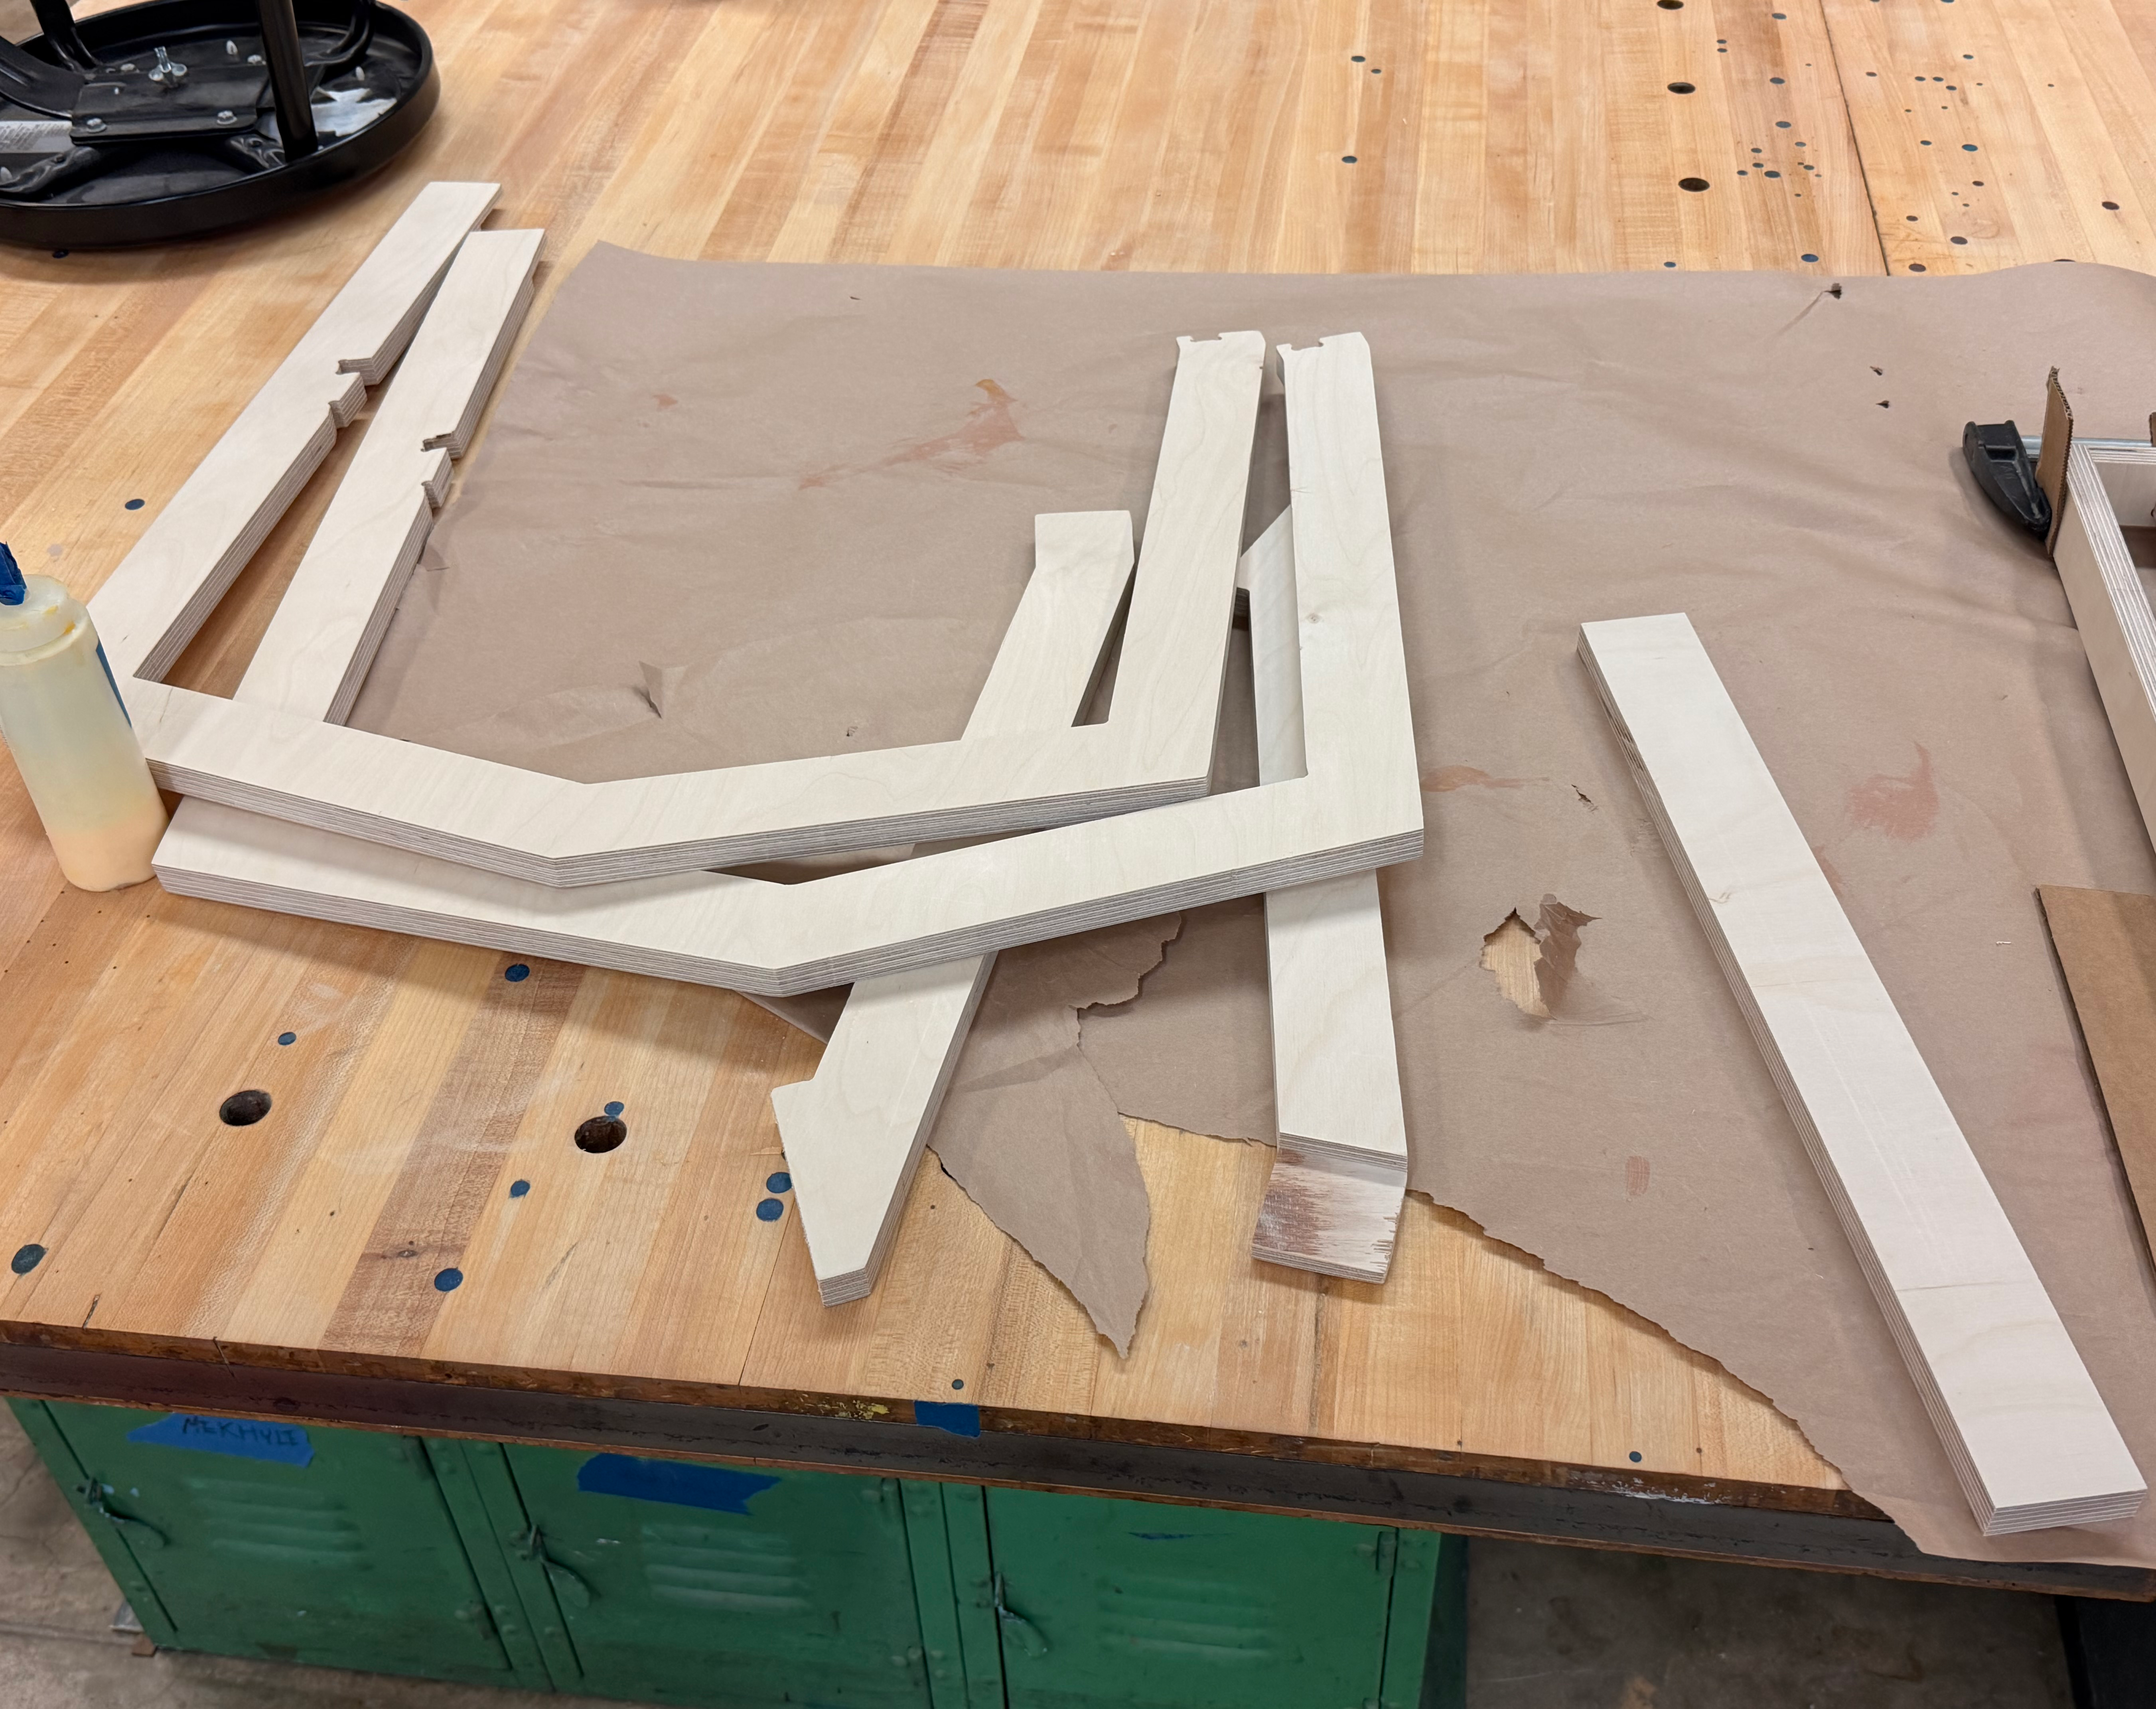
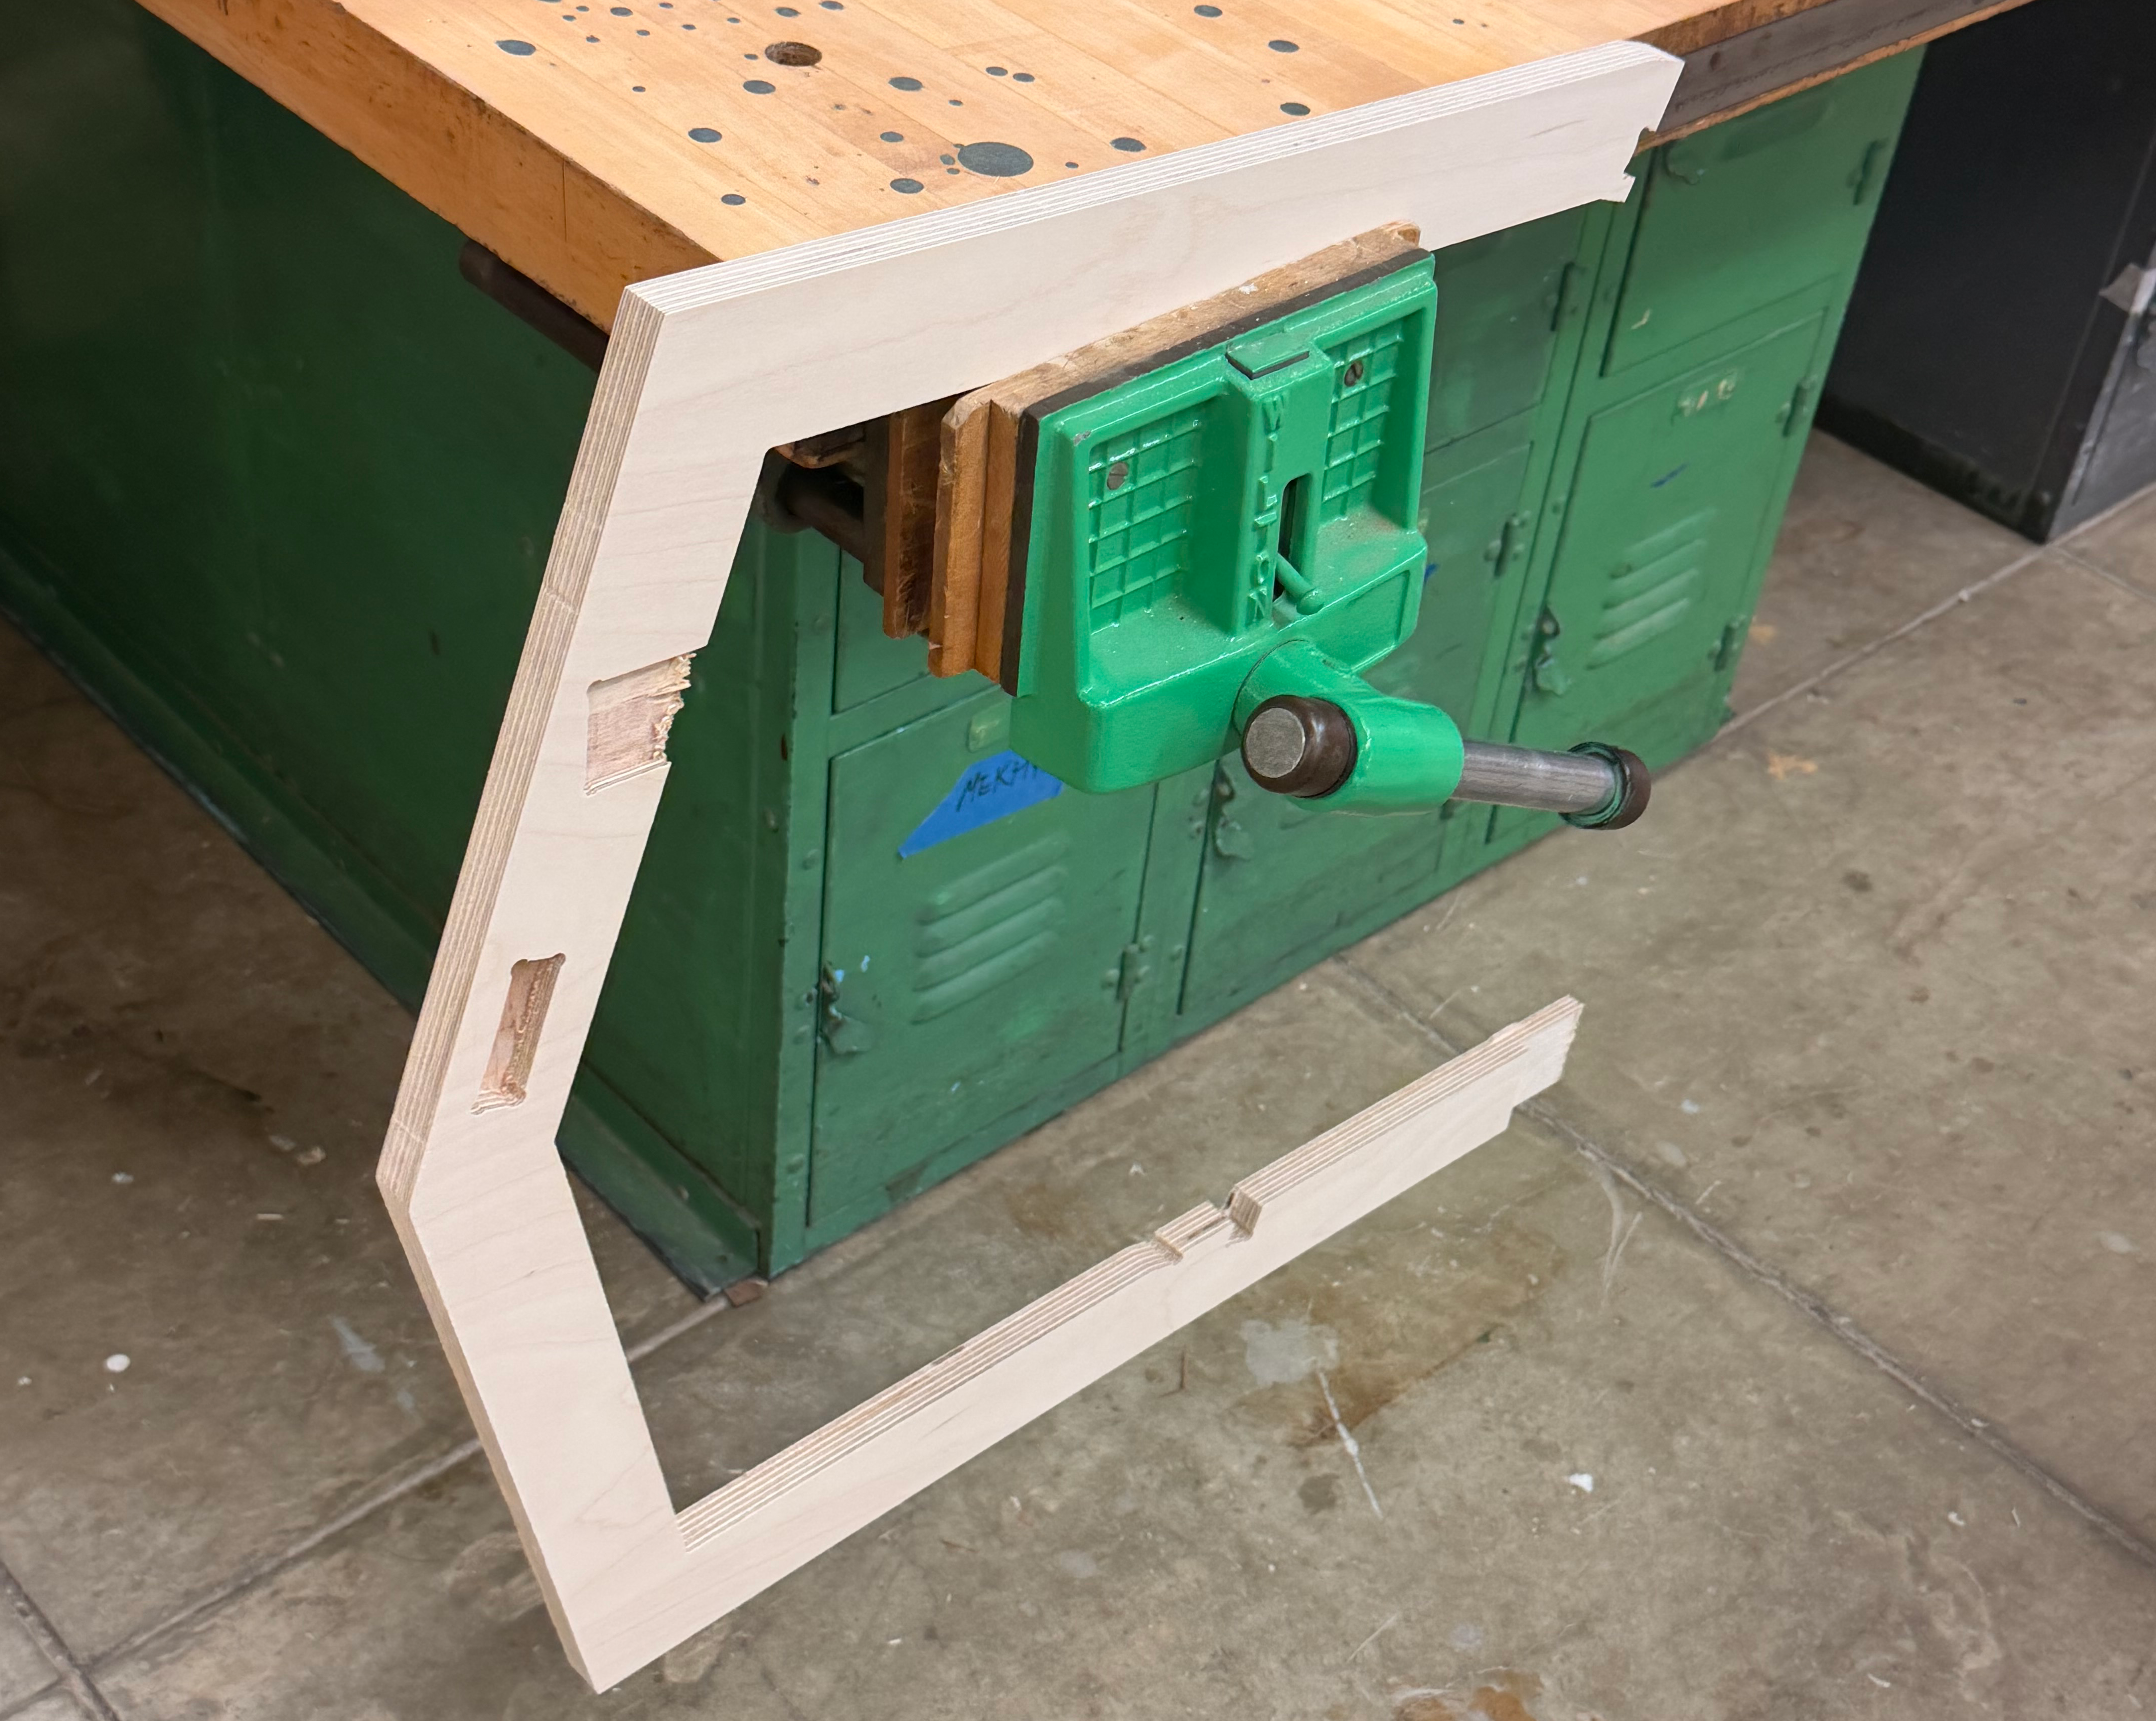
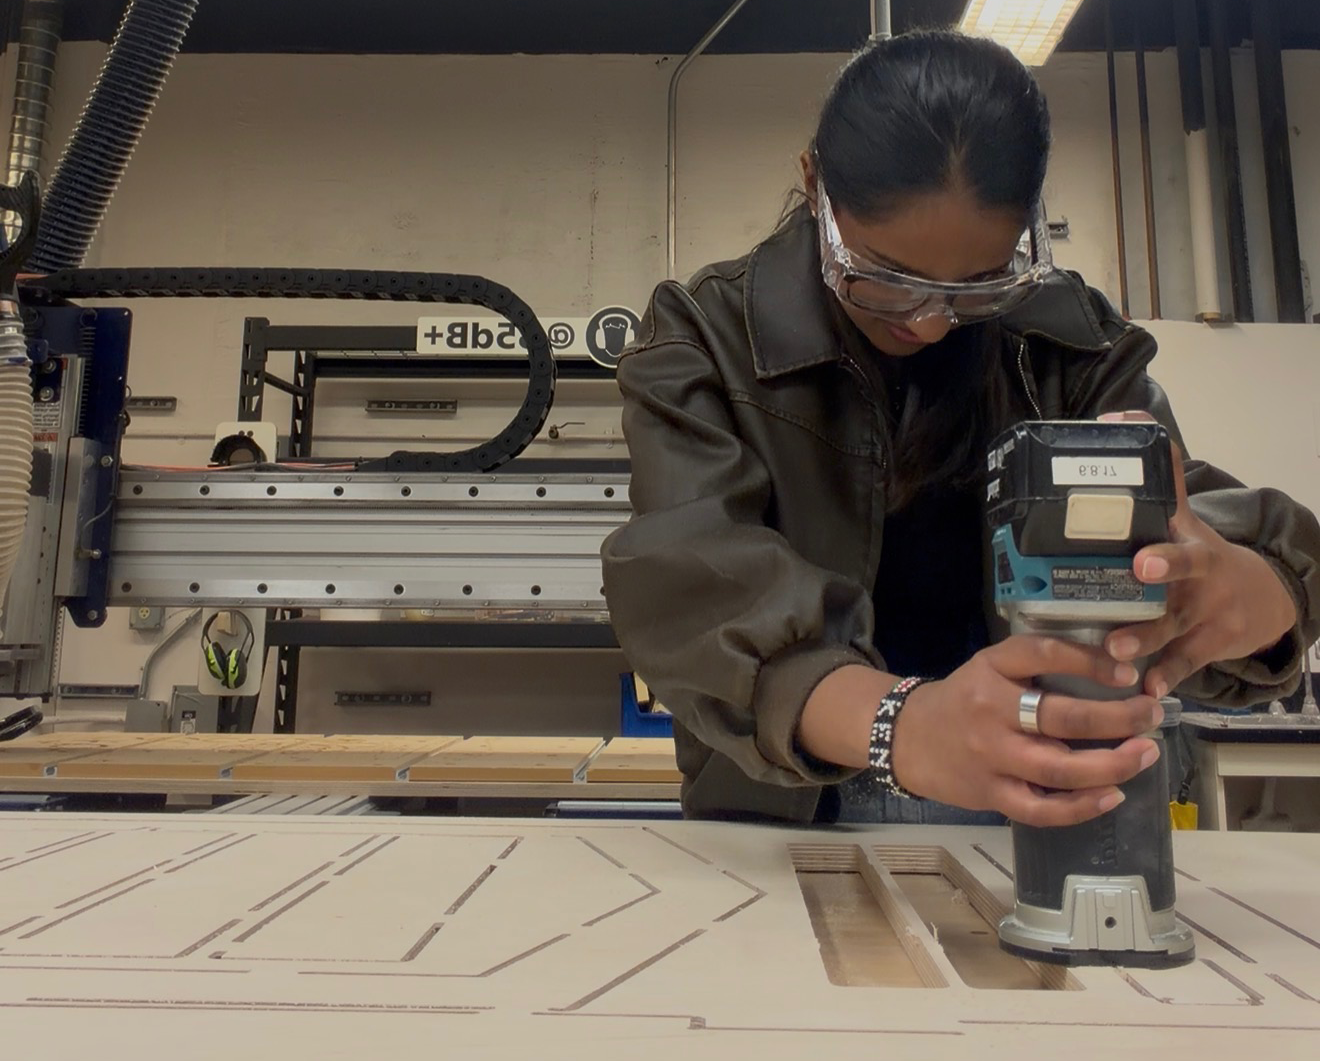
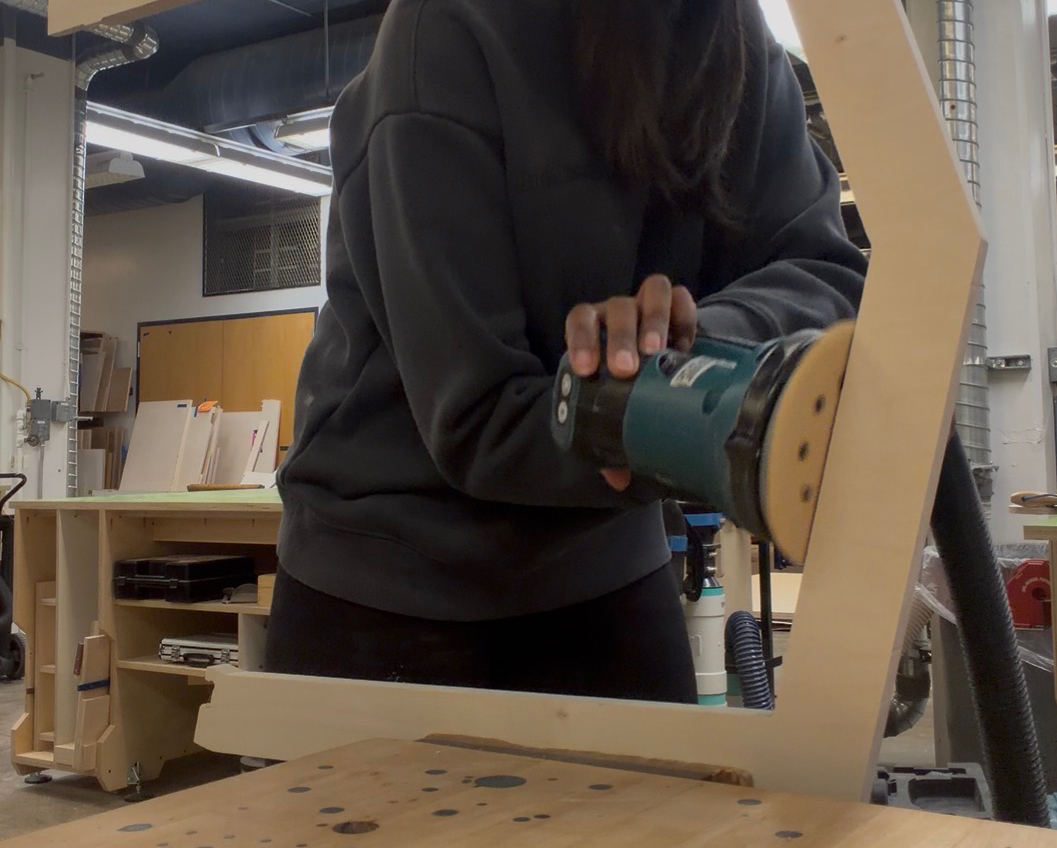
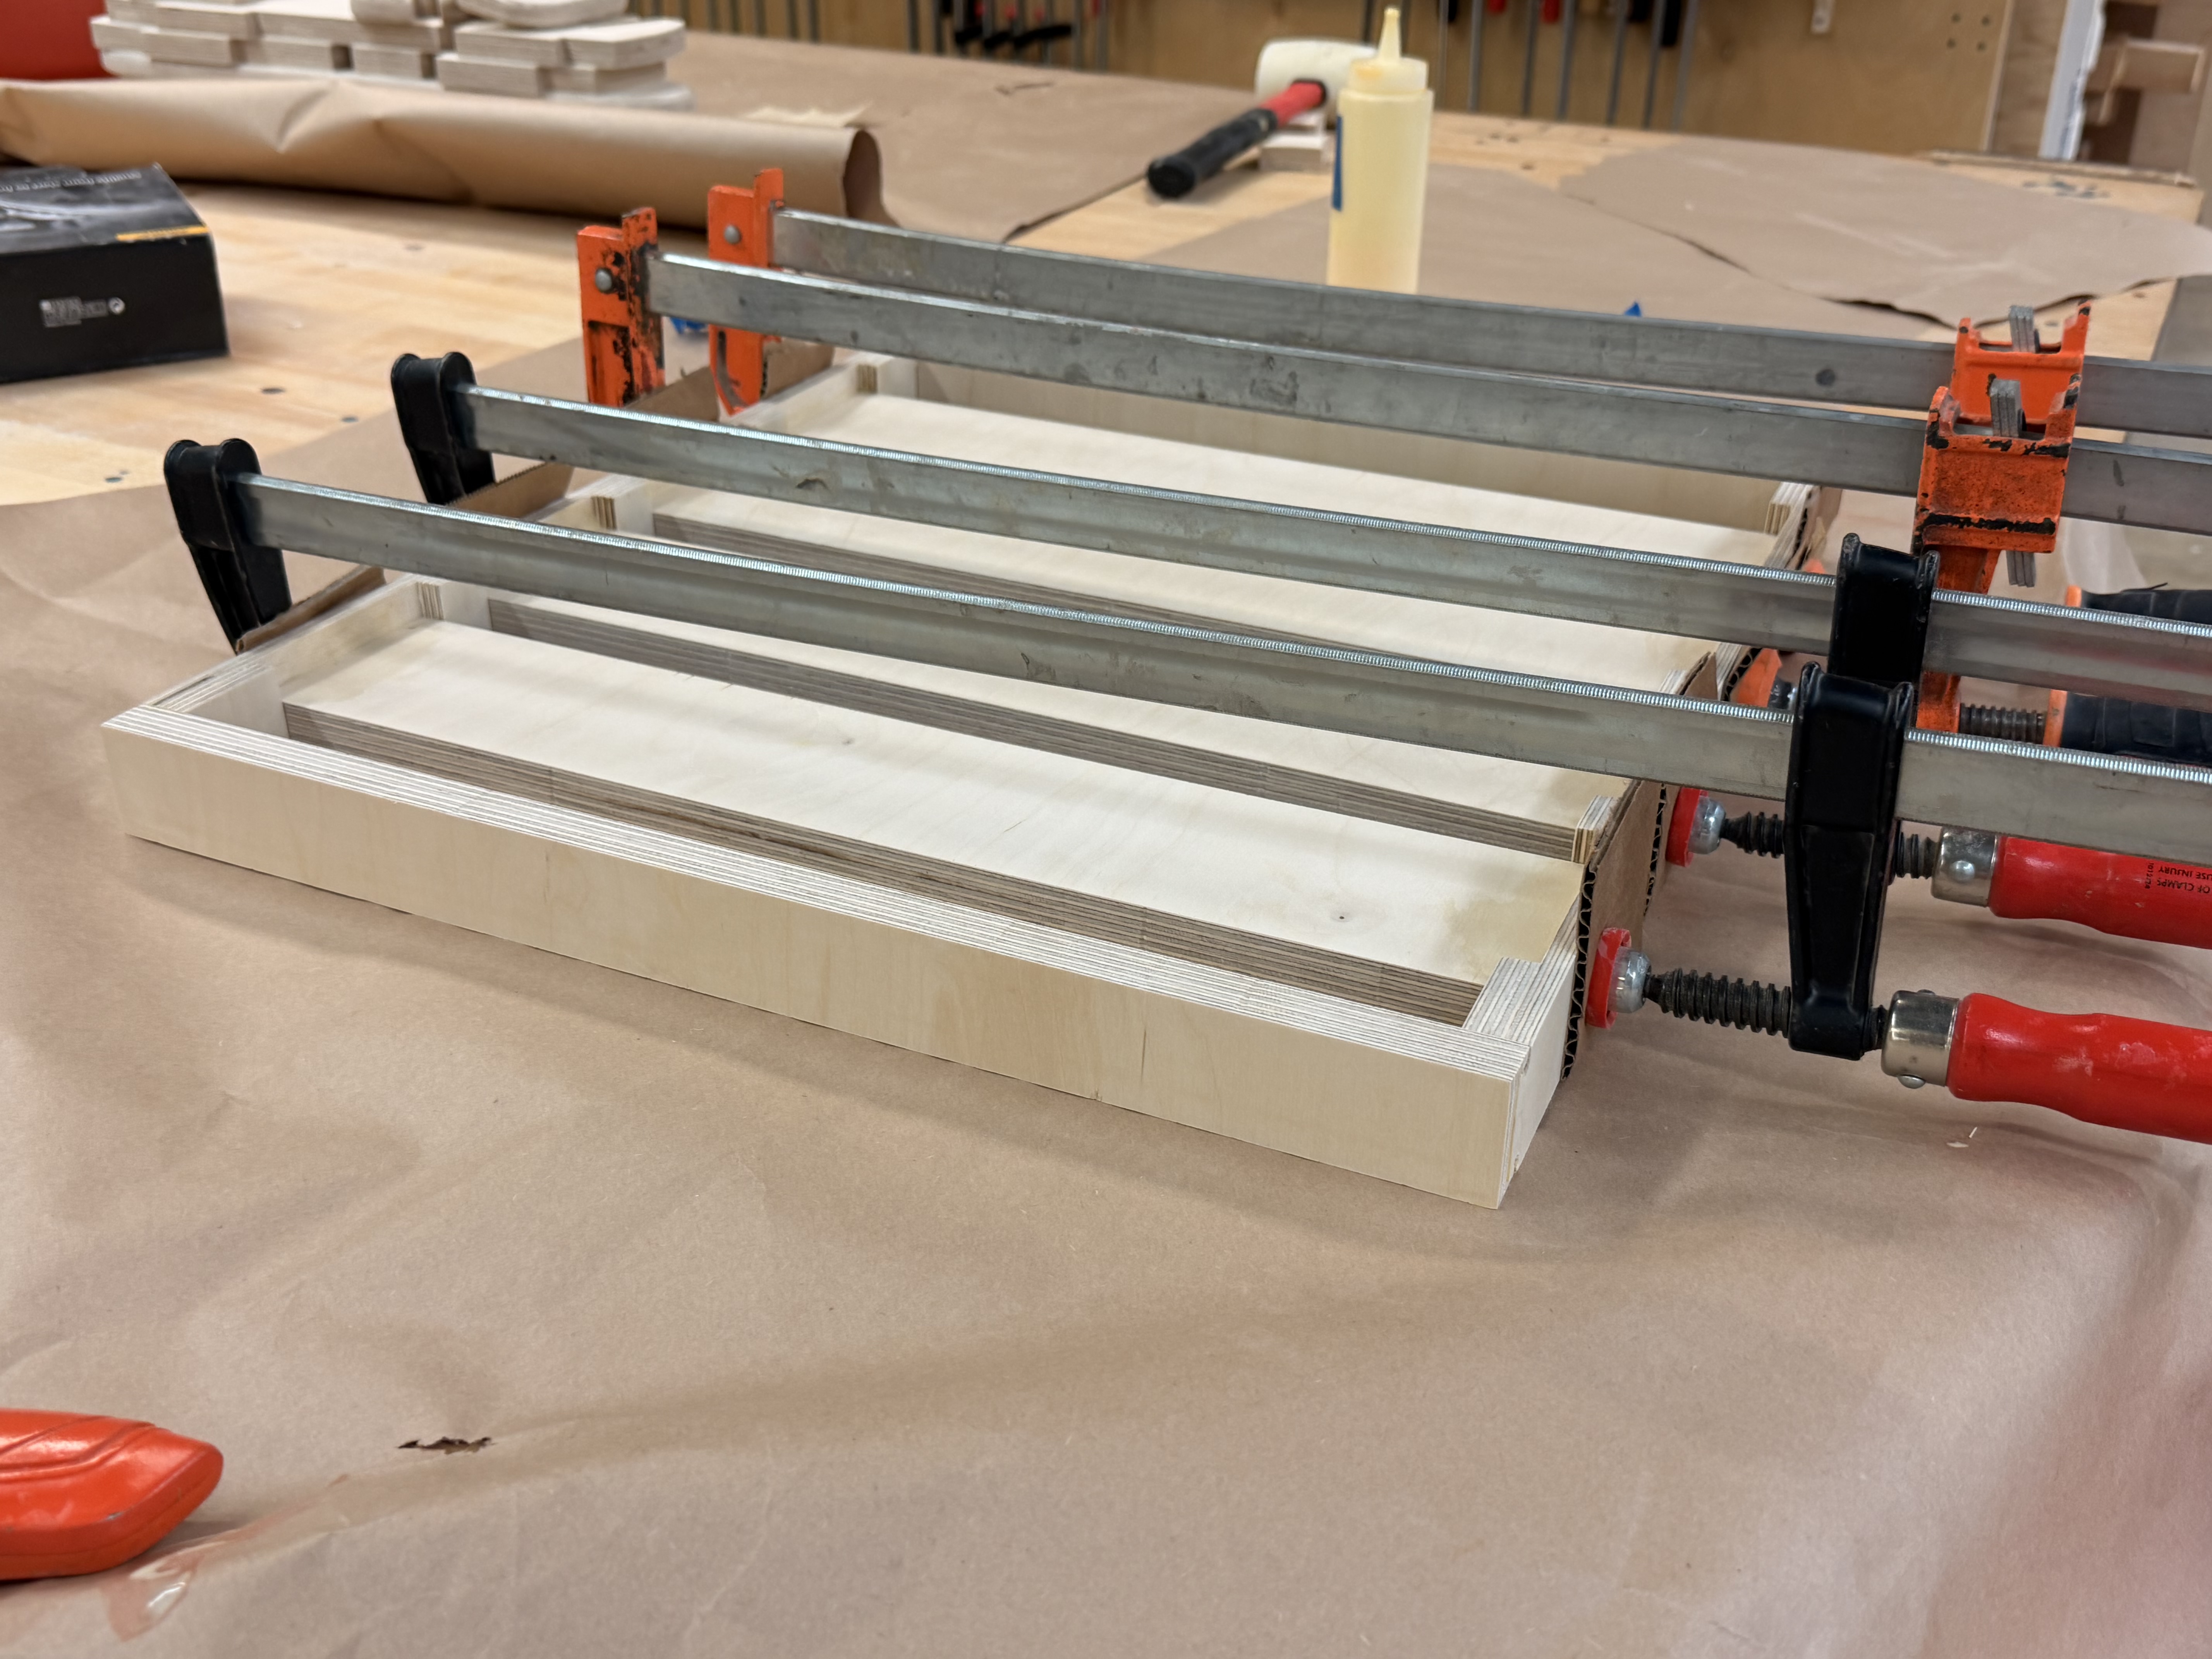
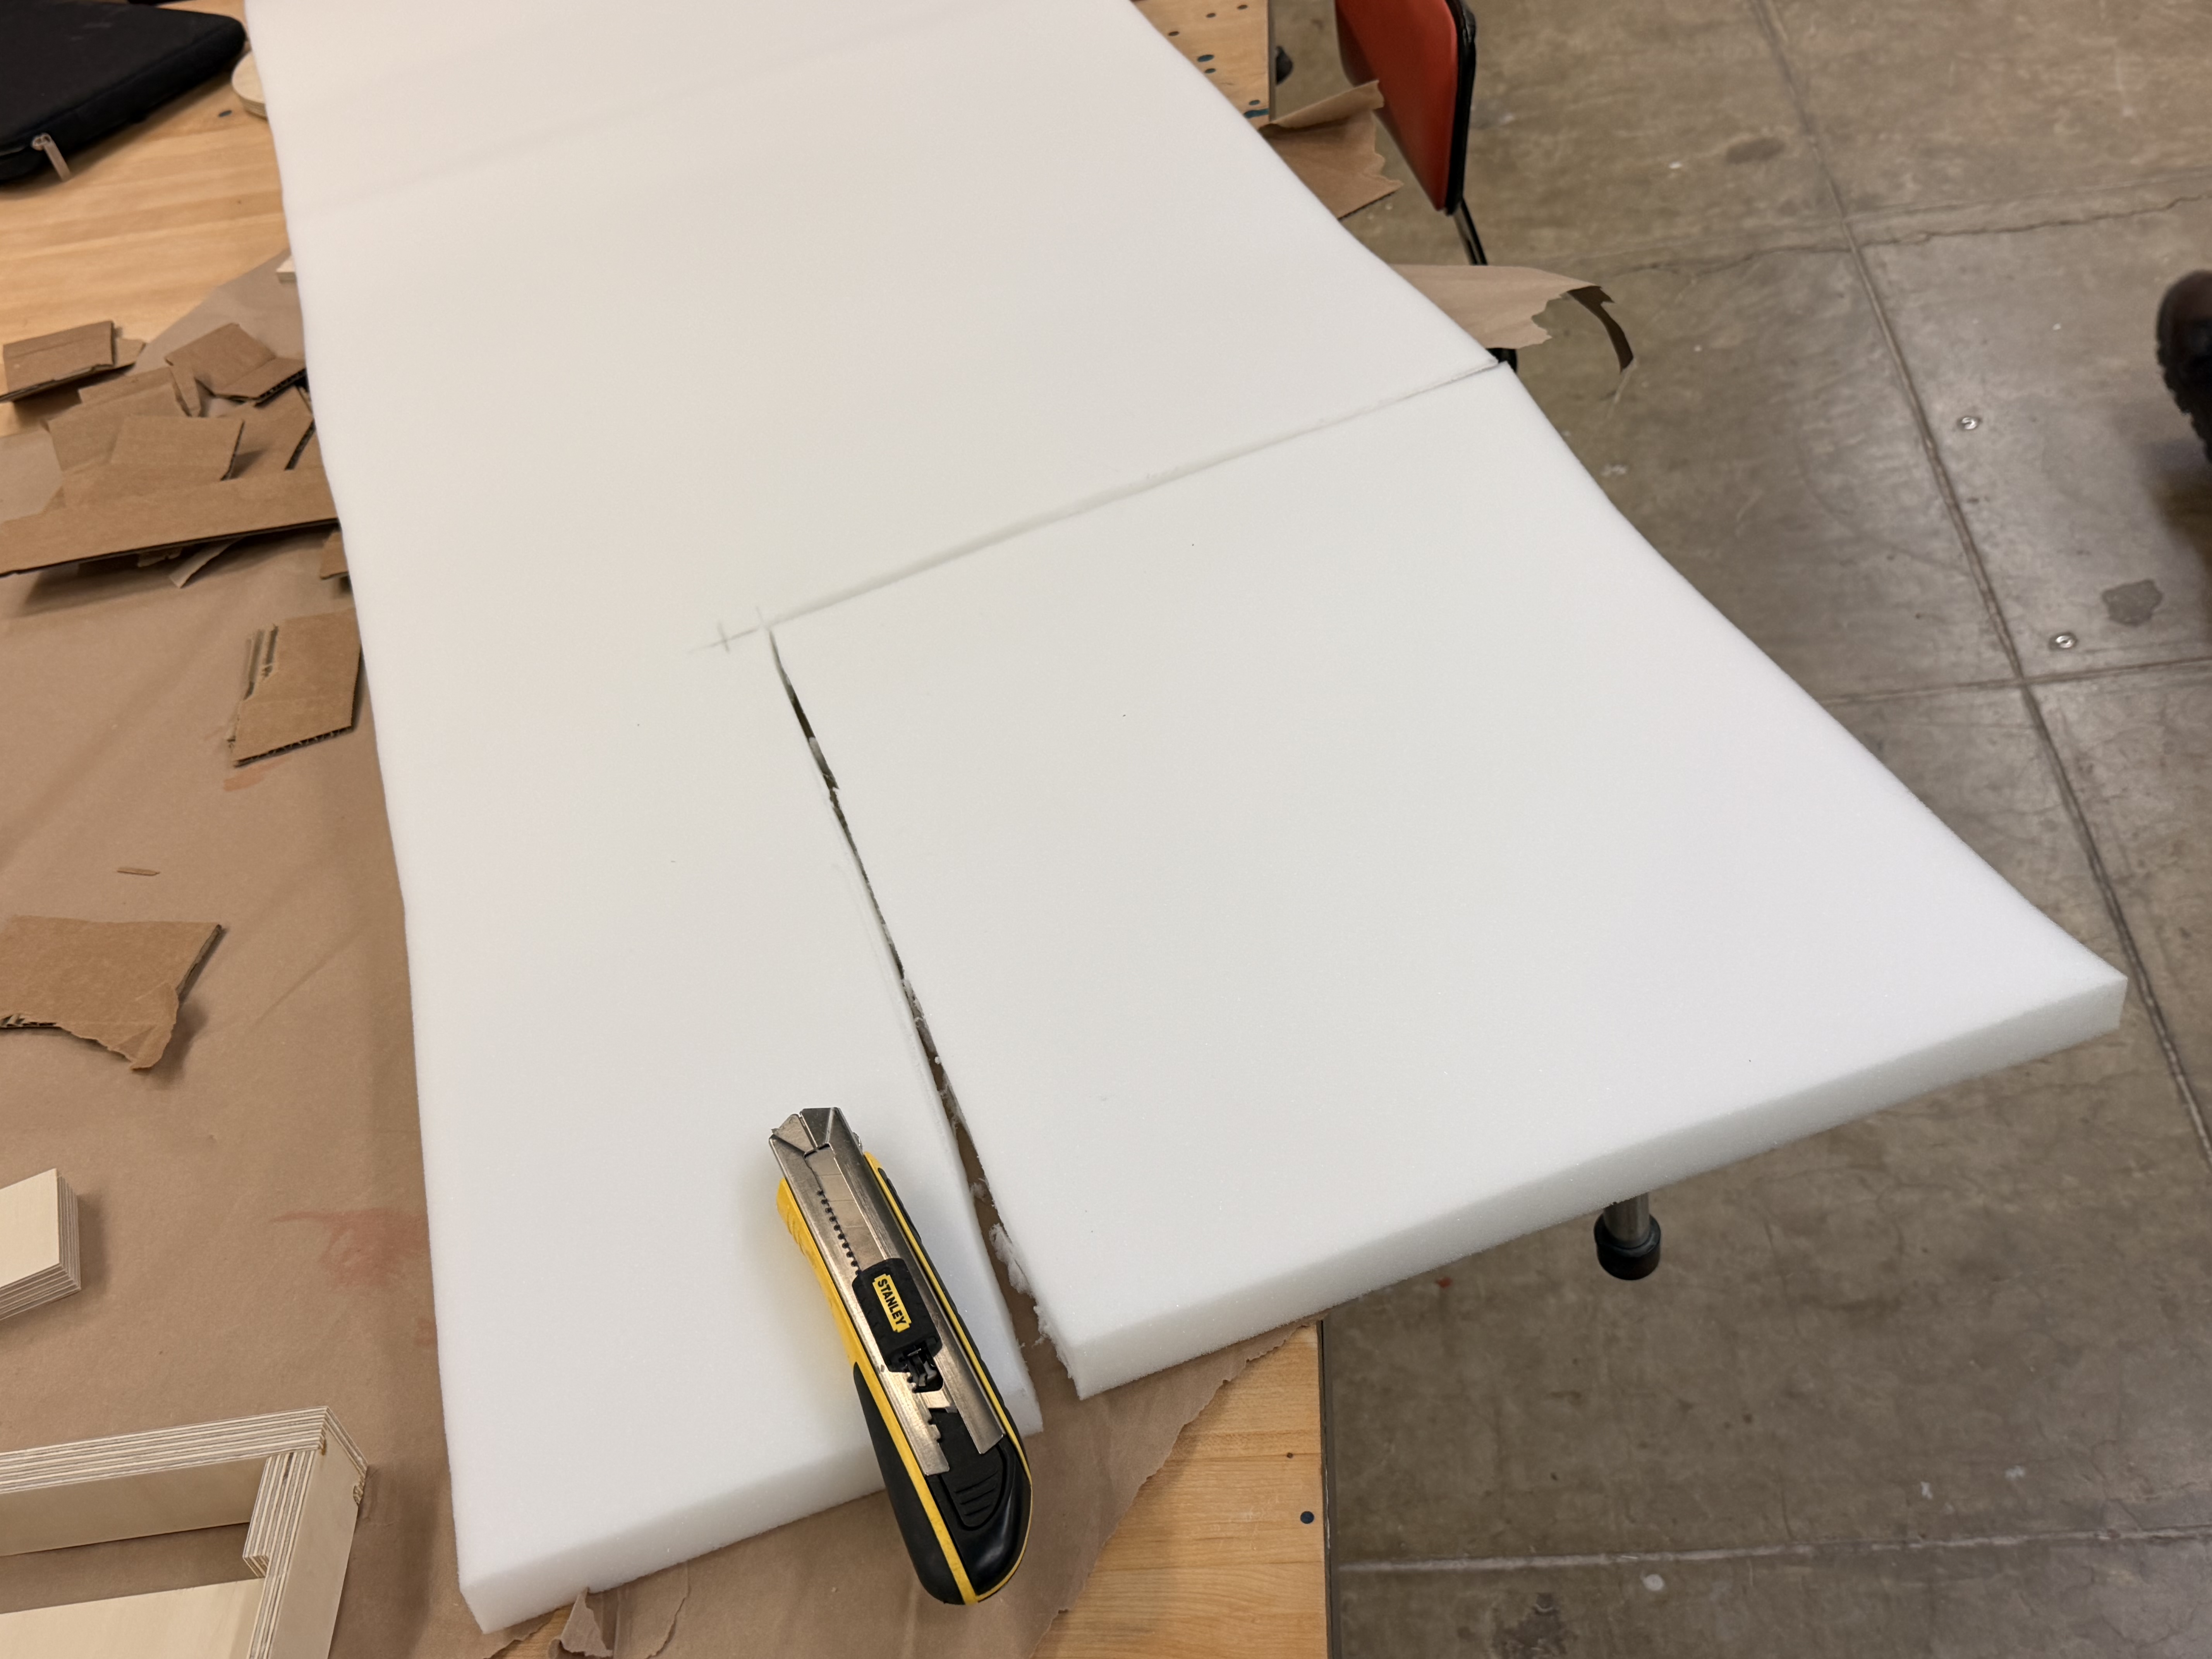
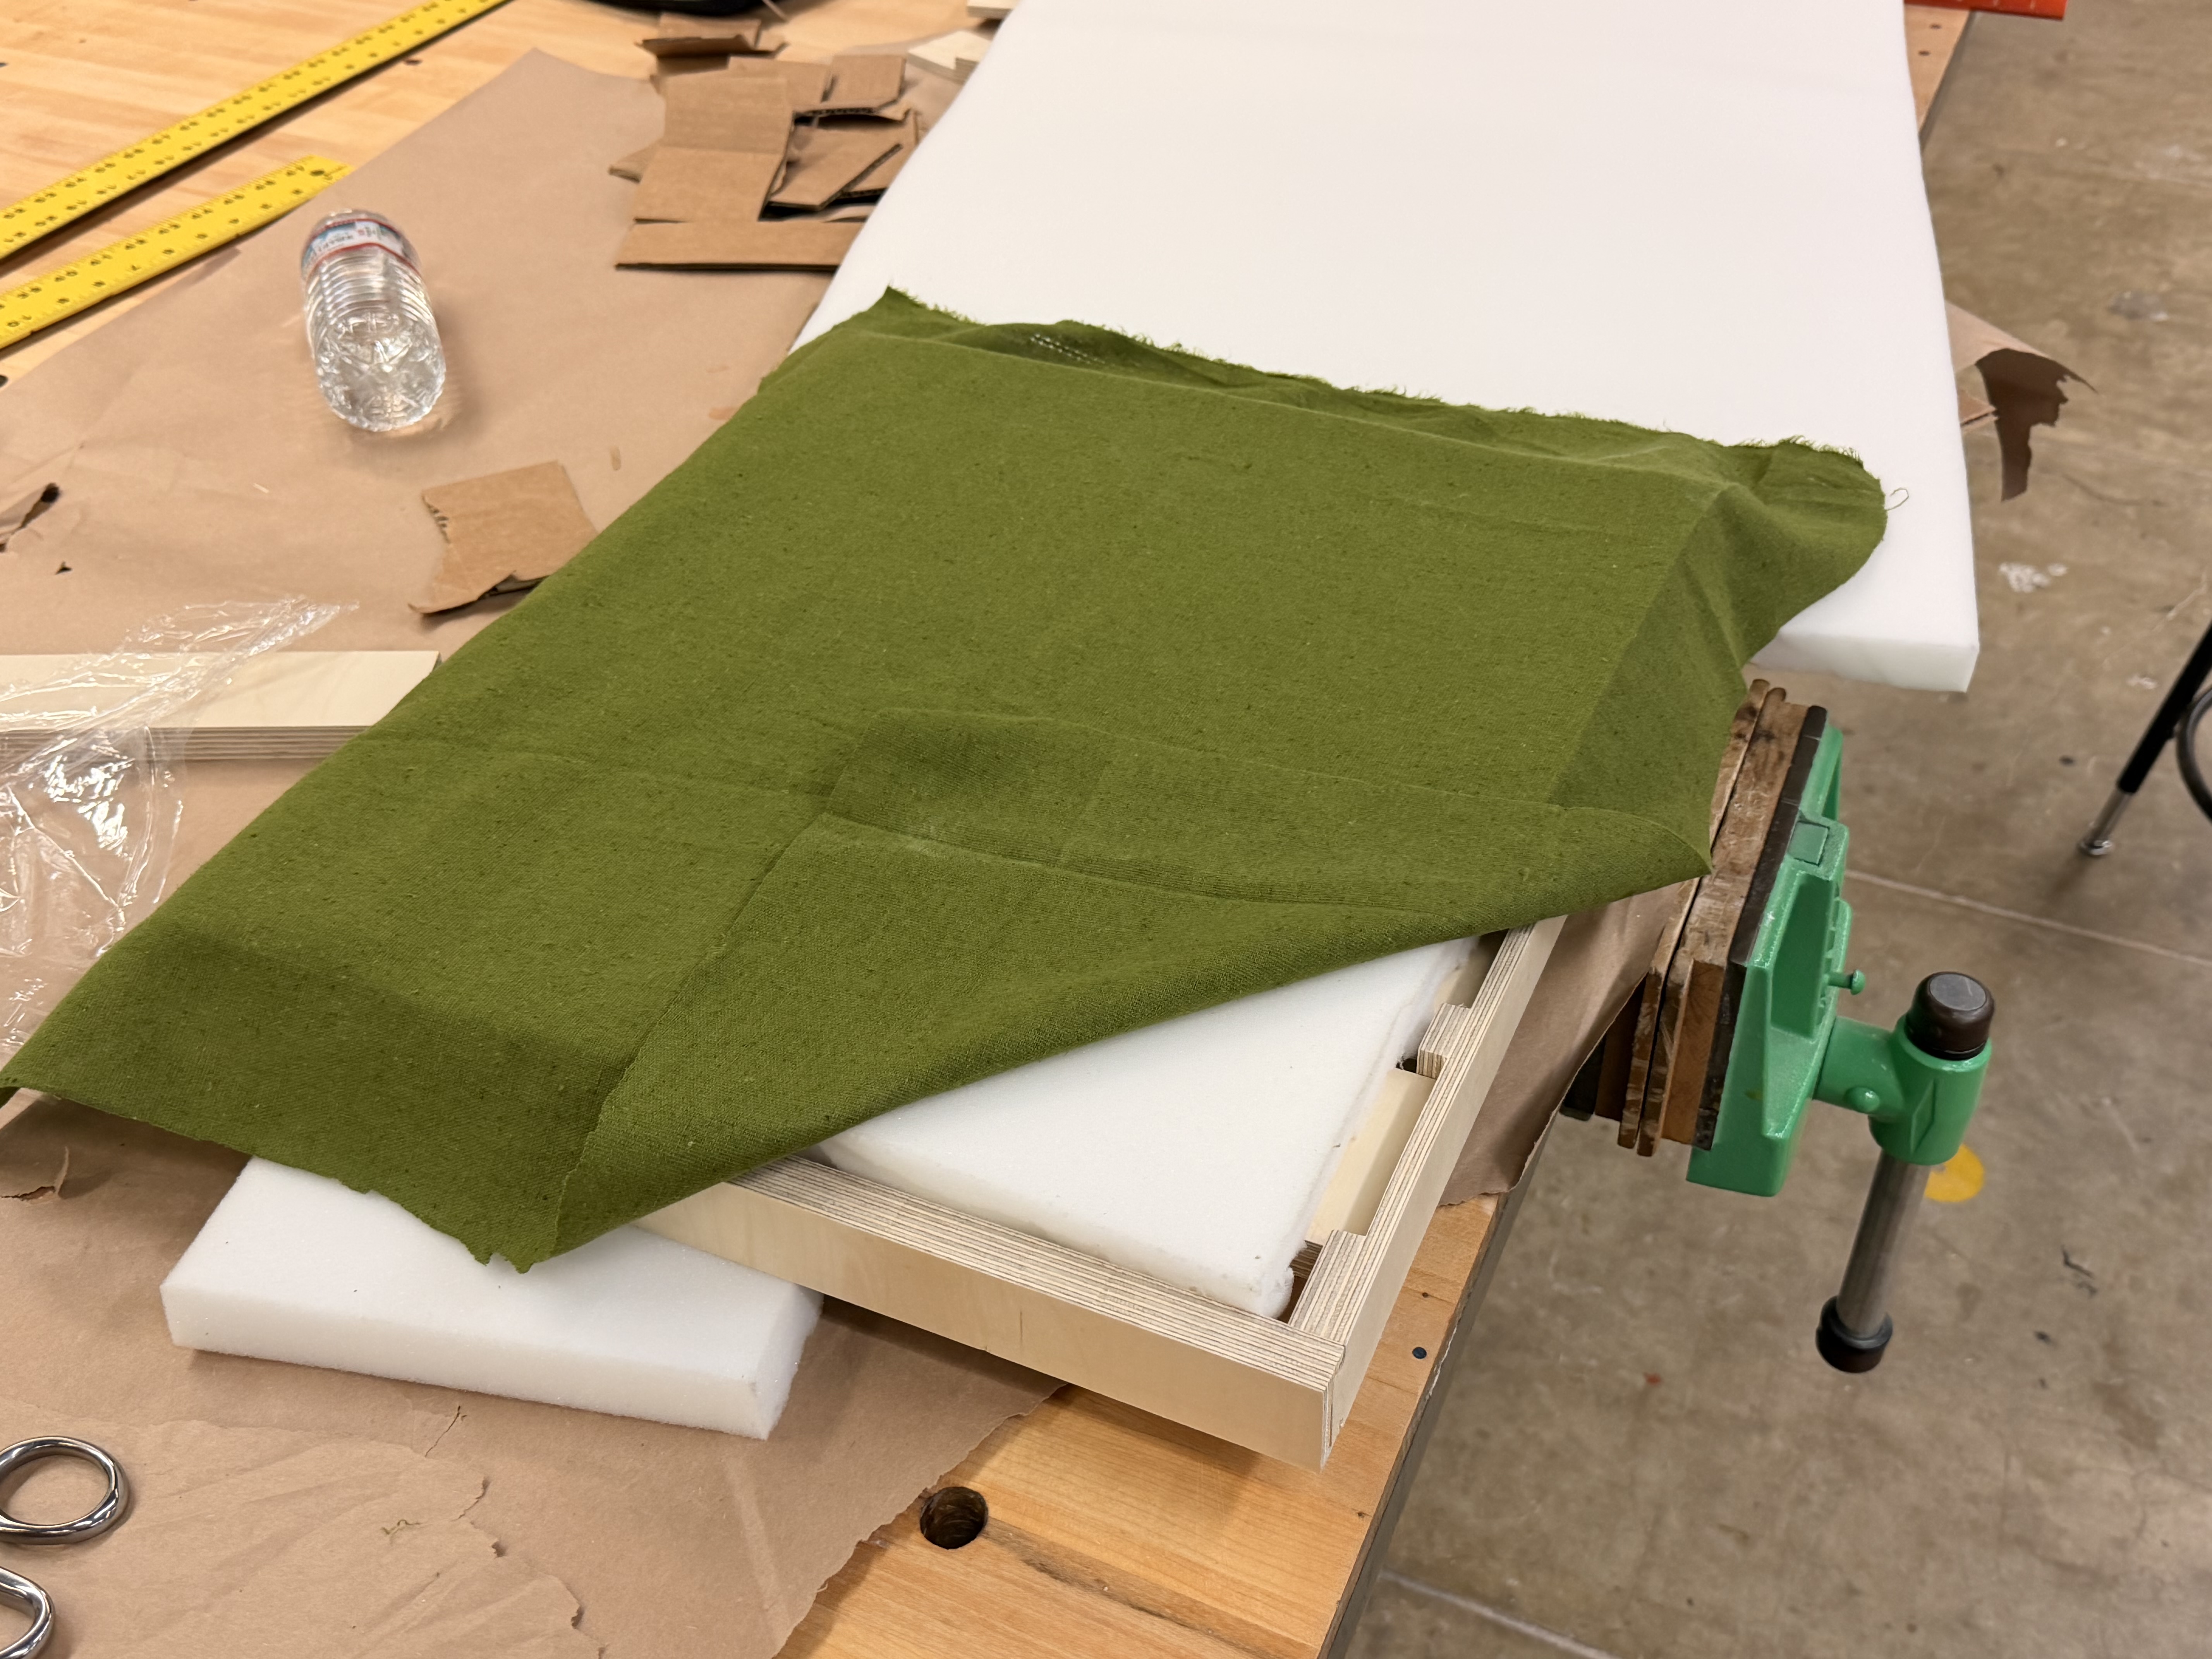
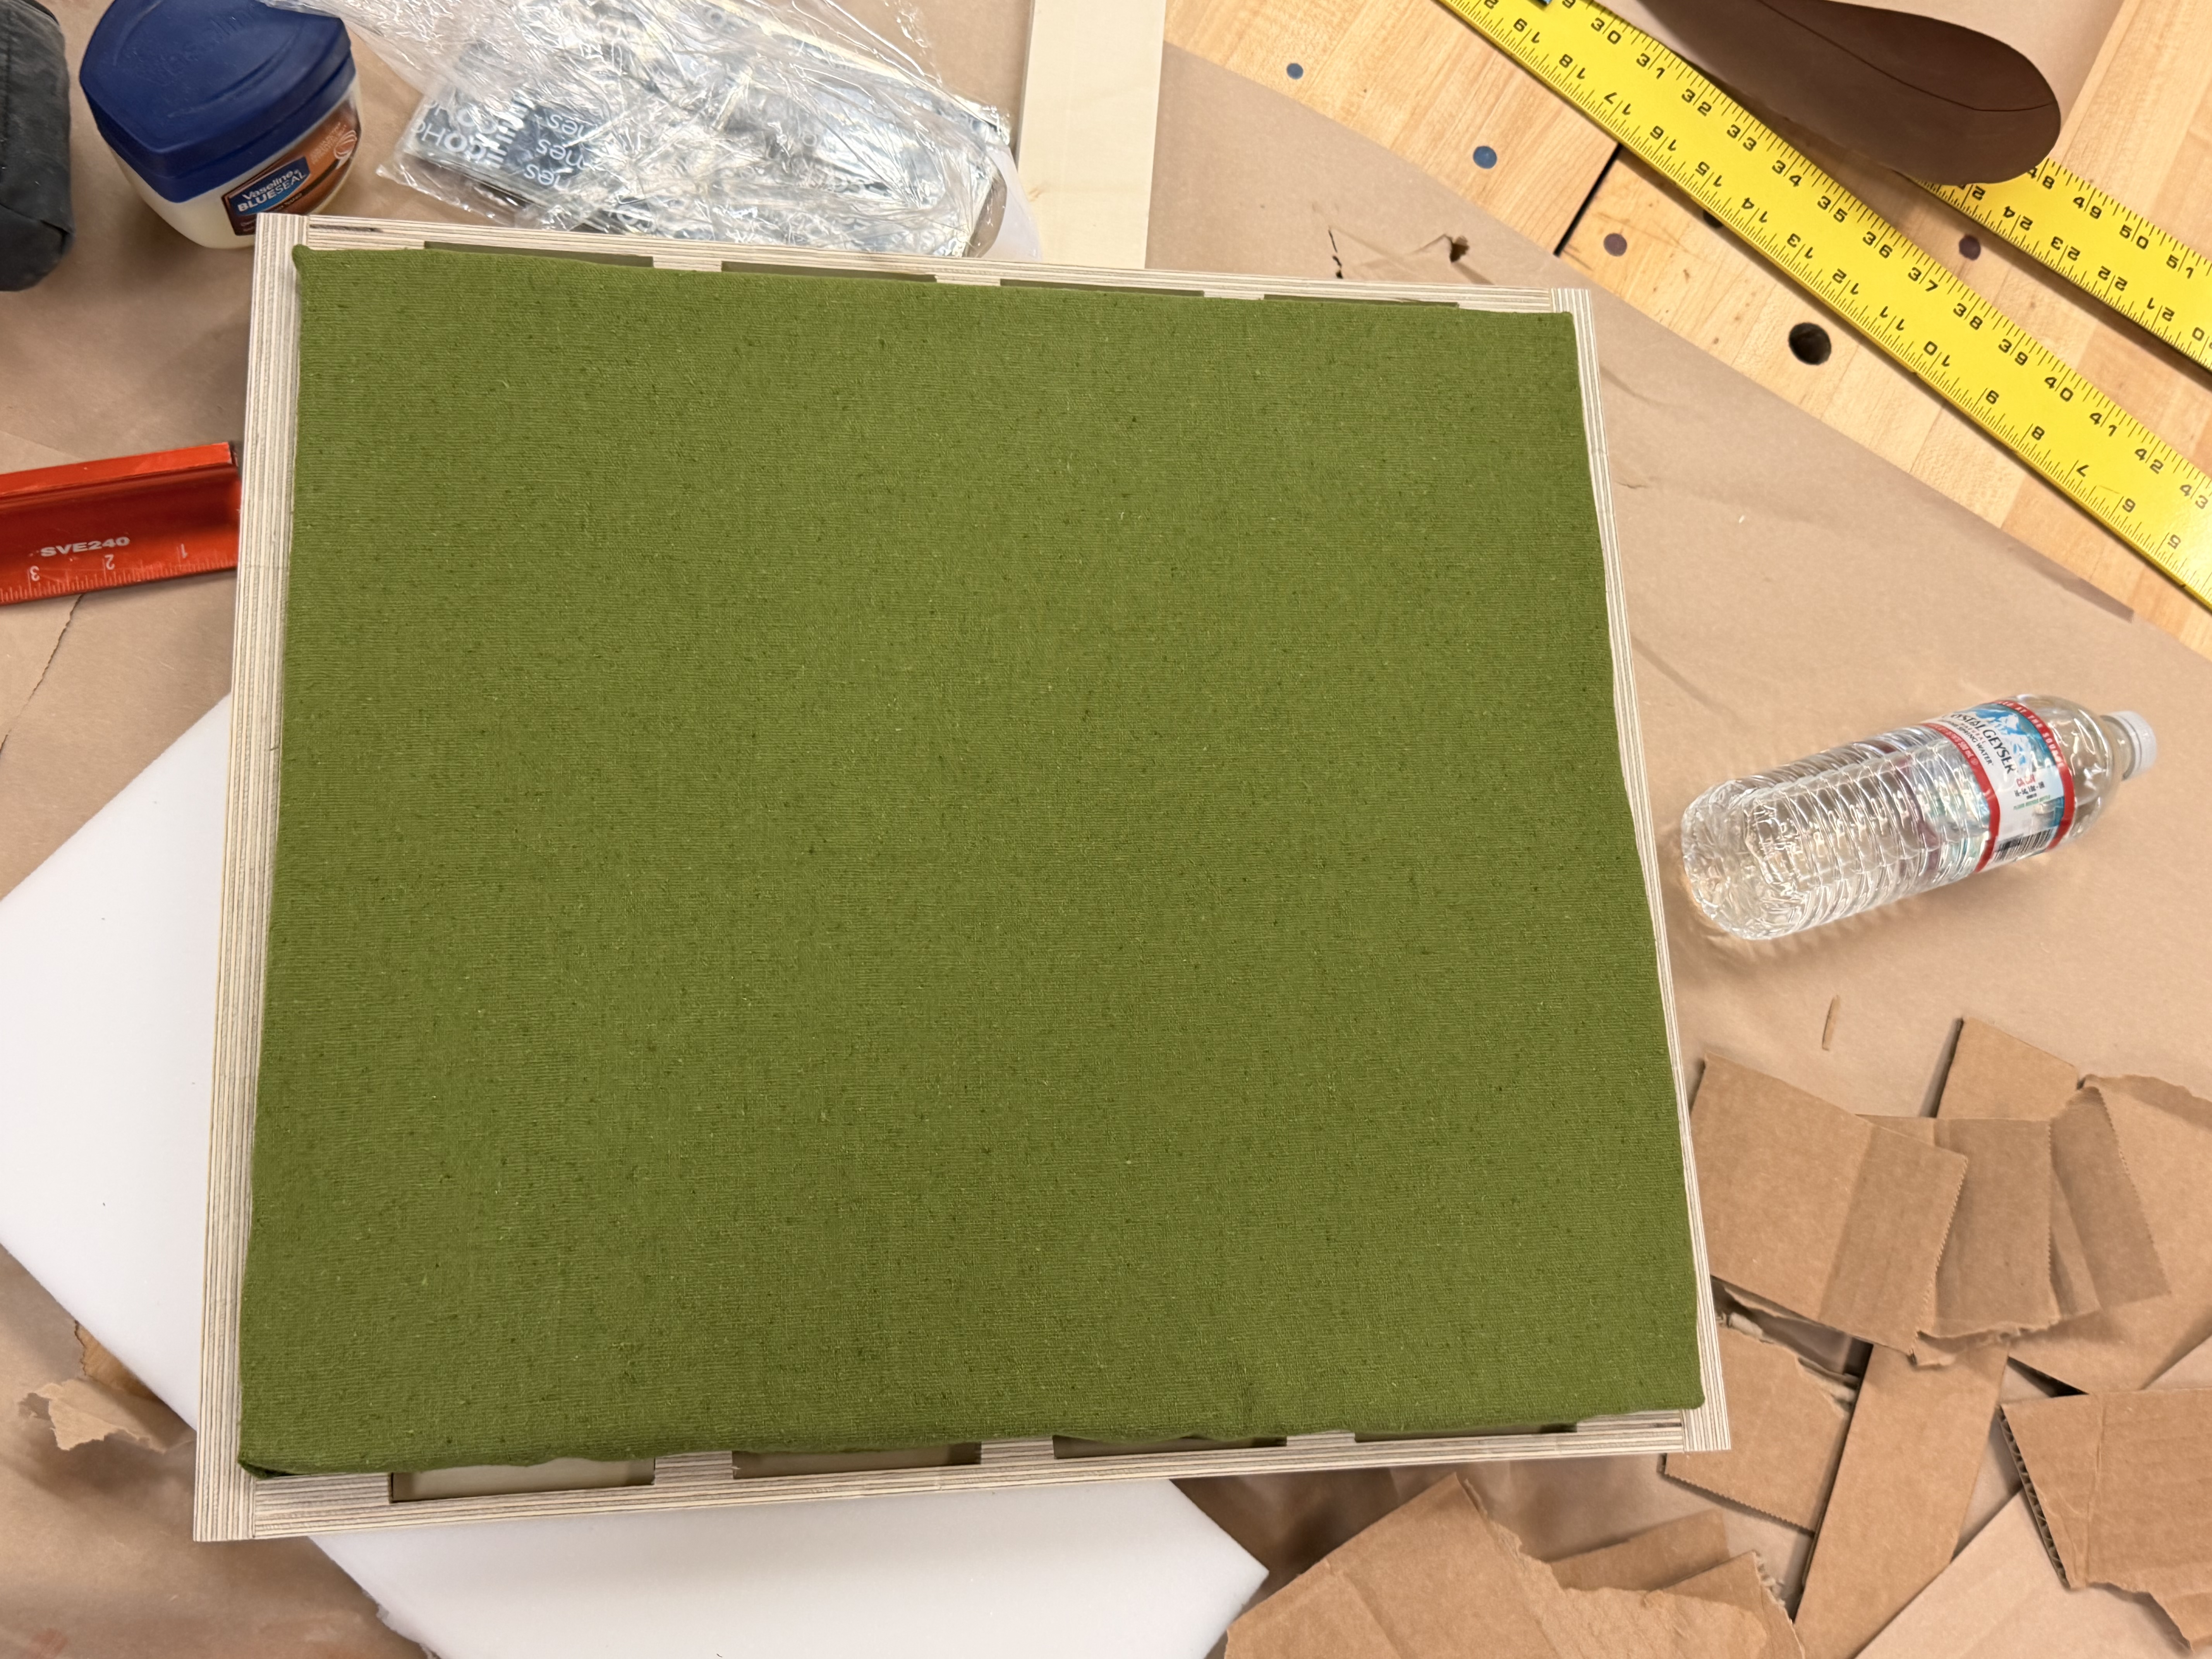
Assembly happened in stages — each sub-assembly clamped and cured before the next joint was glued. The seat cushion was hand-cut from 1″ foam, wrapped in olive green fabric, and tension-seated into the plywood frame.
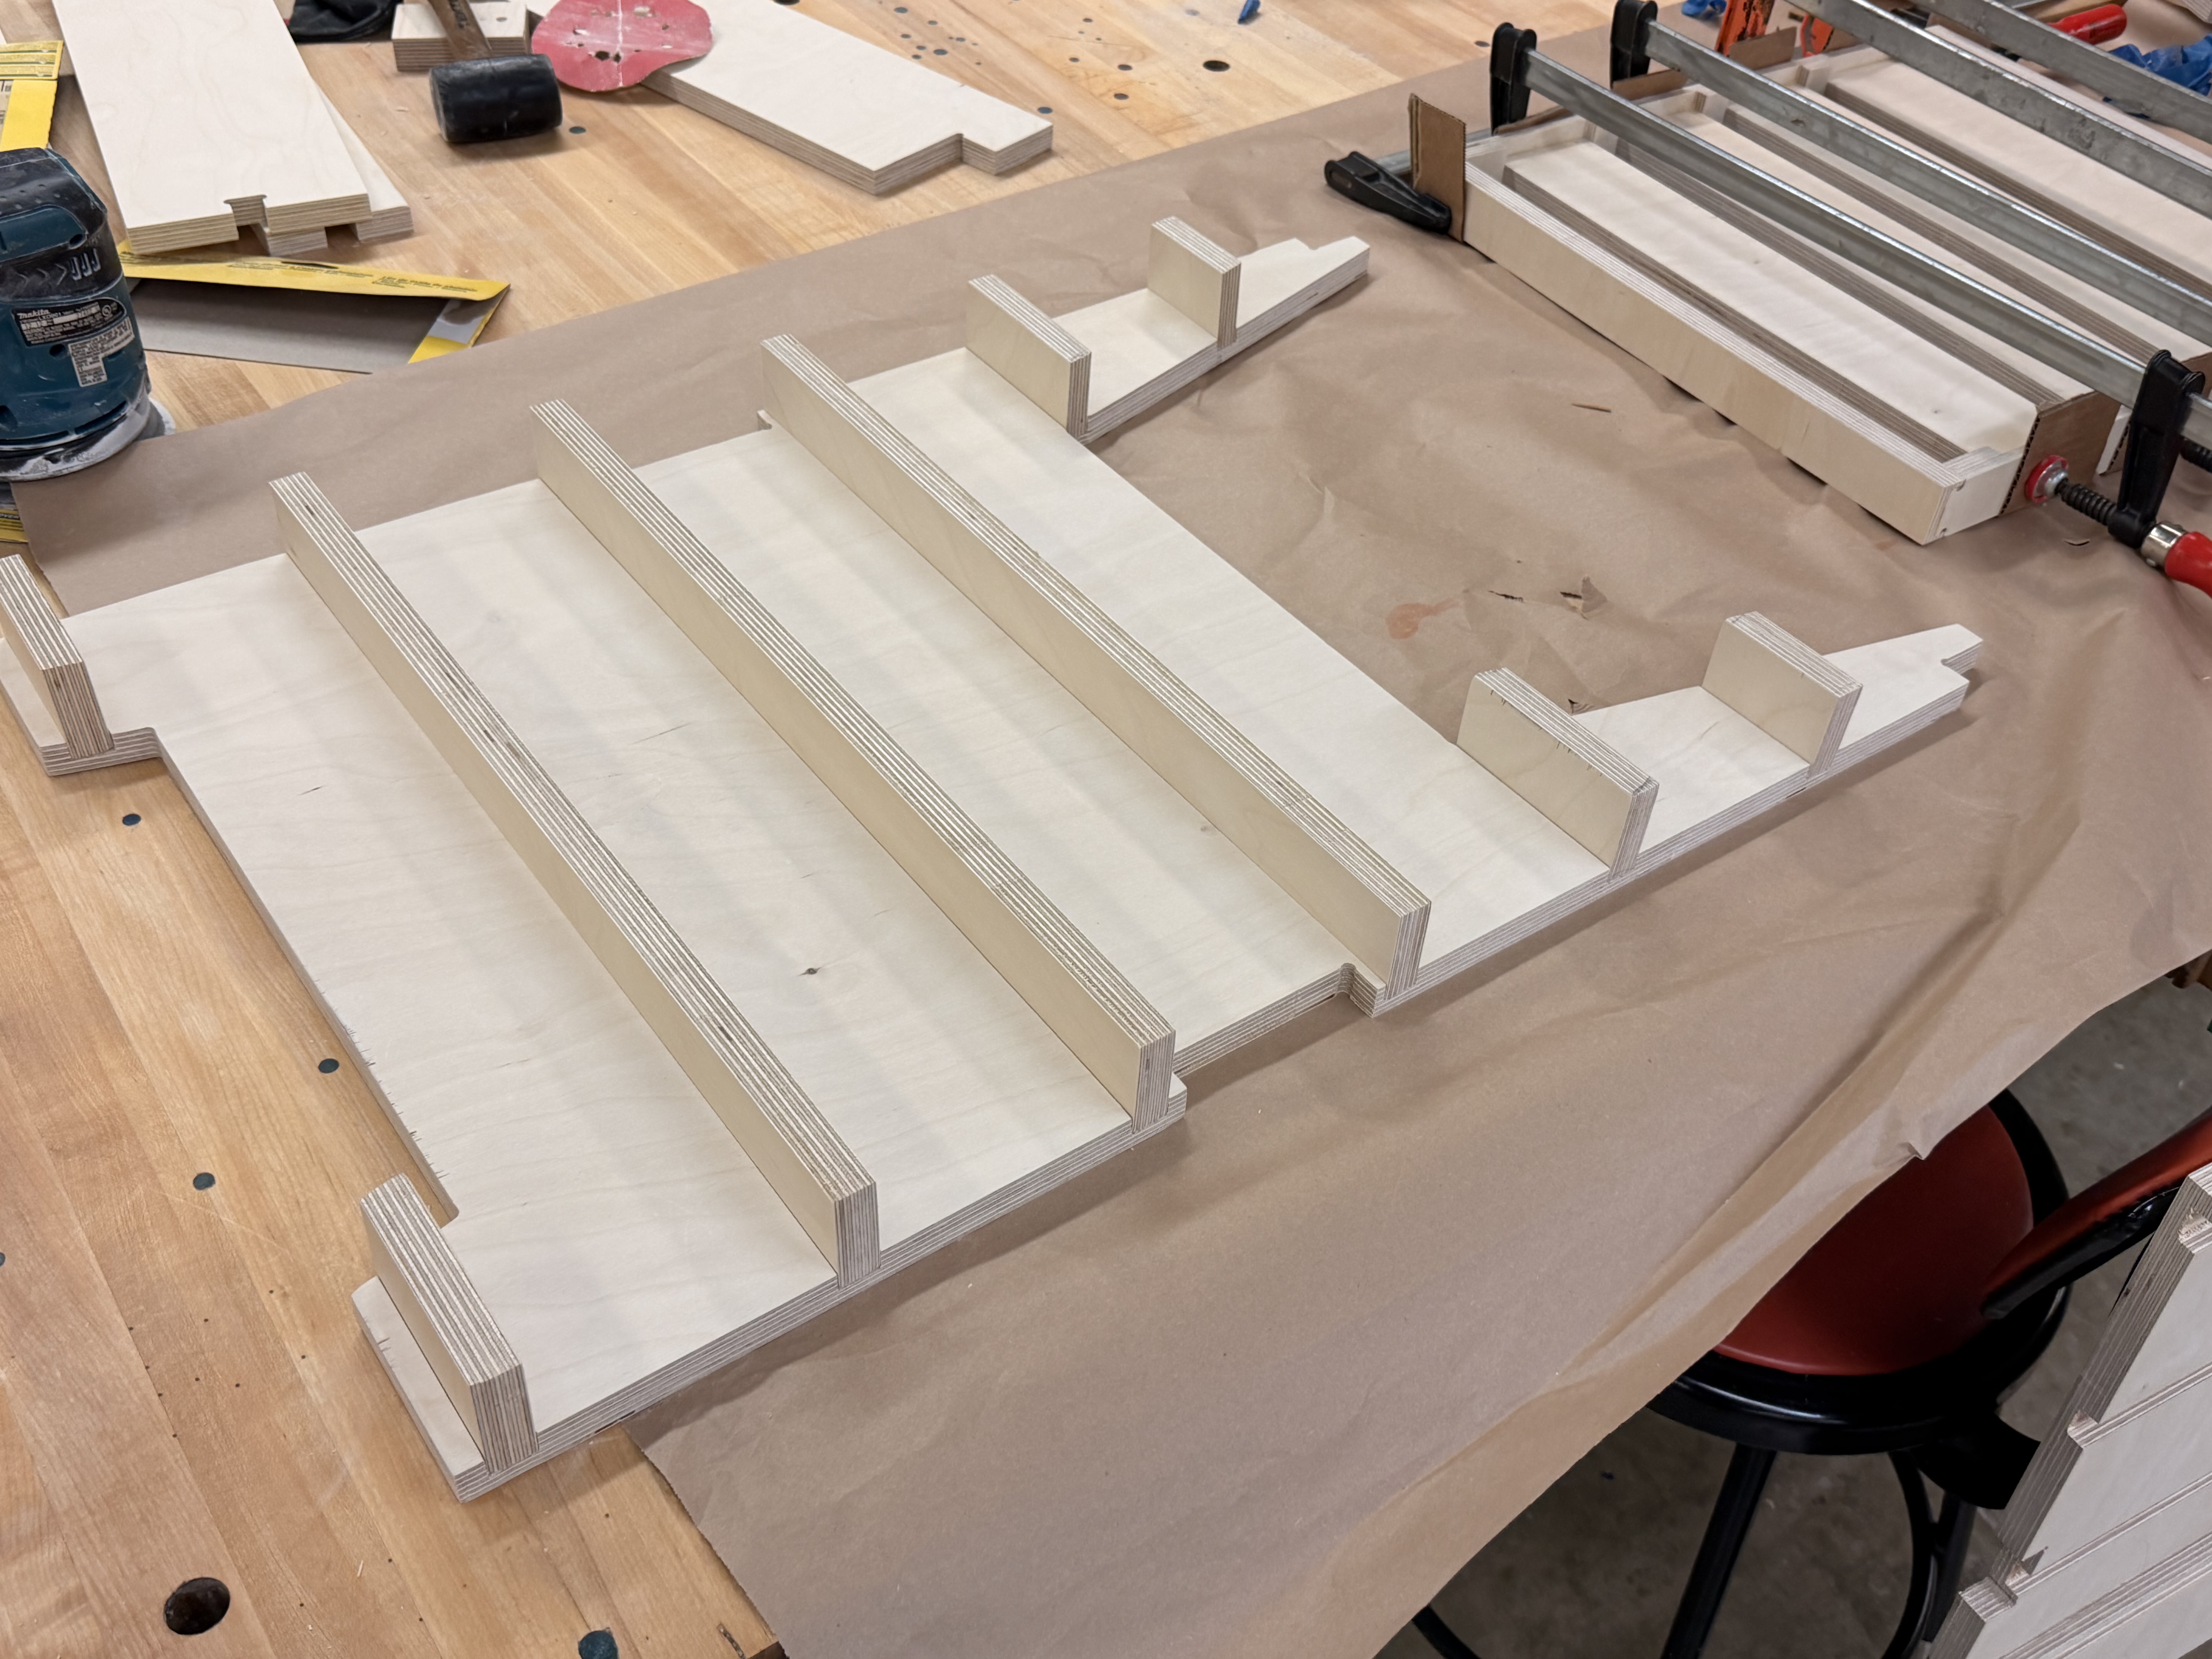
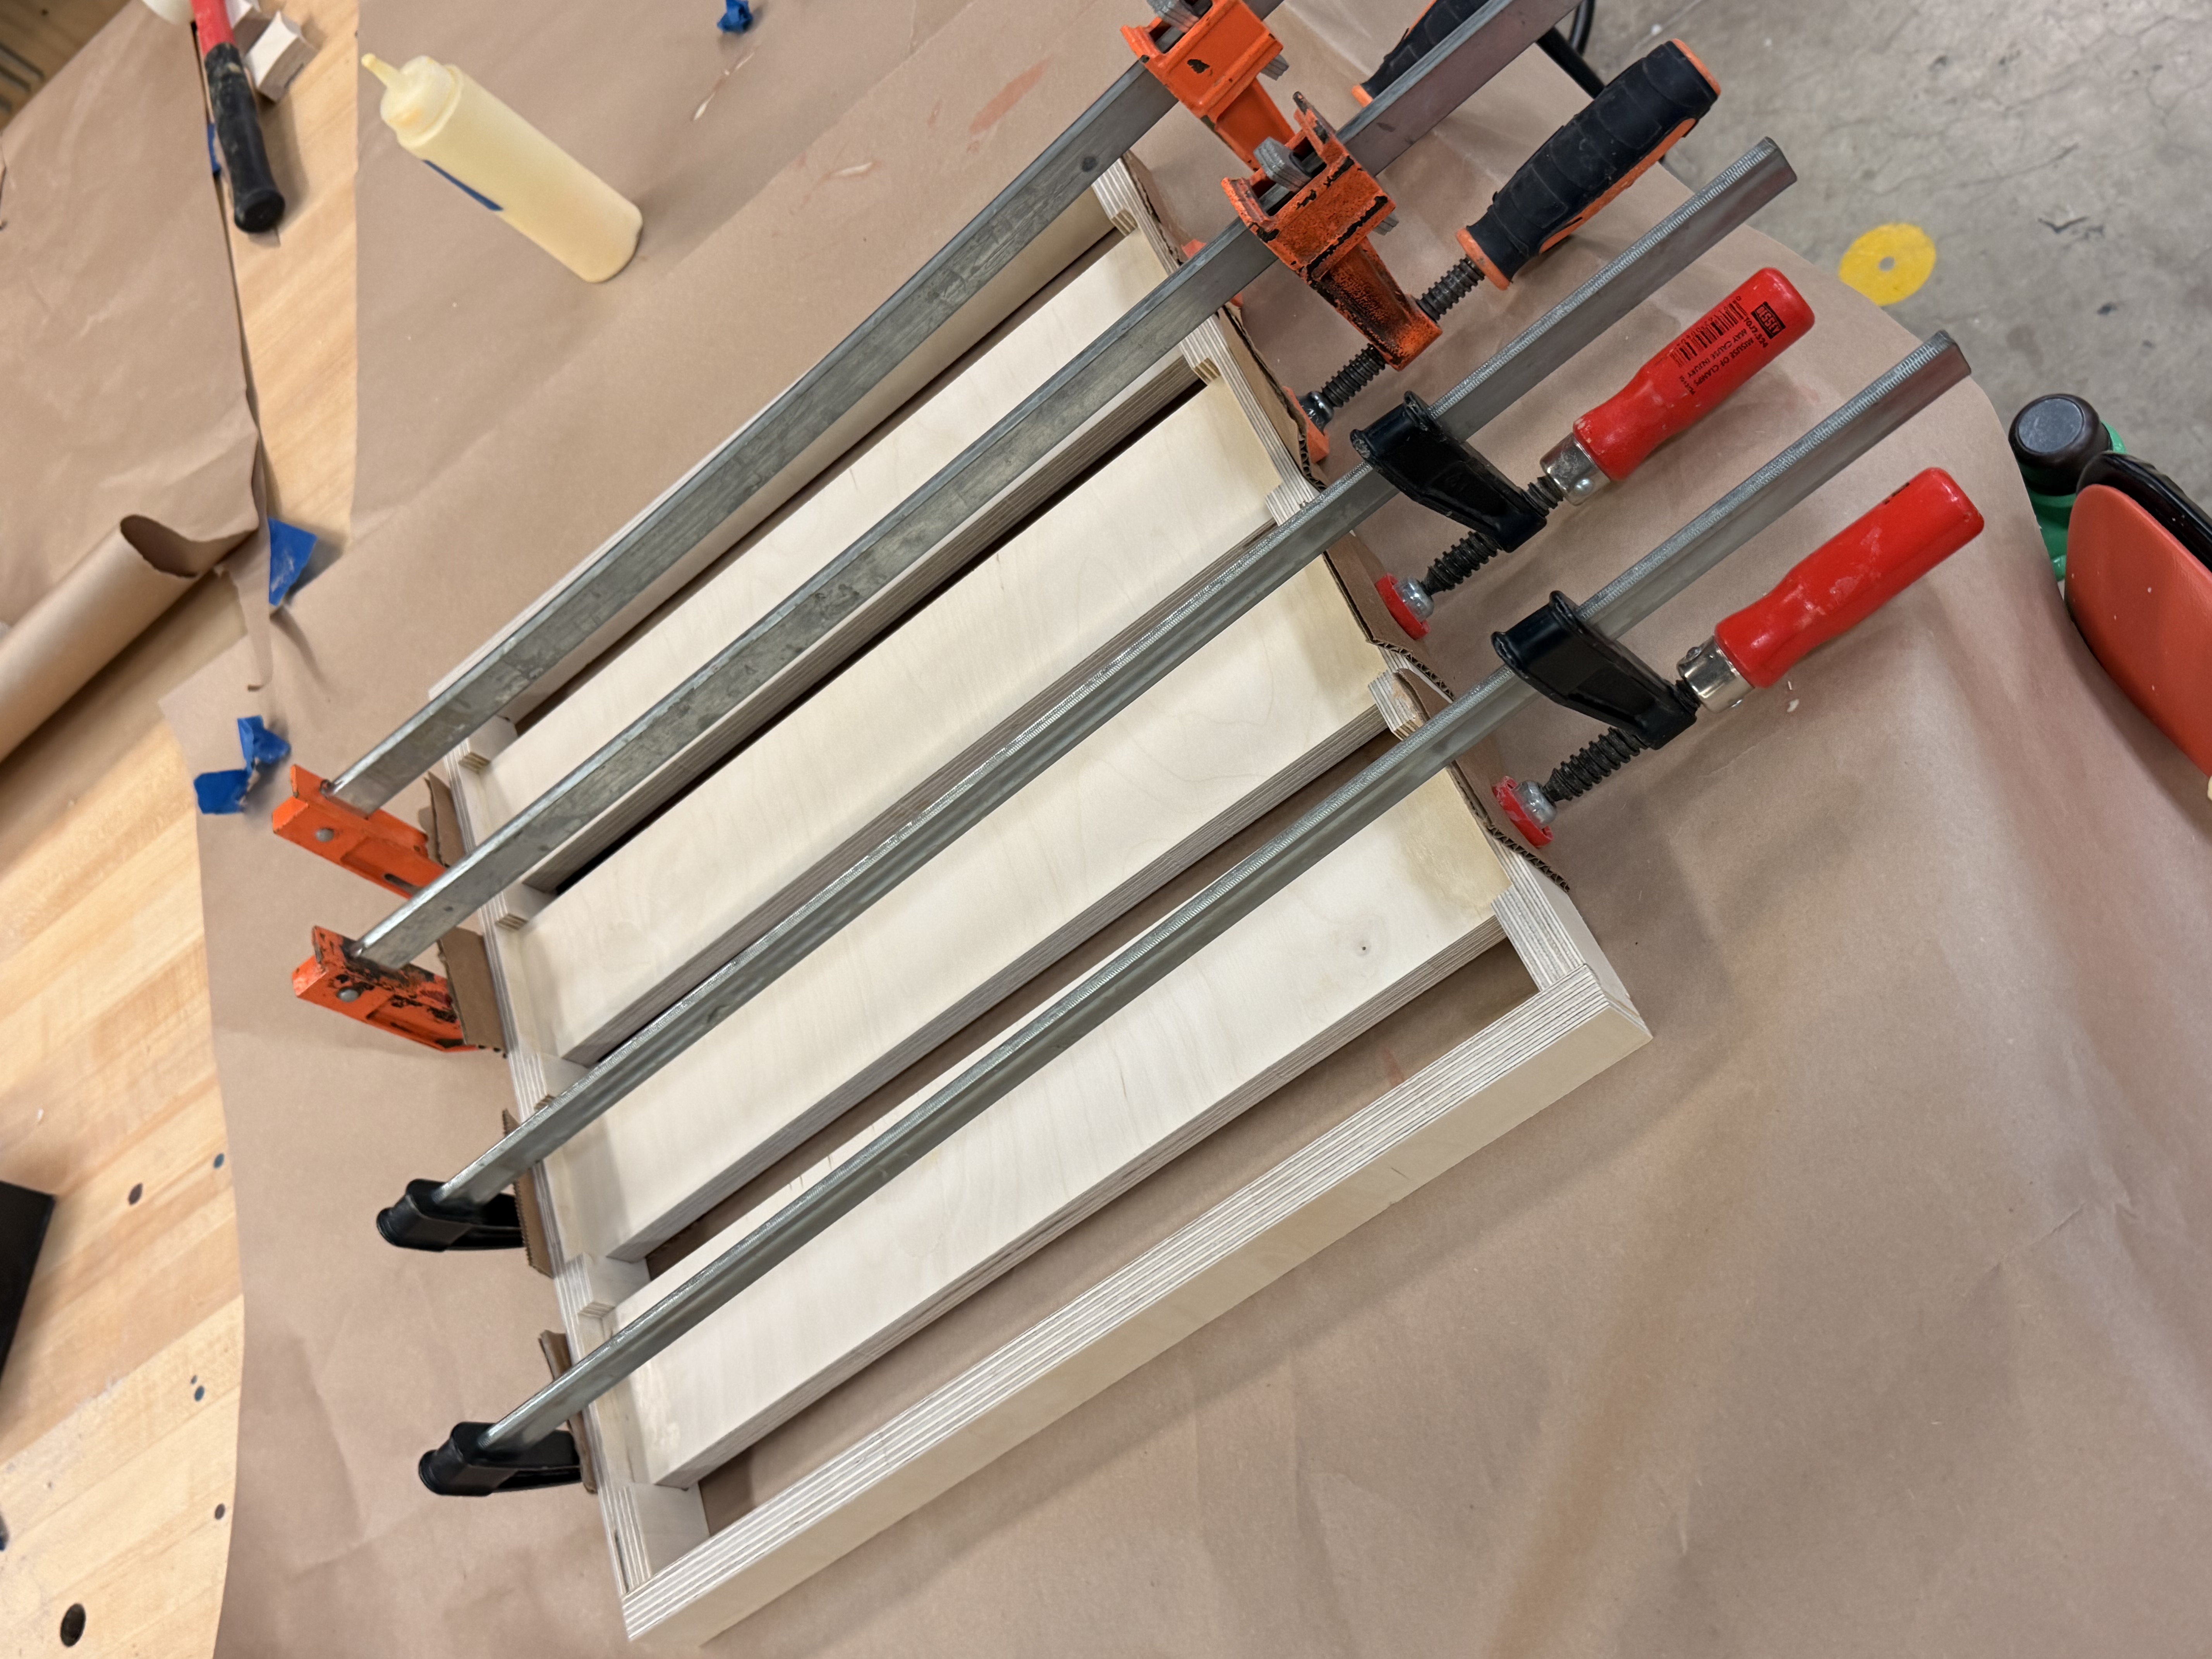
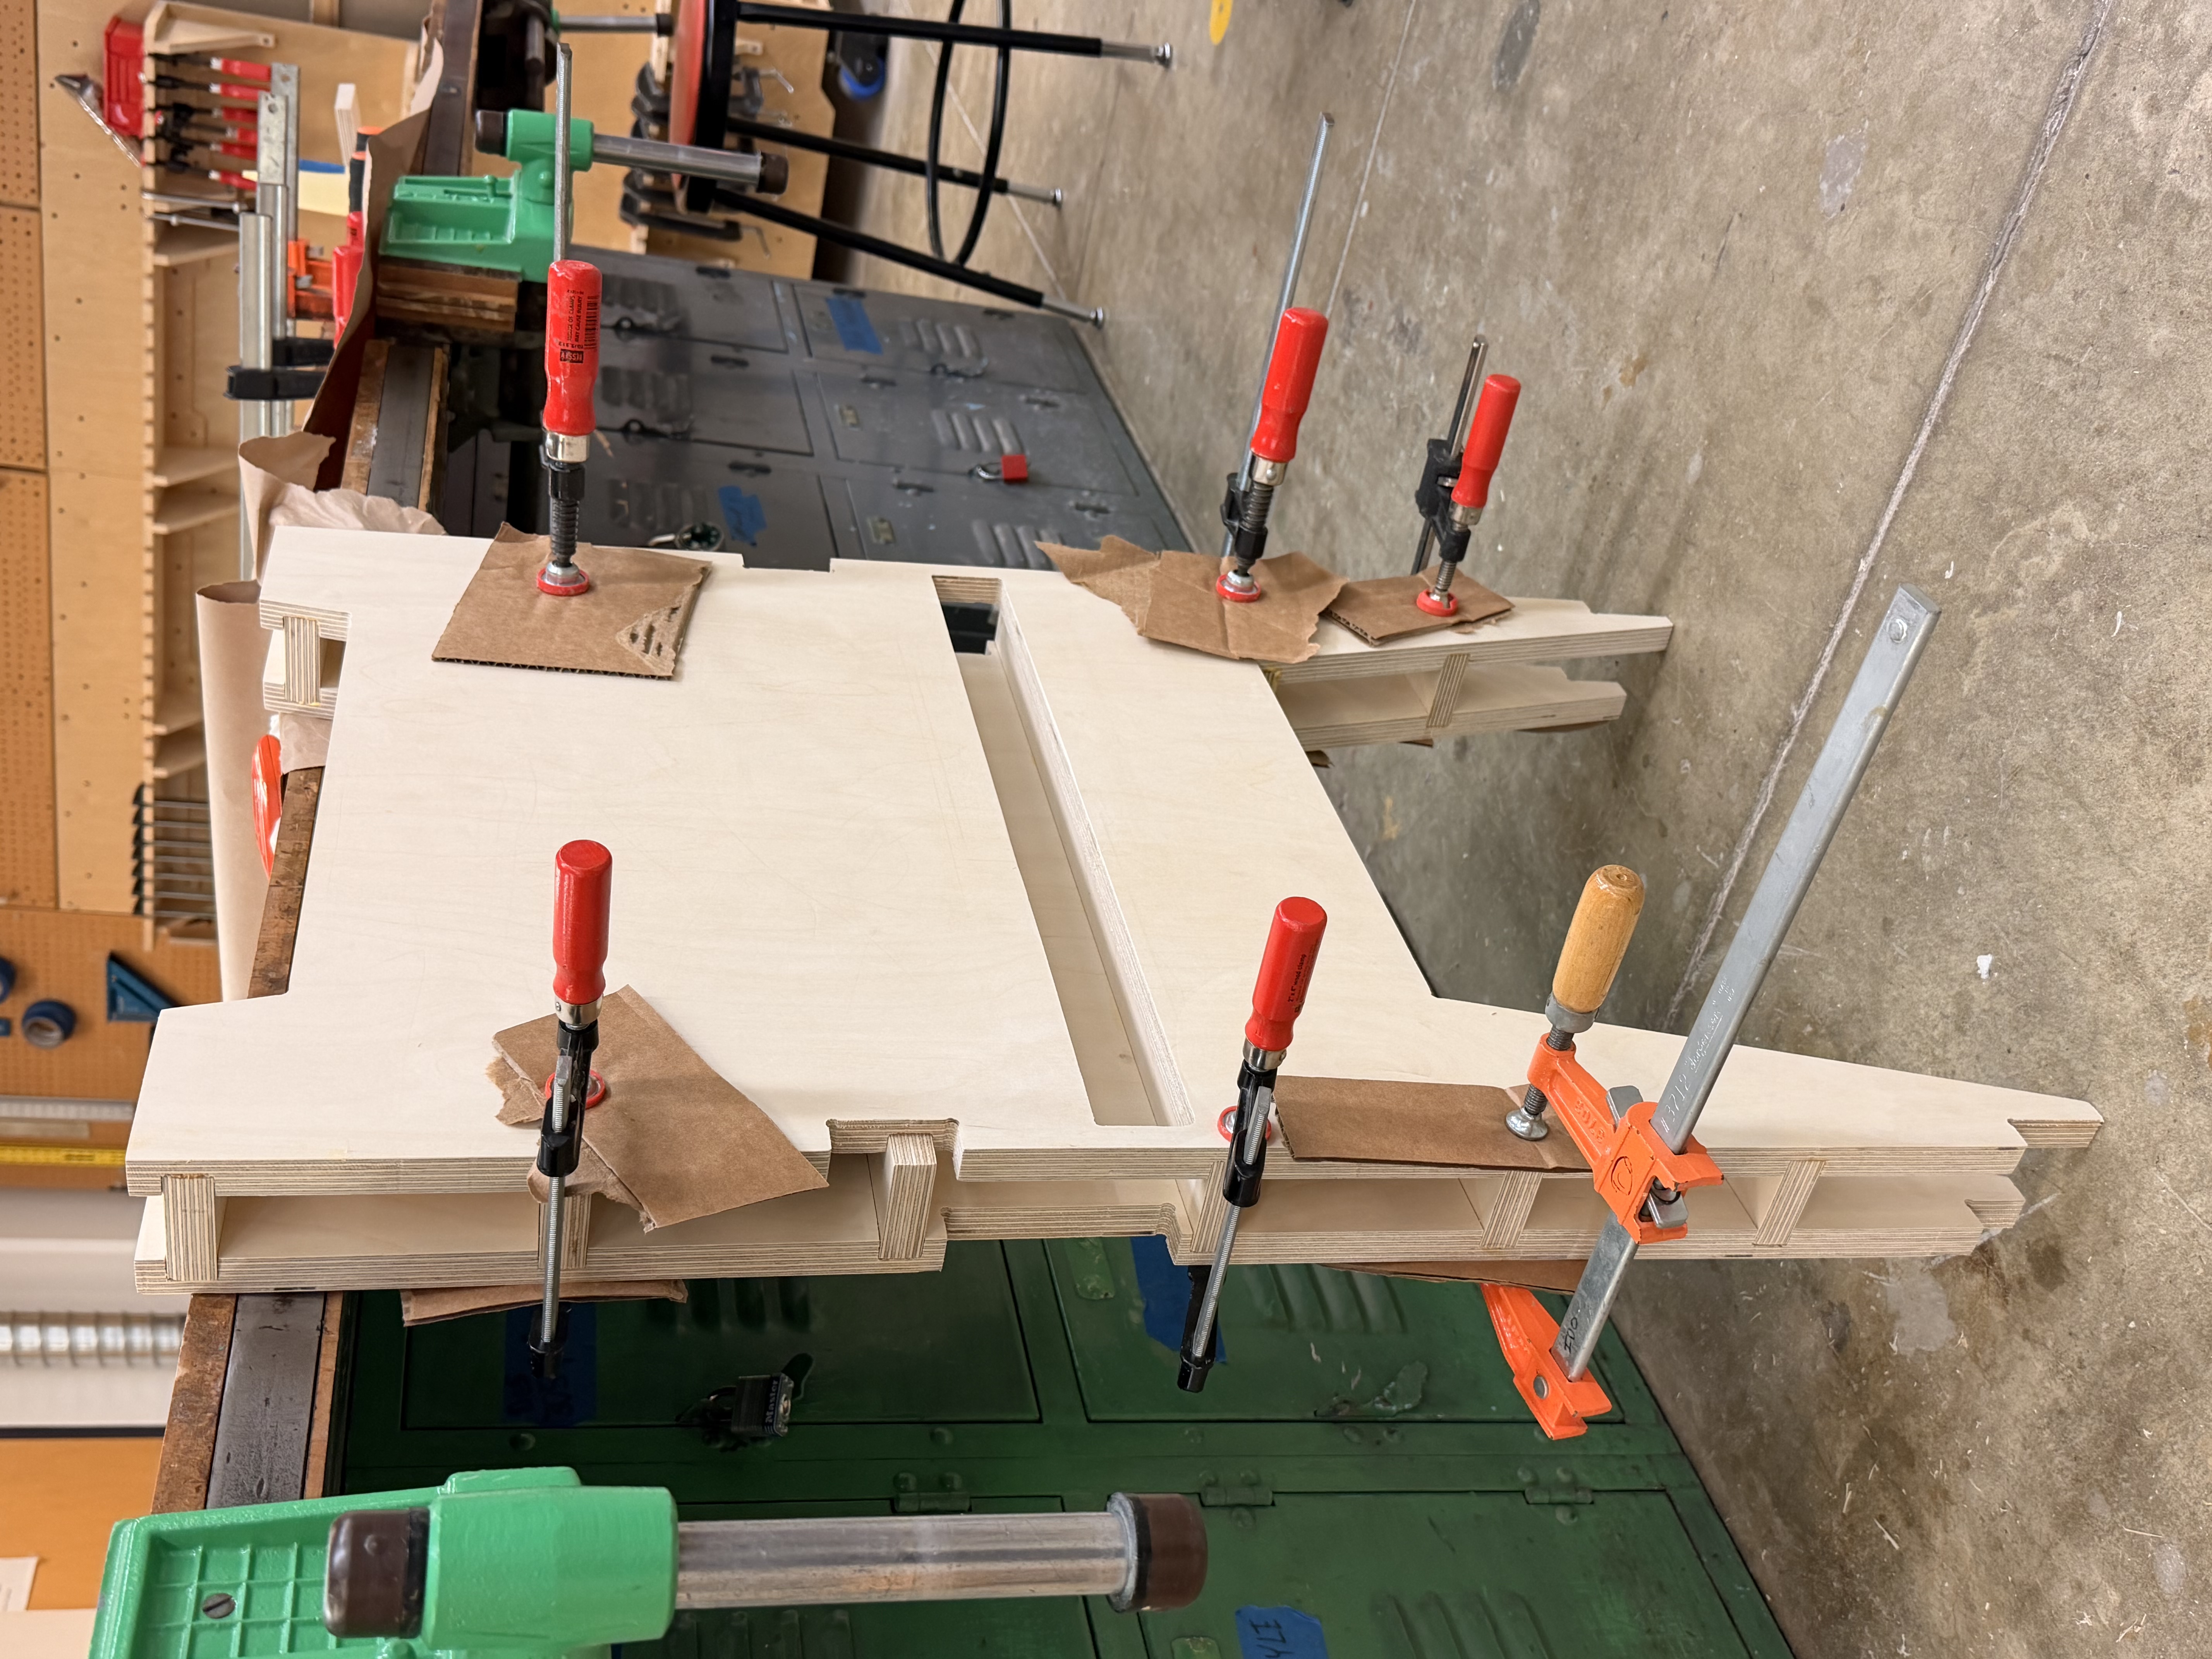
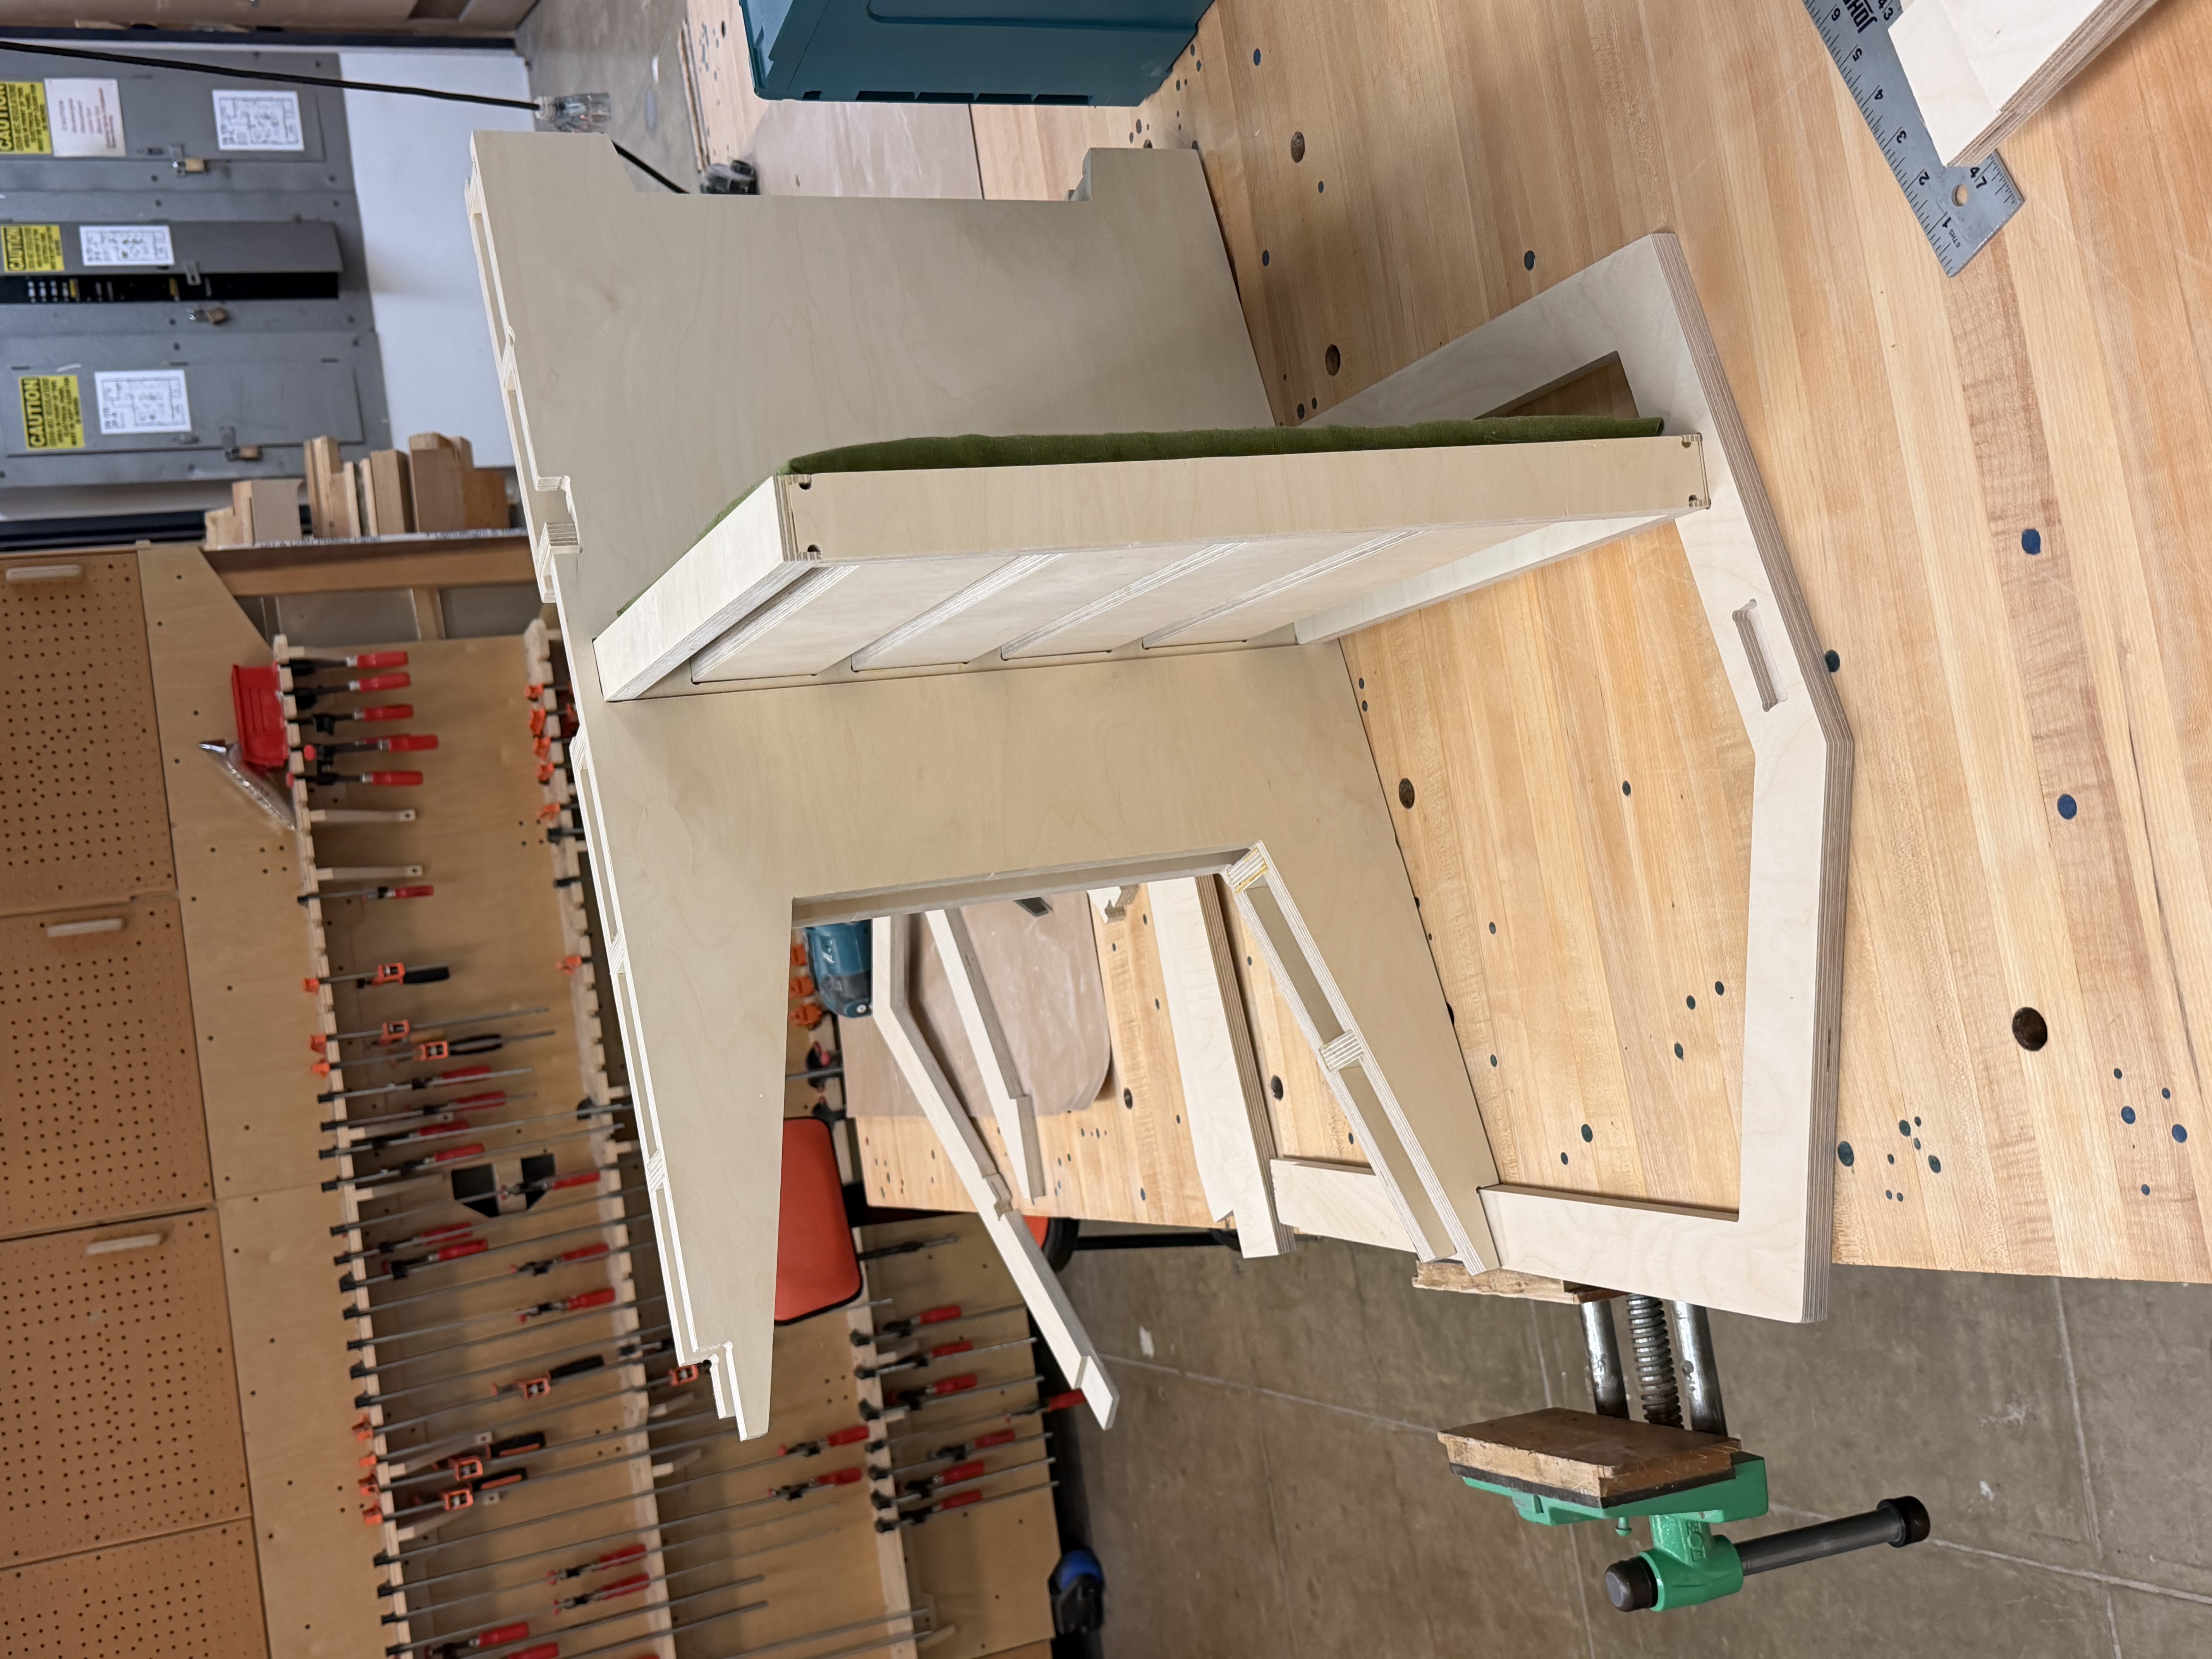
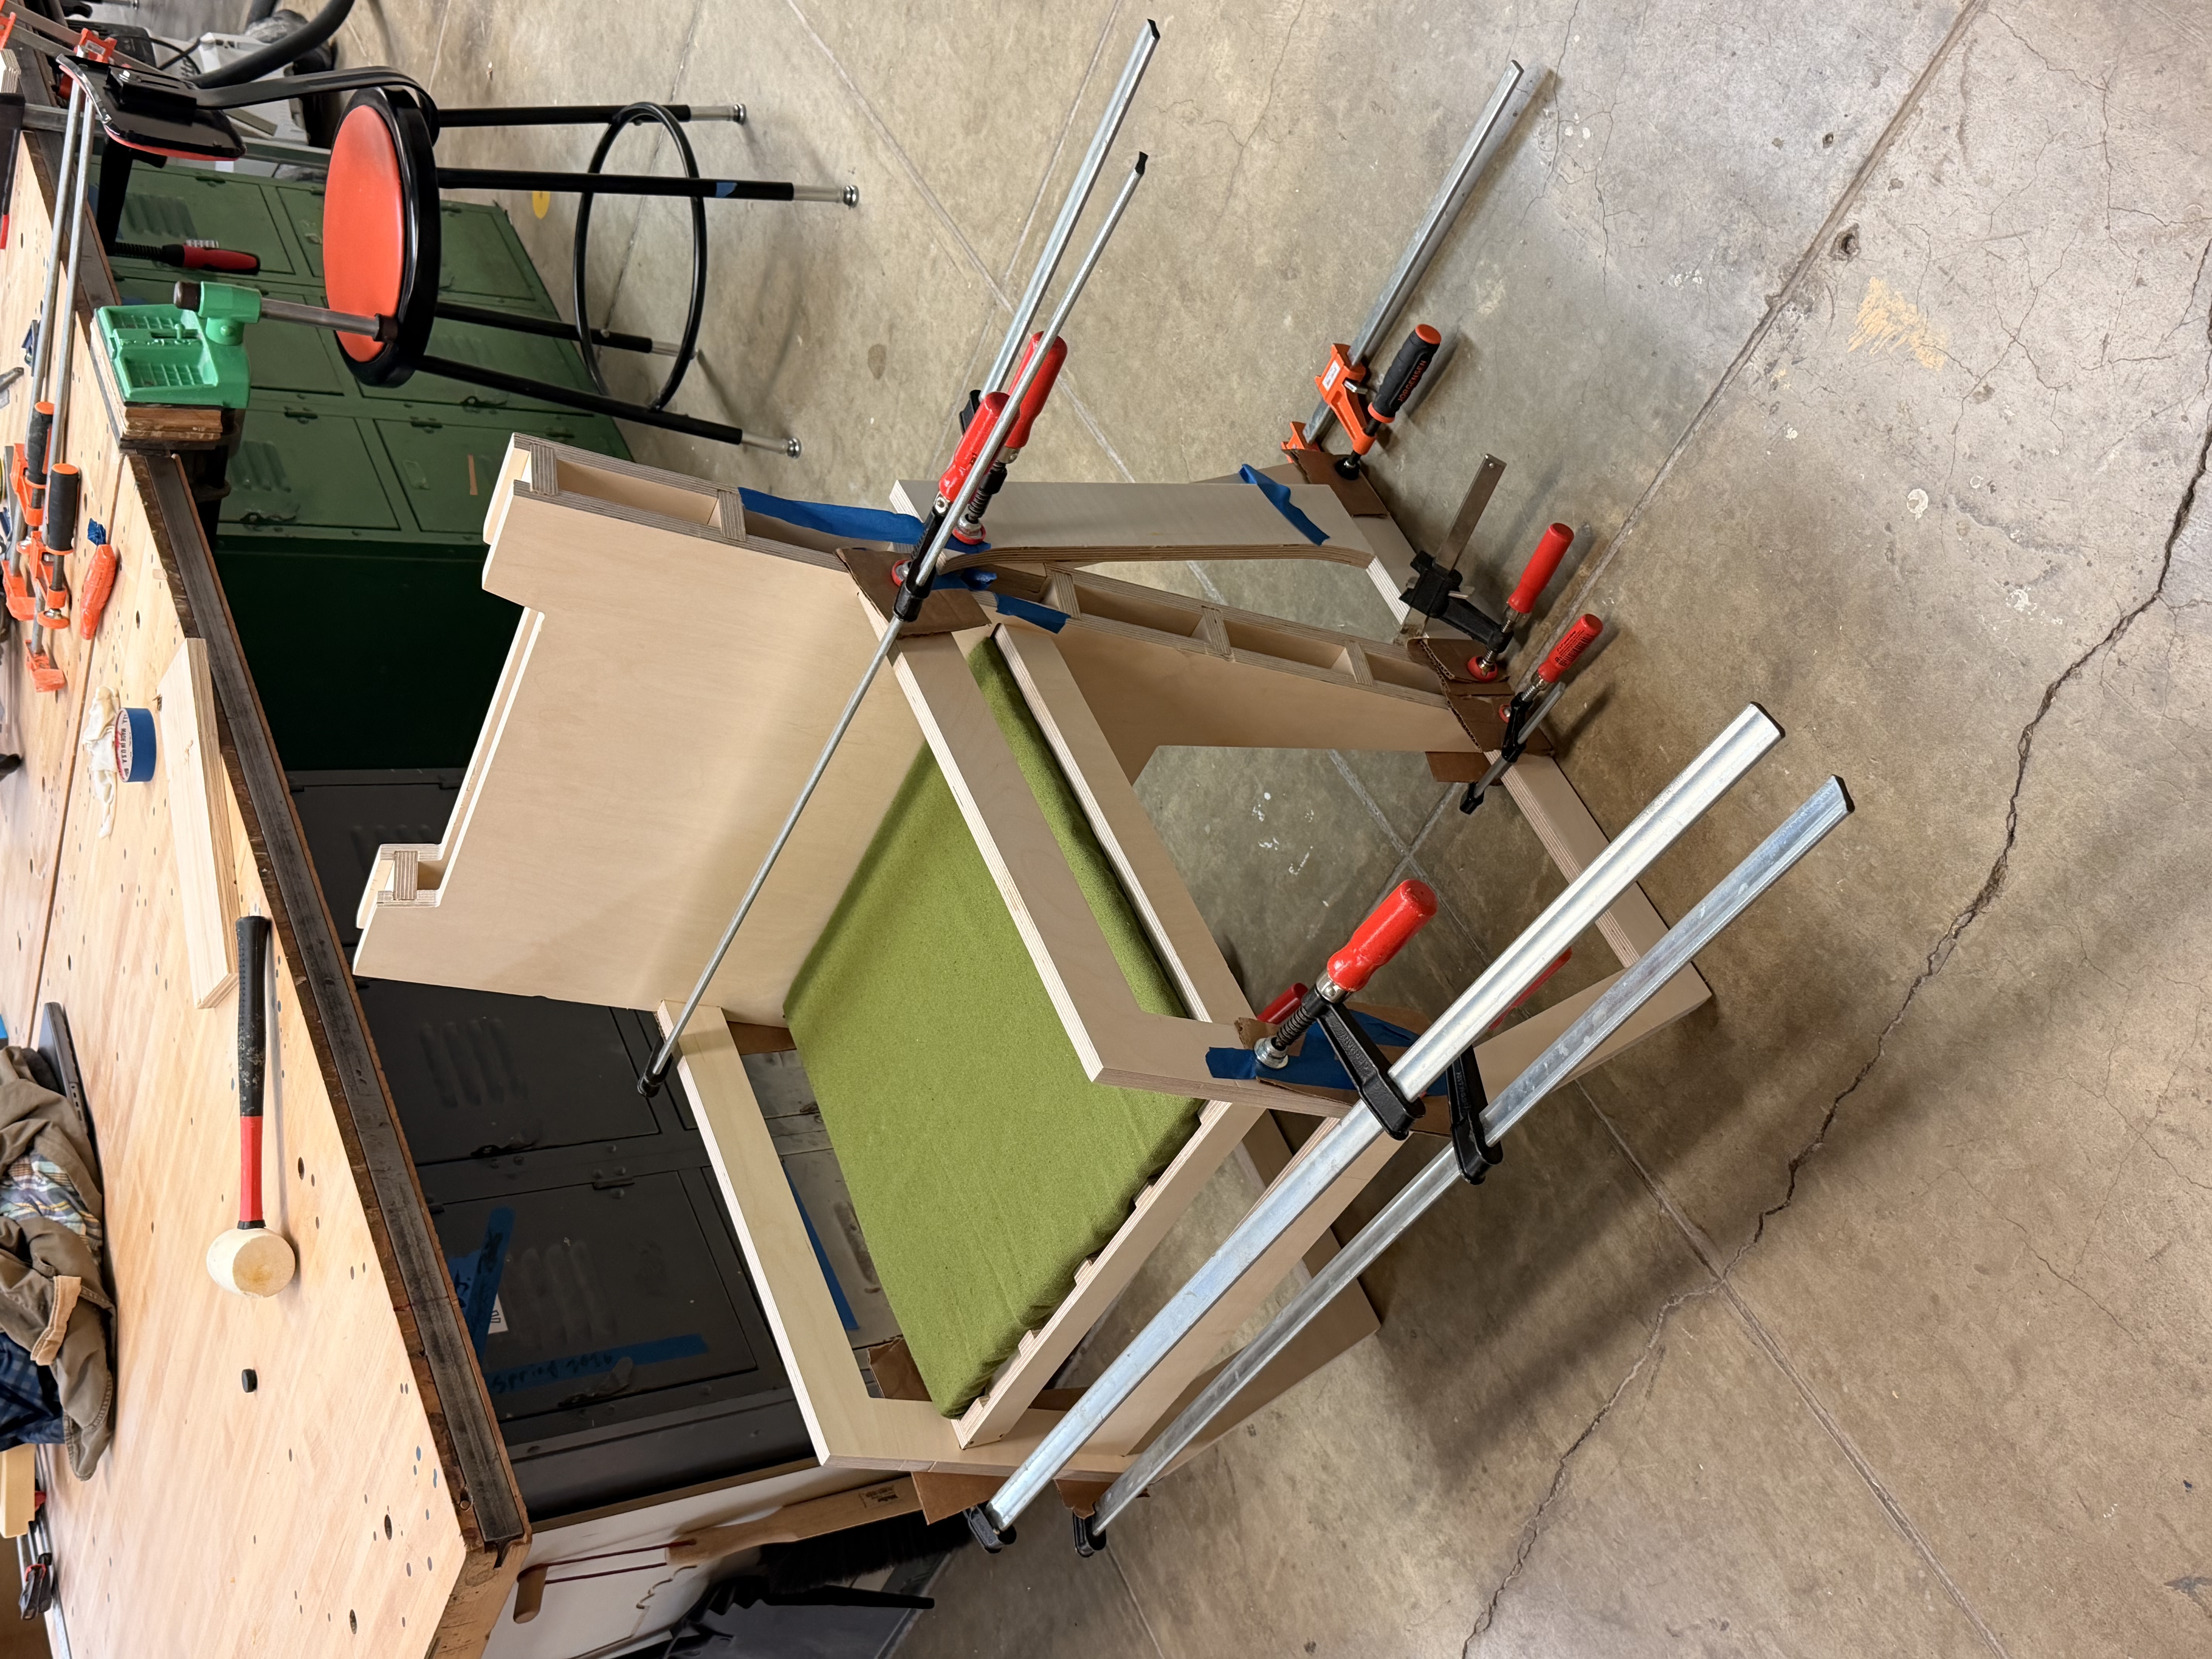
The finished chair was coated with polyurethane. The exposed plywood edges reveal 13 alternating veneer layers, a cross-section of the material that becomes the texture. The joinery is visible from every angle.
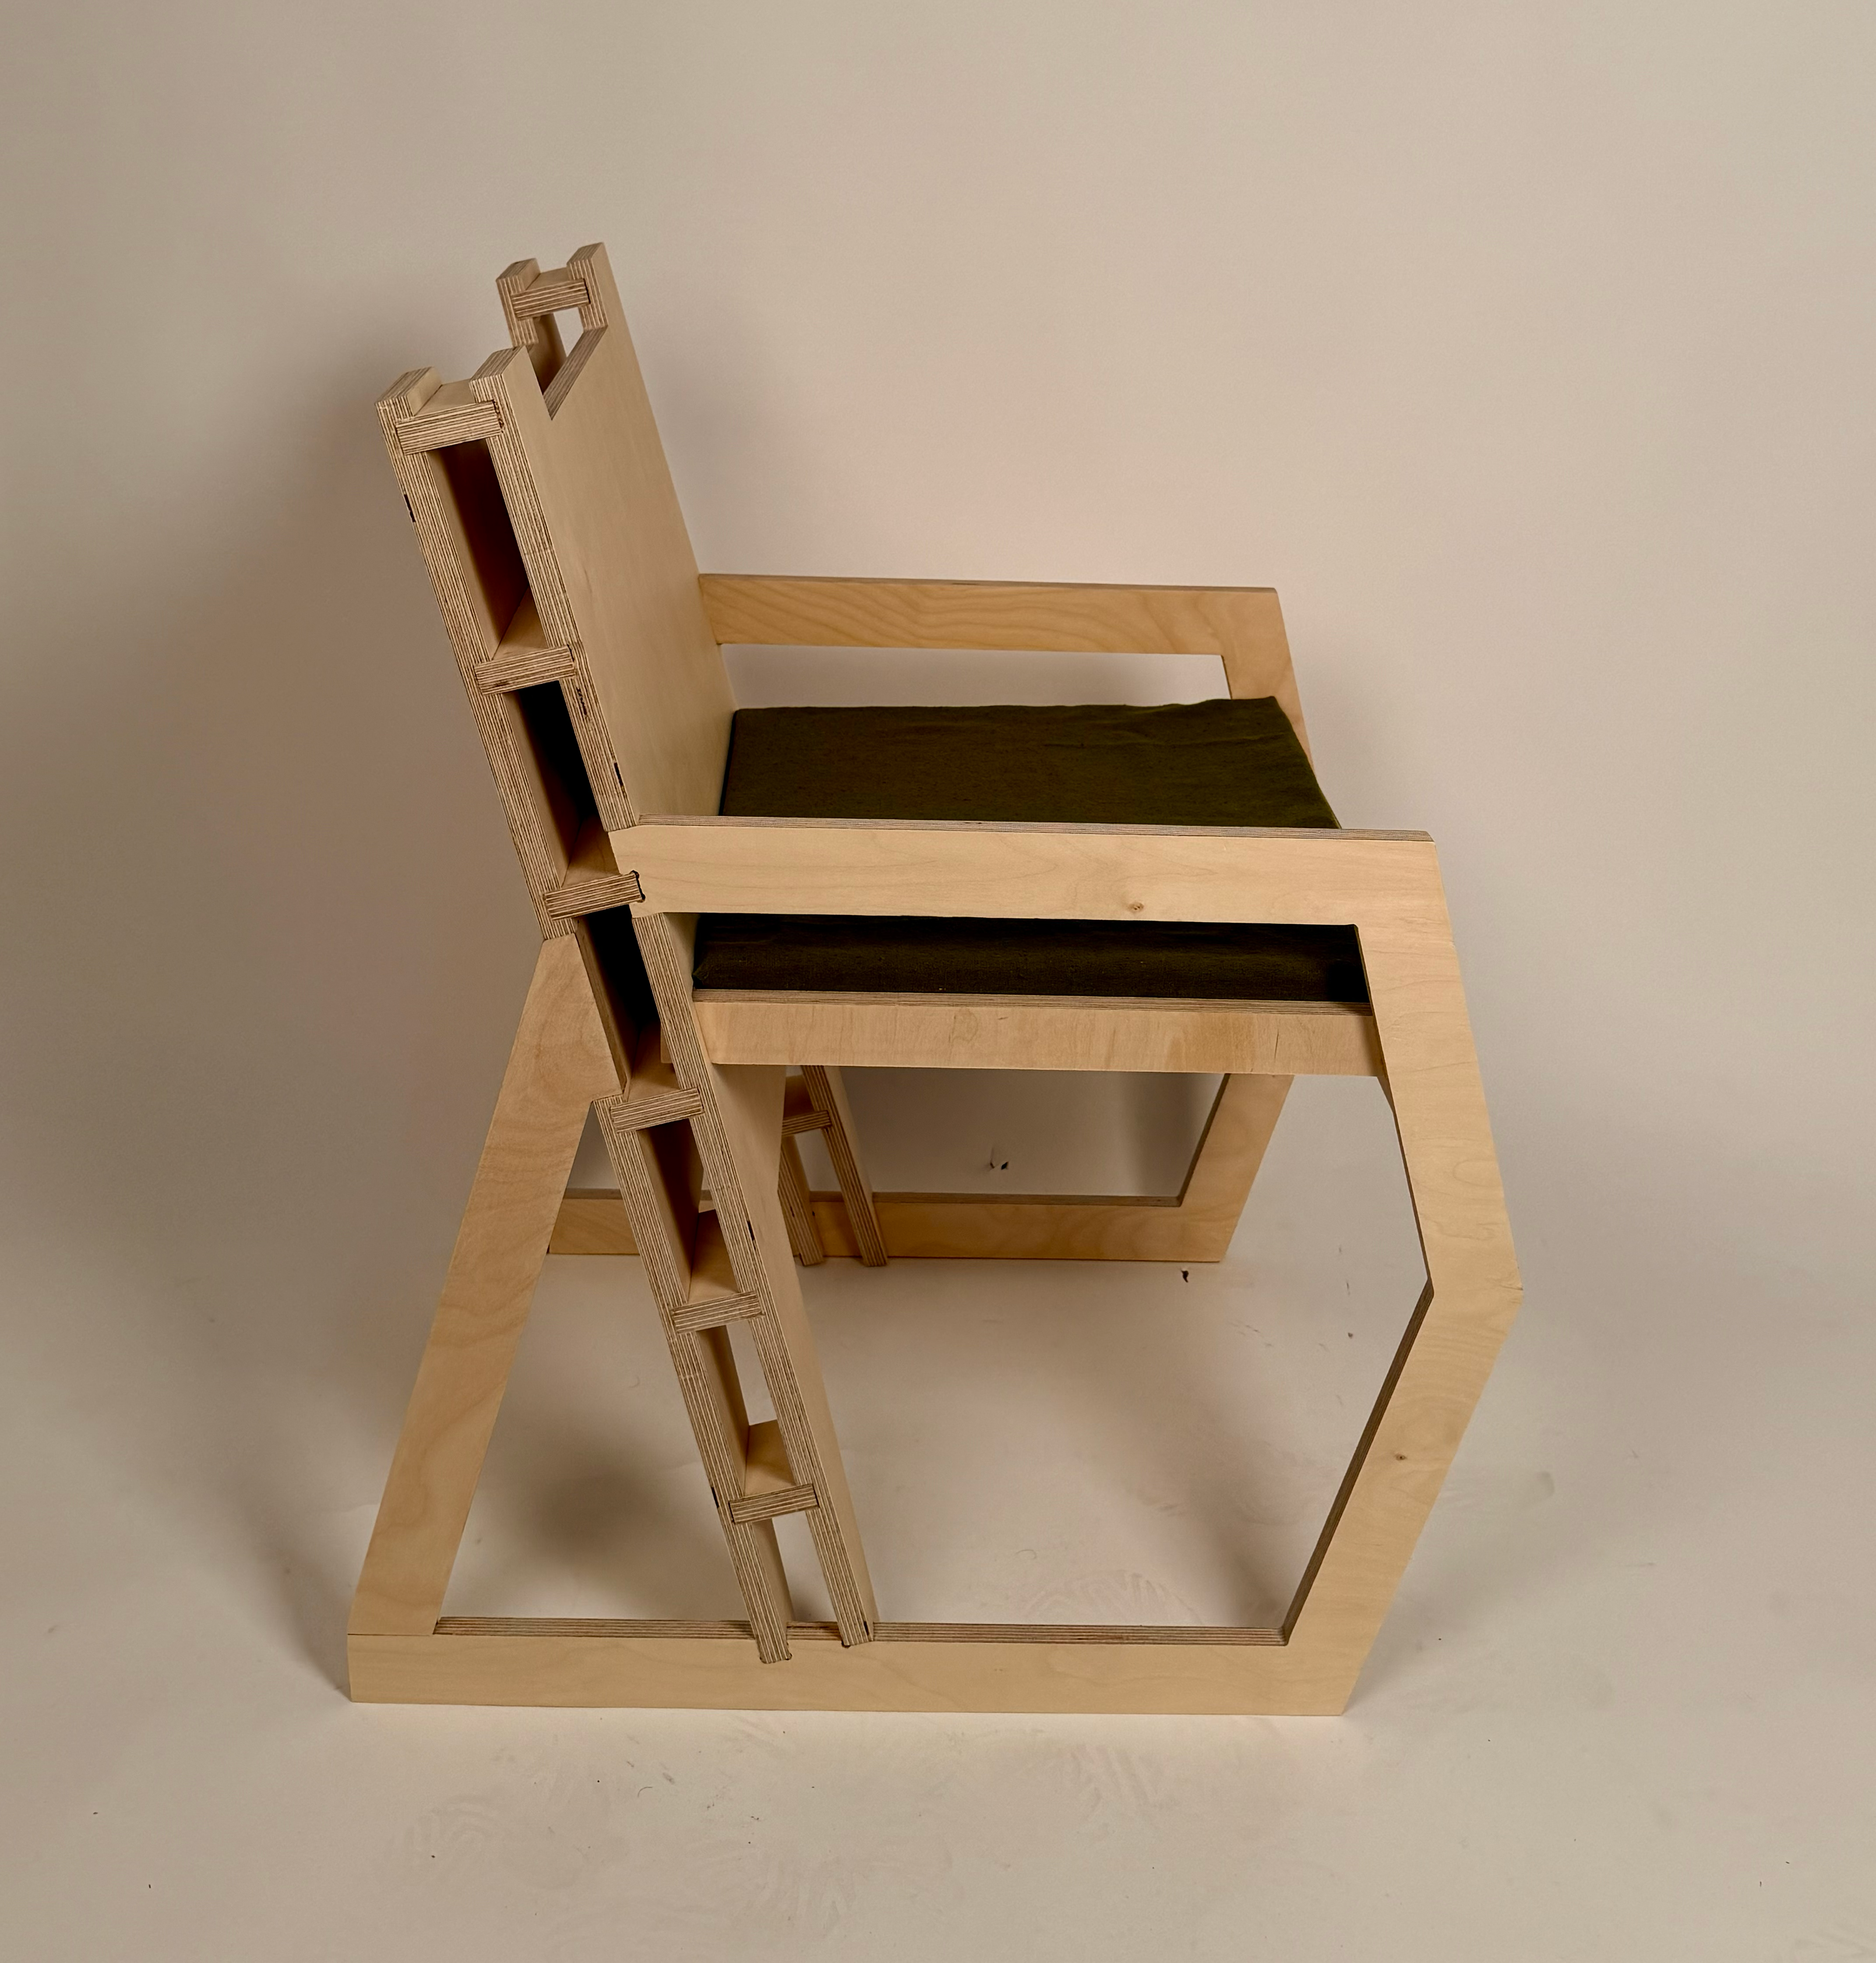
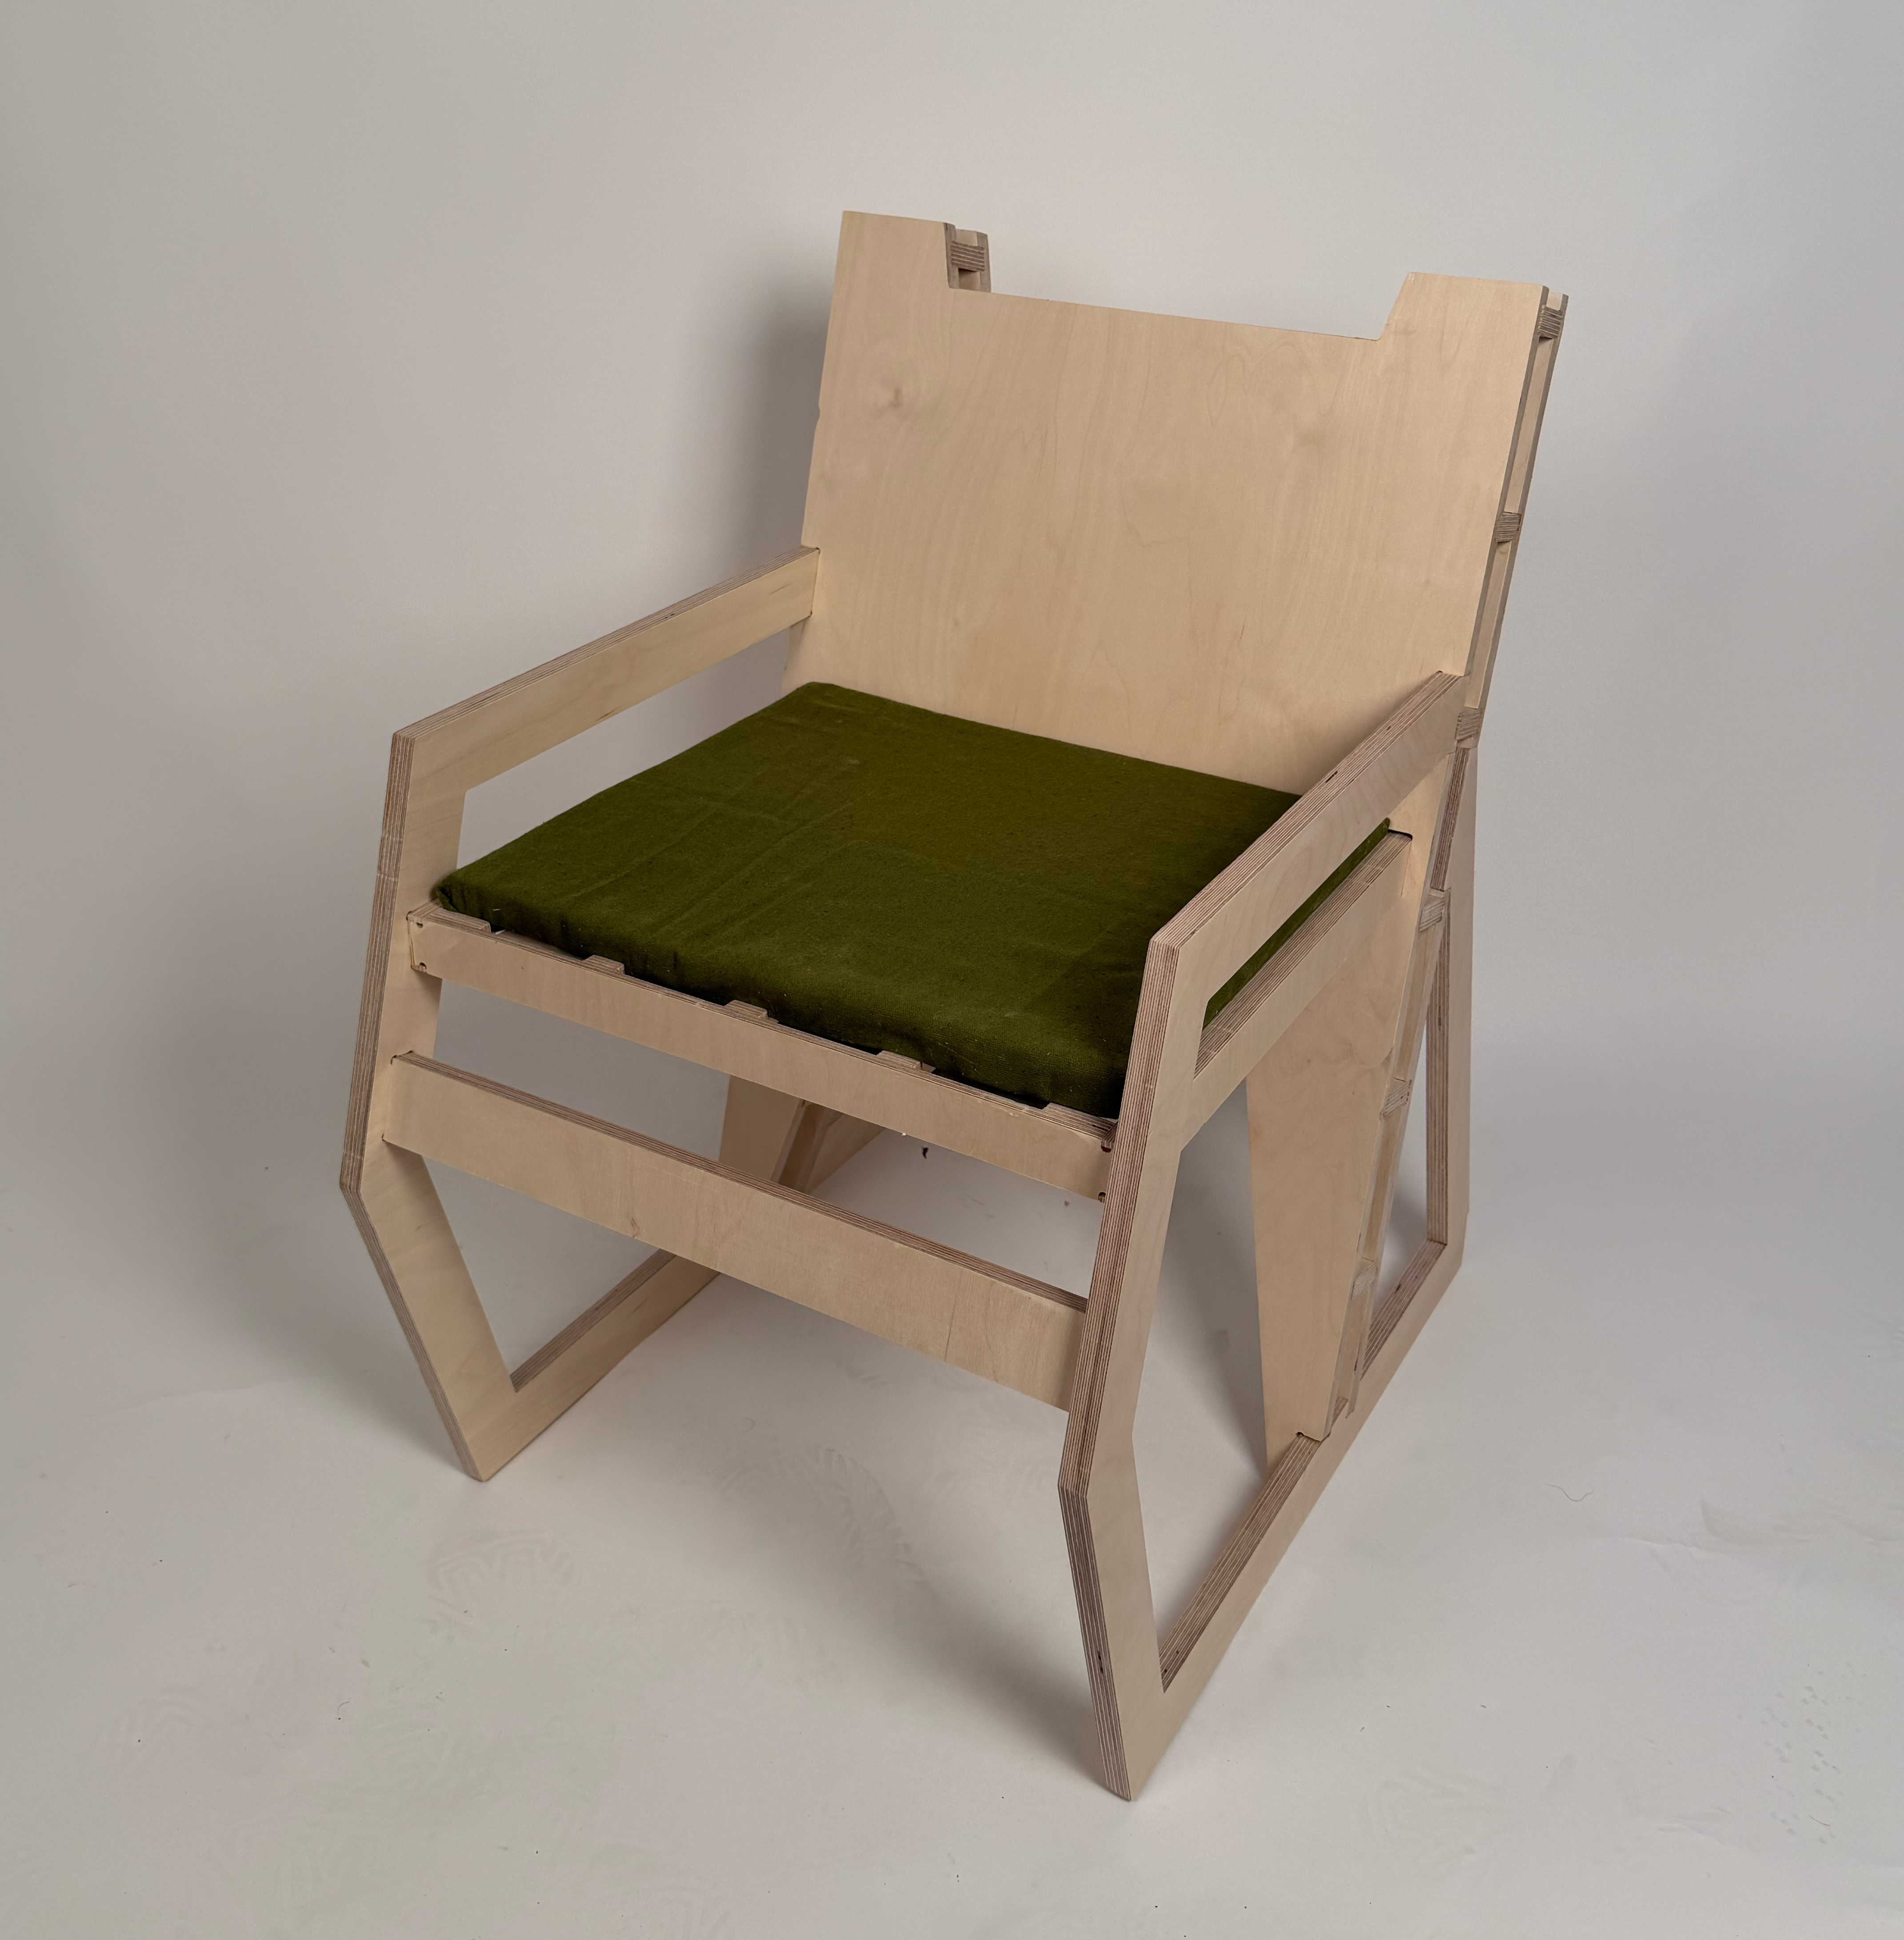
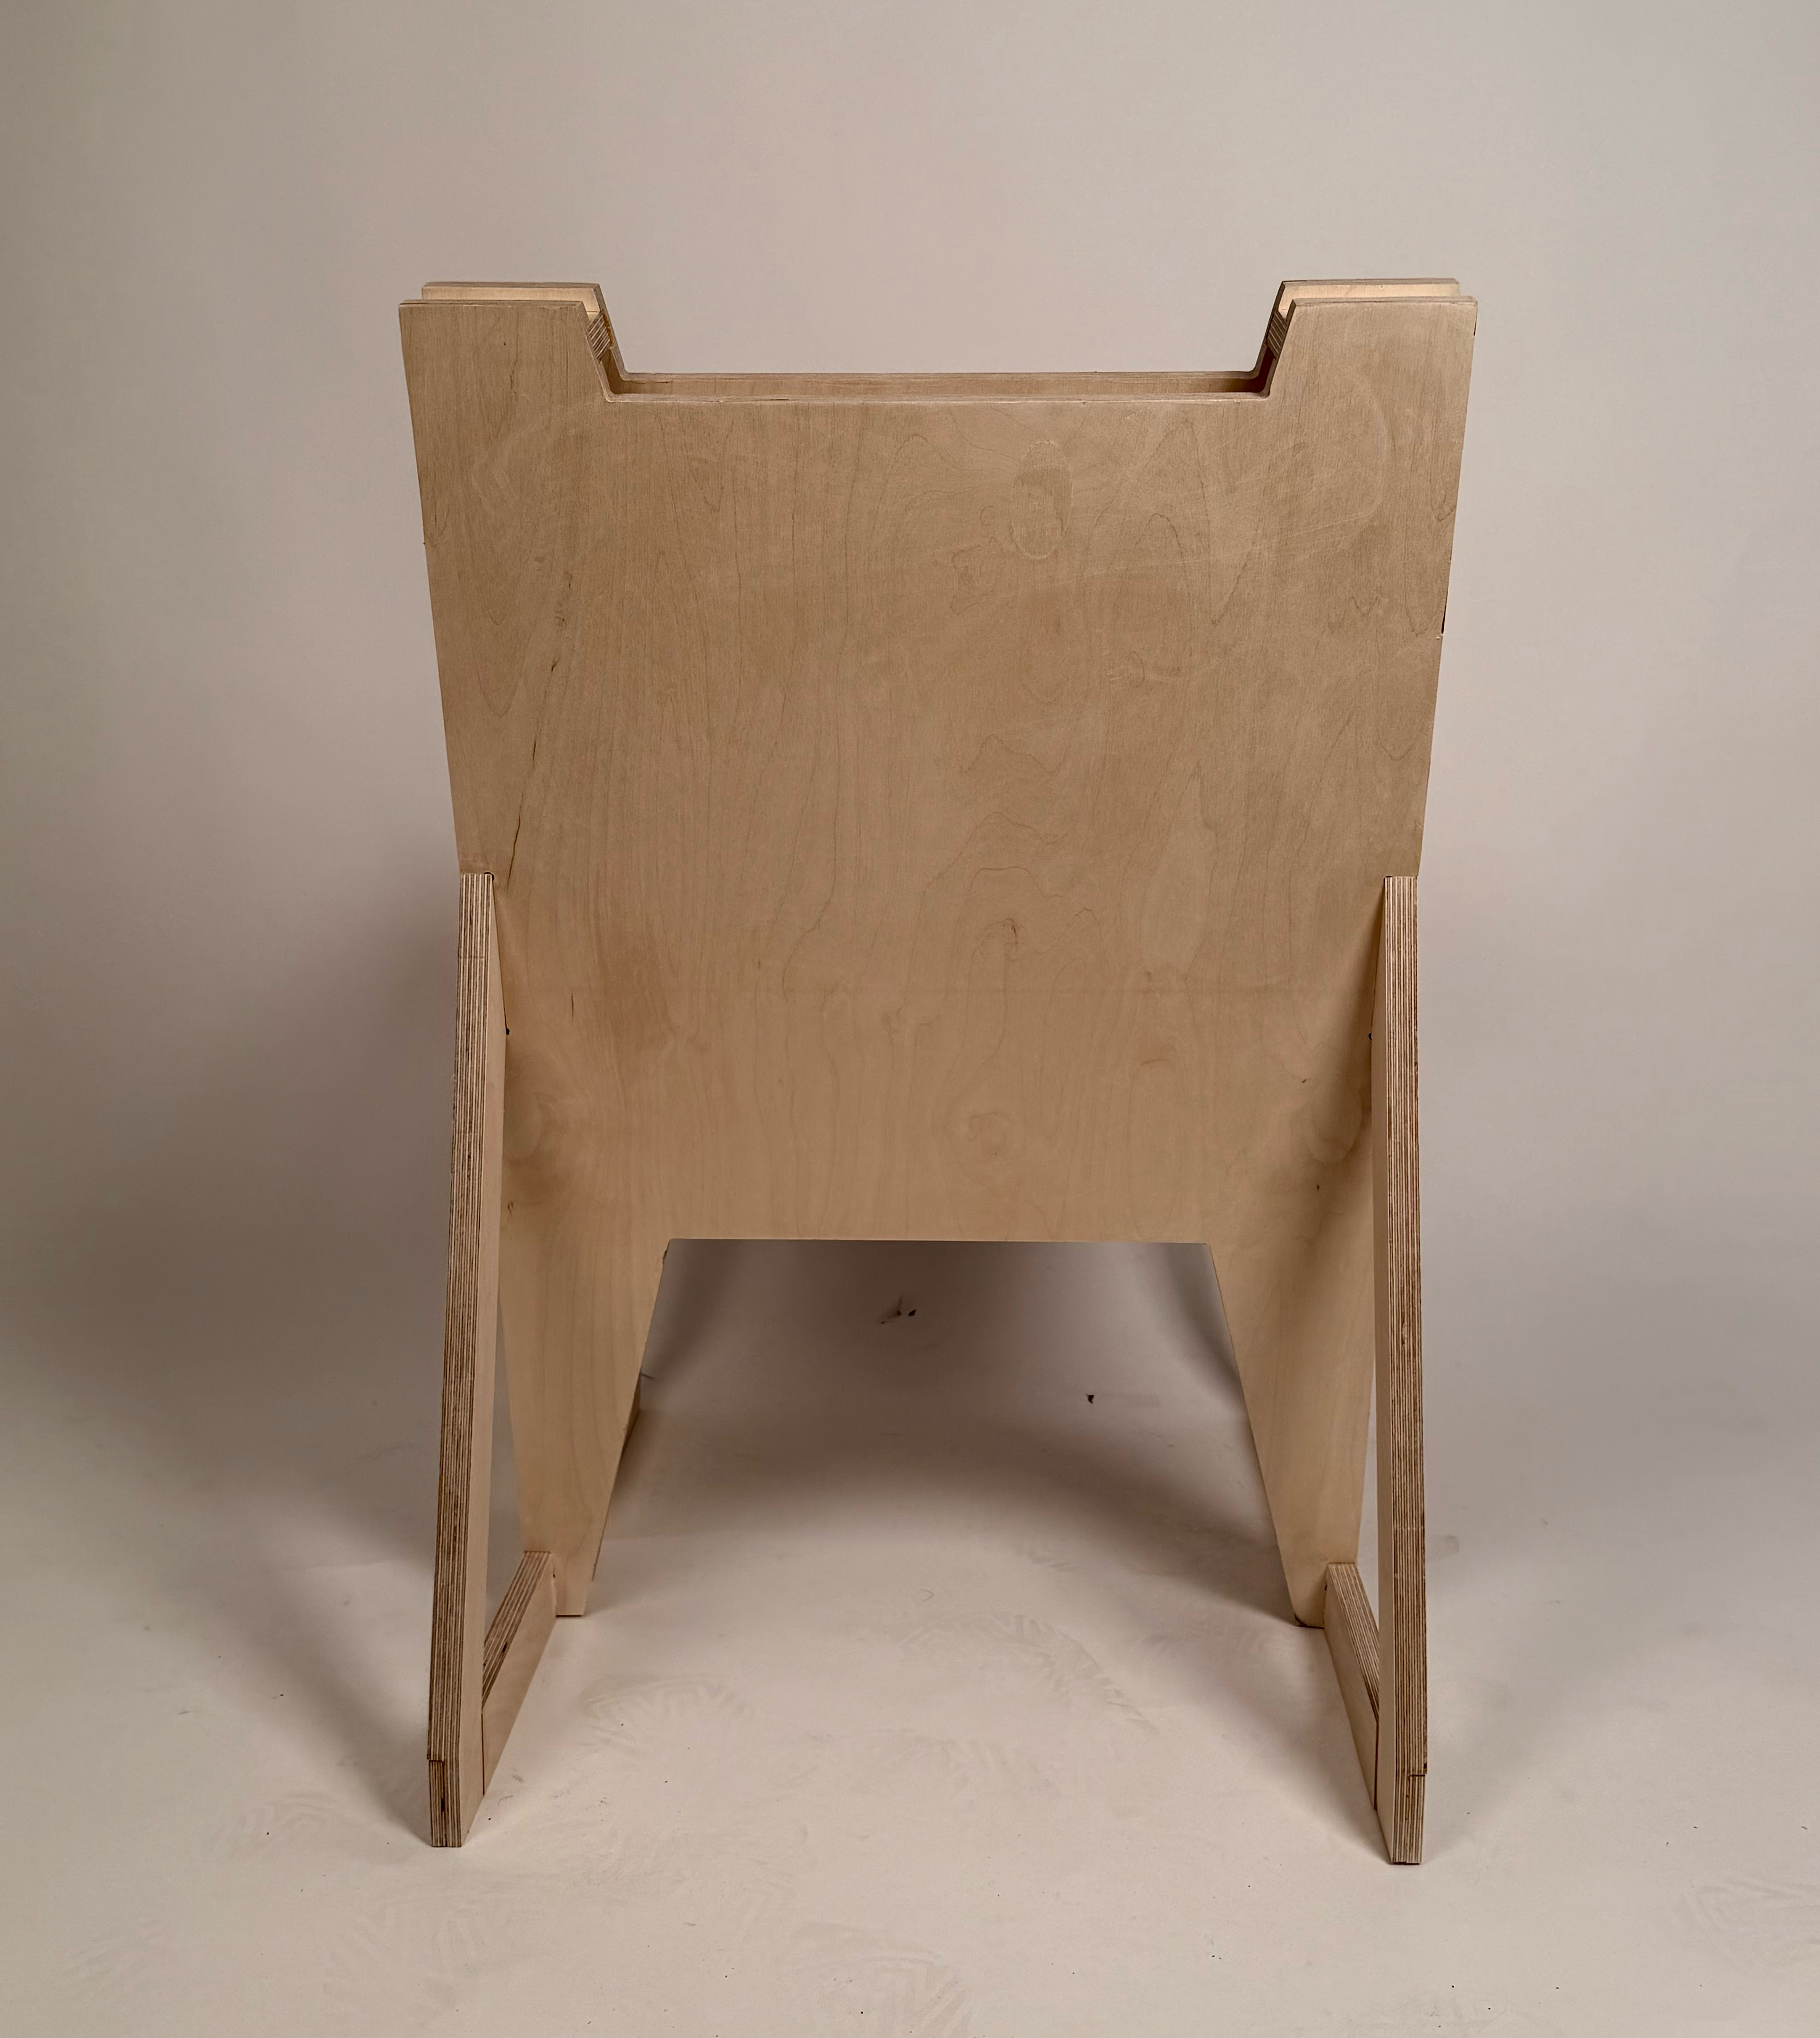
Side — Three-quarter — Back
Every time I changed the design because the CNC couldn’t do something, the chair got better.
A 1:6 model can’t tell you about weight, flex, or how a joint feels under load. It can only tell you about proportion and assembly sequence.
The final chair looks simple. It took four iterations to get there. Simplicity was what was left after removing everything that wasn’t necessary.
The −15° back angle appears in the back support, the side cutouts, the arm geometry, and the leg flare. Repeating a single rule made it feel resolved.
The visible joints are the visual evidence that the chair was made. Hiding them would have made the chair dishonest about what it is.